

Get caught up with the Road To Glory Player & Army Introductions.
Introduction
The first mission of our campaign is The Spoils of War. The rules are simple – Dawn of War Deployment with objectives as the deciding factor. The winner of this mission will affect change in the final battle (Mission 5) of our campaign, so setting the tone early is critical!
| Team Imperium & Xenos | Team Chaos | |
|---|---|---|
| Jackson (Ultramarines) | vs | David (Chaos Space Marines) |
| Cole (Grey Knights) | vs | Ron (Chaos Daemons) |
| Evan (Necrons) | vs | Jason (Chaos Space Marines) |
Jackson (Ultramarines) vs. David (Chaos Space Marines)
David and I played at the Fabricator’s Forge just outside of Pittsburgh and were excited to battle as lifelong friends came by remarking about having not seen our models in years. As we set up the battlefield and prepare for the evening’s bout, we know this will be a battle to remember.
Pre-Game Thoughts
Jackson: I knew this mission would be objective based and David’s army is difficult to destroy if they get the upper-hand. I plan to leverage the Space Marines’ Combat Squads ability to split up my Tactical Squad and Sternguard Squad. Since kill points won’t be a factor this time around, I’d like to maximize the amount of scoring units I can field. My Vindicator will also be a key contributor to bypass the Plague Marines’ Feel No Pain ability and provide some much-needed firepower that my many bolters just can’t deliver. Kharn is also a fearsome opponent on any field, so I need to limit his ability to perform and cross the battlefield if my marines are to win the day.
David: While Jackson’s squads are plentiful, I have a few, but potent threats and I plan to make the most of them. I’ll split up my scoring units to take and hold each objective early and leverage their staying power and armor-piercing ability to punch above their weight. Many of Jackson’s units (outside of that pesky Vindicator) can’t really deal with my Plague Marines or Bezerkers without some lucky dice. I plan to get into some good cover and make him come to me. Let’s hope my Dreadnought doesn’t roll badly on the Crazed table and that Kharn gets into combat early and often. Glory to the dark pantheon!
Mission Specifics: The mission calls for d3+2 objectives and David rolled low to give us three total objectives to fight over. We placed the first in the center of the table and the rest in opposite corners.
David wins the roll off to pick sides and elects for me to deploy first and go first. My Master of the Forge’s “Bolster Defenses” ability allows me to pick a ruin in my Deployment Zone and add 1 to its Cover Save. I chose the southern-most corner ruin and figured that would provide a good base for my troops to whether David’s myriad plasma weapons that can cut through my armor.
Night Fighting would also be in effect for Turn 1, so we had to declare a target, then roll 2d6 multiplied by 3 for total range. This extra layer of complexity would be a boon for David as he could dart up with his bezerkers with limited response from me during this turn.
Deployment: Both players were required to deploy 1 HQ and 2 Troops units ahead of Turn 1 with the remainder walking on the board during the first turn.
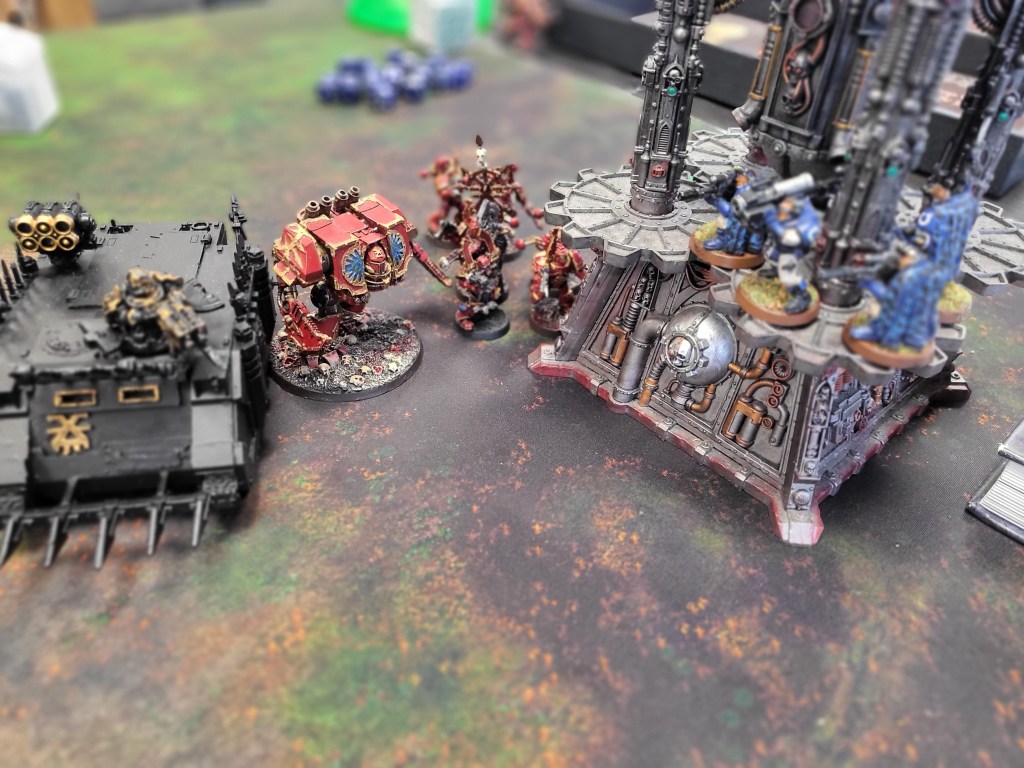
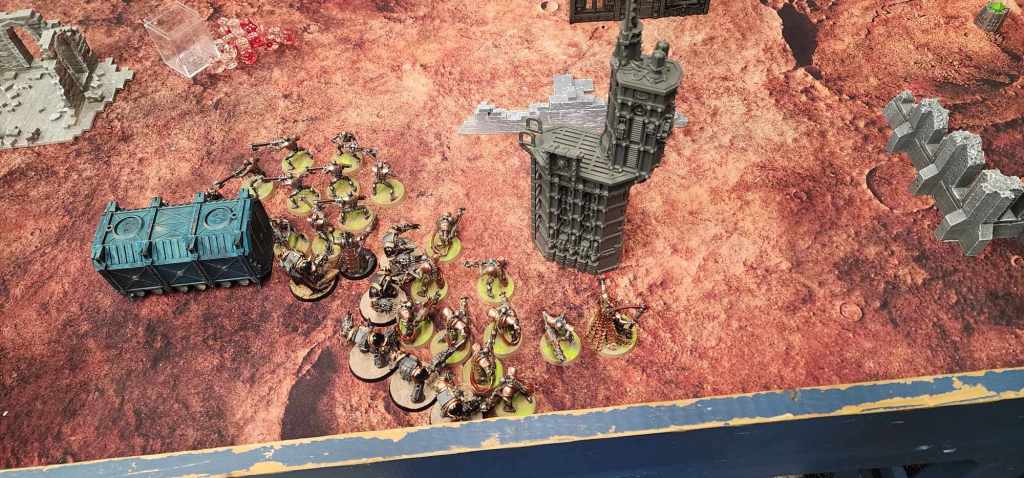
I leveraged my Scouts’ Infiltrate ability to deploy deep into the center with a squad of Scouts on the Void Shield Generator we played as a ruin. My other Scouts and the Master of the Forge deployed in the bolstered ruin near the center objective. David cheekily deployed his Rhino carrying his Bezerkers and Kharn behind his ruin poised to give the Scouts in the western section of the board a very bad time, haha. That Rhino needed to die…
Turn 1: With a smirk, David rolls for his Seize the Initiative attempt and … 6! David has the top of the turn and will go first.
Night Fighting was in effect this turn allowing our forces to move relatively unopposed. David sends his Rhino up the western flank at combat speed and fires the Havoc Launcher to limited effect. A squad of Plague Marines moves up the center near David’s ruin. The second Plague Marines squad and the Obliterator post up high on the eastern hills ready to hold the objective in David’s home zone. The Chaos Dreadnought moves alongside the Rhino ready to eliminate the pesky Scouts.
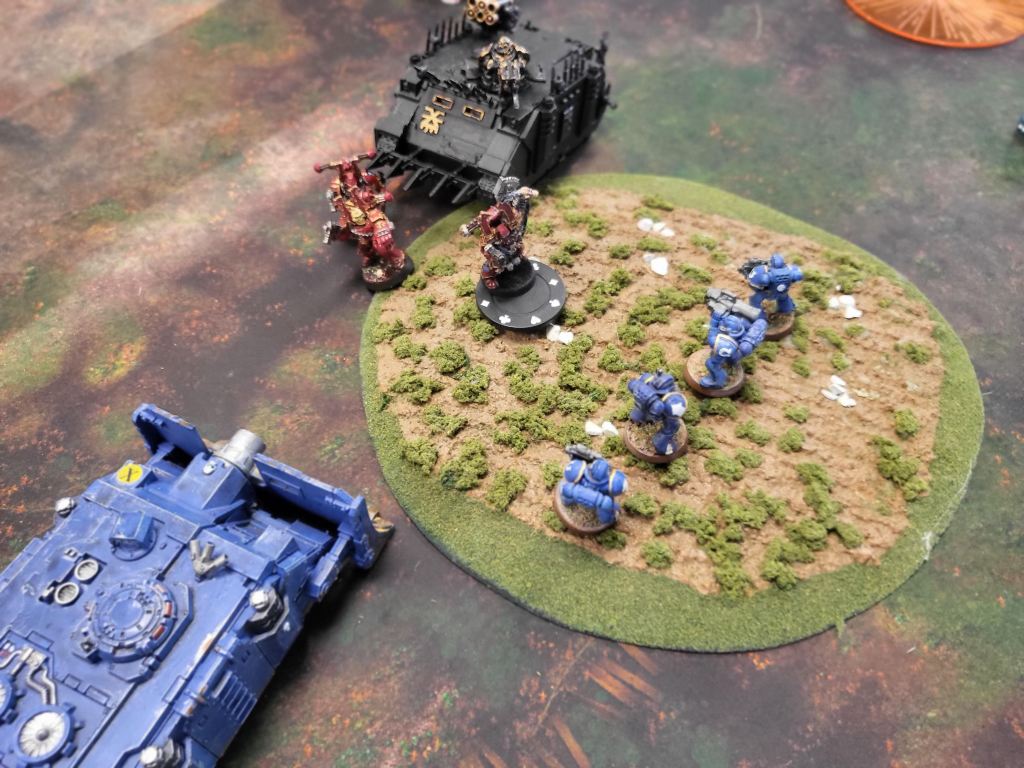
Jackson responds by having his Tactical Squad with the missile launcher move to secure his home objective in the swamp reinforced by the Vindicator. Both Sternguard Squads elect to move up the center toward the middle objective. The eastern flank would see the Tactical Squad armed with the Flamer and the Dreadnought move up to threaten the Obliterator and Plague Marines. Jackson’s Scouts near the west fire their snipers and Krak Missile hoping to score an early hit on the Rhino party bus. We luckily hit and penetrate, but roll a 2 and the Rhino suffers “Crew Stunned”. Thanks to its Daemonic Possession upgrade, the stun effect is ignored and the Rhino is still a potent threat. It is not looking good for these Scouts.
Turn 2: With the sun high in the sky and Night Fighting no longer a concern, David springs into action to deliver some heavy damage to my forces. David’s Obliterator morphs its arm into a Lascannon and takes a shot at my Dreadnought. Three dice rolls later and my Dread explodes in a fiery torrent of molten slag! David’s Plague Marines take a few shots at my Tactical Marines and they lose a single Marine.
David’s Rhino disgorges its passengers and now Kharn and his squad are poised to take out the Scouts alongside David’s own chaos Dreadnought.
David has dealt a decisive blow, but I remain steadfast as I know my forces are more than capable to handle such threats. During my turn, my Scouts unleash a volley of sniper rounds and a Frag Missile which lands on target and turns David’s squad of eight Bezerkers into just three!
My Vindicator lines up a shot, but a whopping 11-inch scatter sees David’s troops unharmed. The Sternguard use their Hellfire Rounds to deliver poison shots on the strong Plague Marines and manage to kill two of them.
Turn 3: David’s turn goes by in a flash as Kharn charges like a wild beast into my Scouts. They didn’t stand a chance to Kharn’s Gorechild, but as it turns out, neither could David’s Bezerkers! Kharn’s rule is that he will hit on a 2+, but any 1s rolled will instead hit the squad he joins.
Khorne cares not from where the blood flows … only that it does.
Kharn proceeded to destroy all five of my Scouts, but not before taking out three of his own Bezerkers with the swing of his axe.
On my turn, I retaliate and make my move. Plague Marines may be tough, but their toughness comes at the sacrifice of speed. While my Master of the Forge licks his wounds, the Tactical Squad move up and unleash a whopping six hits with their flamer leading to two Plague Marines to fall. The Scouts in the backfield also lend supporting fire and land two rending wounds on David’s Obliterator, killing David’s much needed fire support.
My Tactical Squad holding my home objective fires at the enemy dreadnought, but misses. The Vindicator, however, hits his mark and takes out the Chaos Dreadnought.
Turn 4: David’s forces, though battered, are still a serious threat and David consolidates his position to take out my units threatening his objectives. The Plague Marines unleash a flurry of plasma at my Sternguard Vets, but the forest saves them with a 5+ Cover Save. David’s second squad of Plague Marines piles on and takes out two of my Tactical Marines, but leave my Master of the Forge unharmed…
On my turn, I spring into action and bring the severely weakened firepower of my army to bear. Hey… anyone who hasn’t asked the dice gods for a bailout at least once hasn’t gamed in my opinion, haha. Sternguard load the perilous Vengeance Round into their Bolters and fire at point blank range into the Plague Marines holding the center objective.
A quick note on vengeance rounds… they have AP3, but this firepower comes at the expense of Gets Hot if you roll a 1 to hit and can kill your own soldiers as they handle the volatile ammo.
I roll to fire Vengeance and roll three 1’s! Two of my own Sternguard fall to their own ammunition, but the now solo Sergeant’s aim is true as he kills two Plague Marines with two shots!
The dice gods giveth and they taketh away.
My Scouts leave the ruin and sprint to the center to contest the second objective. Variable game length means this game could end on Turn 5 and I don’t want to give David a victory because I didn’t plan.
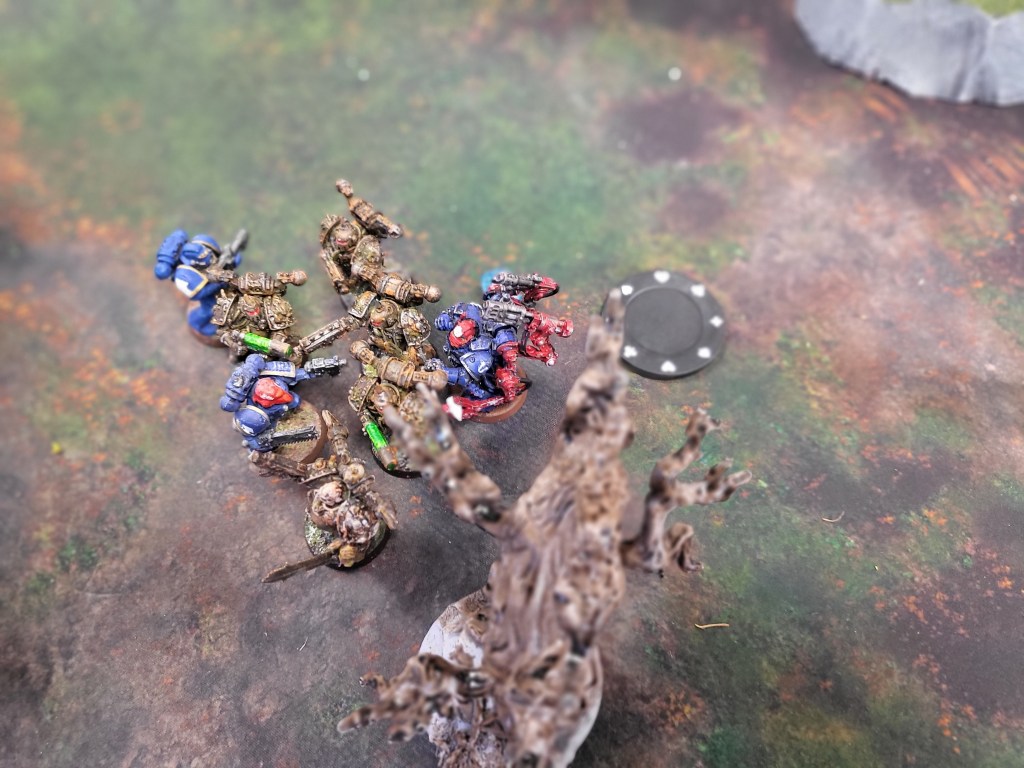
Back on David’s home objective, my Master of the Forge and Tactical Marines charge the Plague Marines and use their … and I can’t believe I’m saying this… speed to out-initiative the enemy in assault.
Turn 5: David’s turn brings limited shooting, as the Plague Marines in the center kill one Sternguard Veteran. My turn sees two Plague Marines fall to the last remaining Sternguard Veteran and the Master of the Forge charging the Plague Marines holding David’s home objective and kills one. Tacticals kill one Plague Marine, the disciples of Nurgle kill another Tactical Marine.
Turn 6: Kharn disembarks from the Rhino and kills one Tactical Marine. Plague Marines kill two Scouts, but they pass their morale check to contest the center objective. The Plague Marines on David’s home objective whiff in combat while the Master of the Forge and remaining Tactical Marine Sergeant hit hard and kill two Plague Marines, leaving one Fearless Marine contesting David’s home objective.
With a roar, the thunderous boom of the Demolisher Cannon sees a clean sweep to defend Jackson’s home objective. Kharn, two Bezerkers, and the Rhino all fell to the large blast of the Vindicator!
Results: With the remaining Tactical Marines holding my home objective and our troops contesting the other two, the Ultramarines win 1-0!
Post-Game Remarks
David: It was a very close game and while I had a good plan, I really should have focused down those Tactical Marines before going after the Master of the Forge and other heavy hitters. Objectives can only be scored by Troops units after all. I was pleased with the performance of my forces including the Chaos Dread for not once rolling friendly fire.
Jackson: Man, what a game! I had a decent plan going into it, but David’s army was tougher than I expected. That Vindicator clutched up in the late game and I am happy with my core of Scouts and their snipers being a real nuisance. David is a very skillful opponent and I always find myself needing to think outside the box or throw one too many Hail Mary passes to claim the victory. Well played David, and until next time!
With the dust settled and the Ultramarines marking a victory for the Imperium, stay tuned for the remaining players to finish out Mission 1. Whoever wins here gains an advantage going into the final campaign game, so every bit counts.
Cole (Grey Knights) vs. Ron (Chaos Daemons)
Game Summary: Grey Knights won the roll to choose who goes first and chose for the Daemons to have the top of Turn 1.
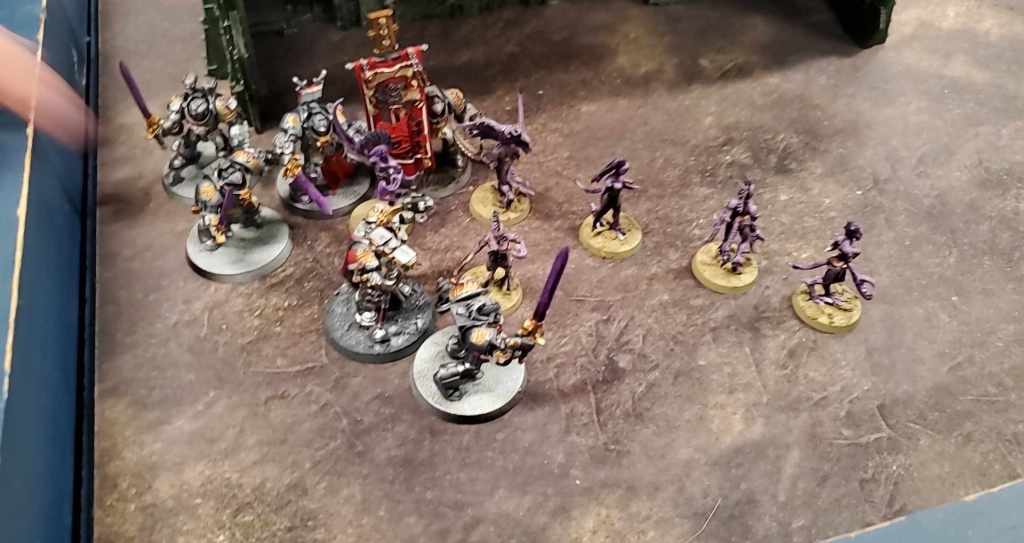
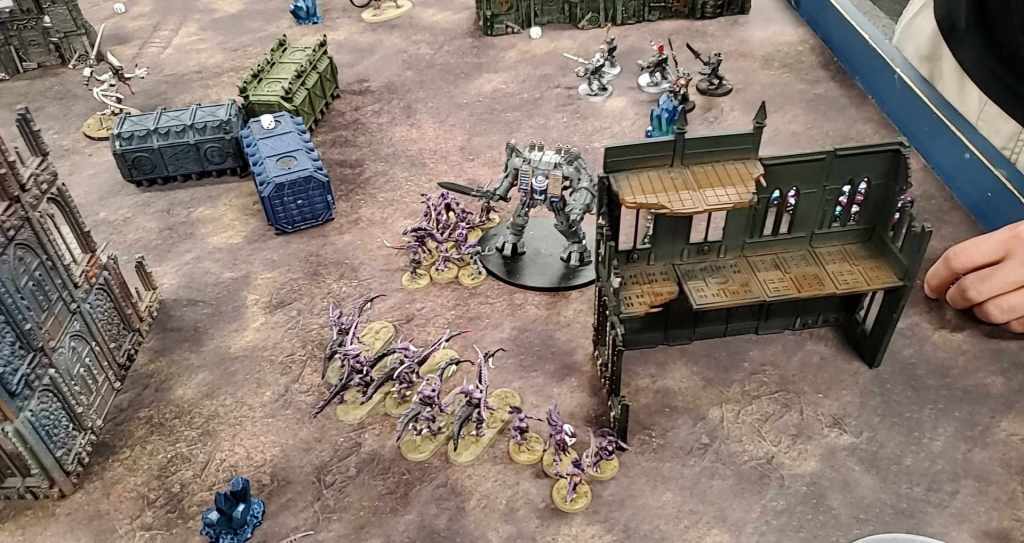
Turn 1: Ron rolled to see which half of his forces comes in first per his Codex rules, but rolled a 1. Cole then got to choose which half came in first, and he chose Daemonettes and the Keeper of Secrets to Deep Strike onto the board to begin the game. A unit of Daemonettes scatter a little too close to Cole’s Grand Master and Grey Knight Terminators.
Turn 2: The second half of Ron’s army comes in and an unlucky Fiend of Slaanesh scattered into the Dreadknight and died from Deep Strike Mishap. Ouch.
Turn 3 and 4: This was the pivotal moment where everything began to die. Cole’s Dreadknight falls to a swarm of Daemonette rending attacks. Terminators charge the Keeper of Secrets and destroy it.
Turn 5: Ron and Cole continue to duke it out, and work to consolidate their hold on the objectives. Ron’s Daemonettes are on his home objective, and contest the center. Cole moves his troops around, but unfortunately is just outside of the 3” capture range of his home objective!
Results: Daemons 1 – Grey Knights 0
Post-Game Remarks
Ron: The Keeper of Secrets feels like a bullet sponge, but doesn’t put out too many crazy attacks. I may change things around come Game 3, or buff it with gifts. Who knows! Daemons won by a hair length, but losing two units to Deep Strike mishaps was a hard start, haha.
Cole: I wish I had placed the Dreadknight a little differently, but I wanted to leverage his shots early and often, so he was a little exposed. Also… so close yet so far from my home objective! There is no pre-measuring in this game, so I gotta make sure I keep the mission in mind going forward into the campaign.
Evan (Necrons) vs. Jason (Chaos Space Marines)
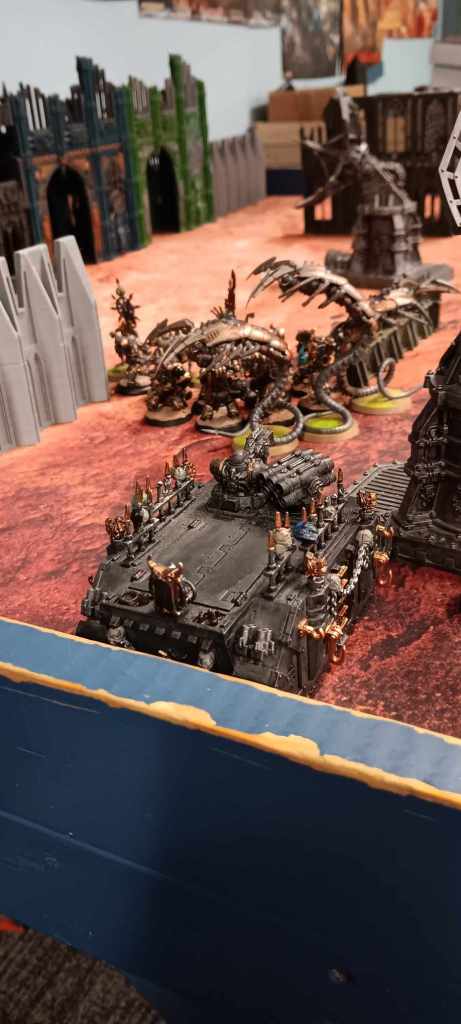
Introduction: The mission for the Black Legion began with one Chaos Rhino full of CSM covering their Deployment Zone objective. The other Rhino started behind a ruin providing full cover. The Black Legion Warlord (Ceretath’s sub-ordinate Lord Wulfterd) and his Terminator bodyguard awaited in Deep Strike reserve.
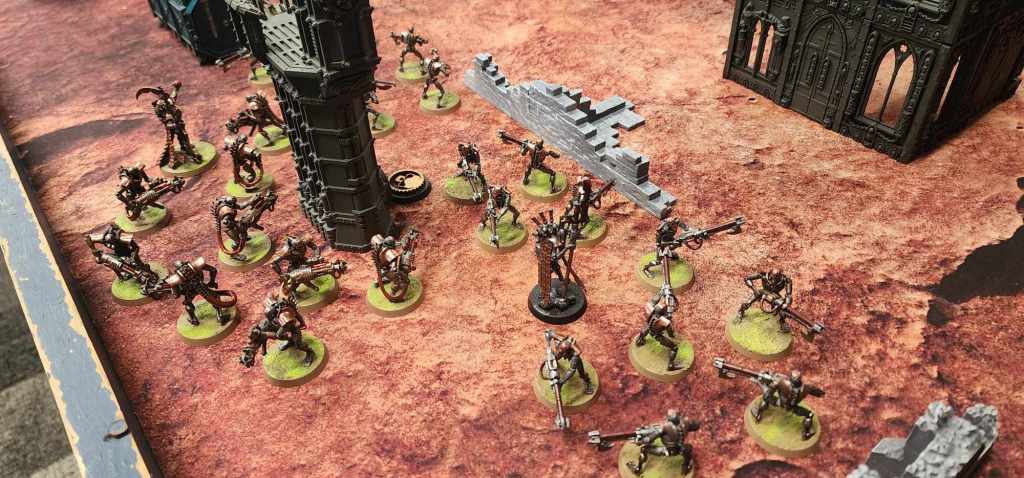
The Necrons began with their Warriors, Immortals, and attached leaders arrayed around their own Deployment Zone objective. A pair of Destroyers, three swarms of Scarabs, and a trio of Wraiths began hidden in a ruined building opposite the horde of Warriors and Immortals.
Turn 1: The game started first turn with the Necrons holding the initiative, but surrendering it to Chaos in order to perhaps force the Legion’s hand. The Rhino on the objective held position, while the other moved closer to provide support. With no clear targets within range due to Night Fighting the Necrons were clear to respond.
One of the Warrior squads had the Cryptek attached to it. It used a teleportation ability to bring it and its Warriors to within striking range of the Rhino on the objective. Their weapons fire damaged the tank and immobilized it.
Turn 2: Chaos turn two began with the CSM squad disembarking from the damaged Rhino. The other Rhino changed position only enough to fire on the Cryptek and his Warriors. The CSM of that one would stay aboard to provide protection for the objective should the first squad fall. Meanwhile, Lord Wulfterd used his personal Chaos Icon to land him and his termies behind a cargo container. And right behind the remaining Warriors and Immortals in the Necron Deployment Zone. Fire from both Rhinos and the CSM squad did little lasting damage to the Cryptek and its Warriors. As did a subsequent charge into assault by the CSM. (There was a rules error on my part where I charged the CSM after firing Rapid Fire weapons in the same turn. Evan caught it later on, but chose to allow me to play it forward.) All in all, the Cryptek’s squad made good use of their Reanimation Protocols. Meanwhile, Necron firepower took out two of my initial seven Terminators.
Turn 3: The third turn saw no moving or shooting from the Black Legion. The Terminators and their Lord charged directly into the assault. The Termies plowed into the Nemesor Zahndrek himself while Wulfterd himself crashed into the Necron Lord and his own Warriors. The Nemesor struck at them, but did not land a felling blow. He and one of his Immortals were struck down by Lightning Claws and Power Fists. Though he would rise again. Wulfterd’s own Lightning Claw would strike down the Necron Lord. And he failed to rise again, leaving the Warriors to fight Wulfterd themselves.
The CSM in melee with the Cryptek’s Warriors dealt out some damage while dealing little of their own in turn. The Warriors were dying, but not quickly thanks to reanimation protocols. However, aid was coming in the form of the Wraiths and Destroyers now on the move and heading up to aid the Cryptek. The Scarabs were sent on their way to eventually attack the Terminators.
Turn 4: The fourth turn found the full of CSM Rhino fire its Havoc Launcher at the Scarab swarms. Only to have the shots scatter off target. Lord Wulfterd slashed at another of the Warriors only for it to rise again. It mattered little as they could not get past his terminator plate so both parties were held in place. The Terminators killed more of the Immortals. The Nemesor struck at them again, but was felled again by power fists. Leaving the Immortals leaderless.
The Wraiths crashed into the CSM squad and almost immediately began destroying them. Champion Helacks and most of his squad remained resolute in fighting the Warriors. Two of his men fought back against the Wraiths. At least wounding one of them. The Destroyers abandoned their attack on the Rhinos in anticipation of the results of the Terminators fight at the Necron objective.
Turn 5: Another turn with no moving or shooting by the Black Legion. Only the spilling of so much heretic blood and eldritch machine oils in unforgiving melee combat. Wulfterd struck down a Warrior and watched it reanimate. It mattered not as he remained unharmed and kept the Warriors pinned in place. The Terminators at long last caused enough damage to the Immortals to trigger a Sweeping Advance. And destroy the Necron squad once and for all. This however allowed the Scarabs to reach them. And though the swarms were damaged by the Lightning Claws, they could not stop two more of their brethren being killed by the Swarms.
The CSM Squad held on for dear life. The Wraiths had reduced them to only the champion Helacks and his Icon bearer to fight on. And had they both fallen, a fresh squad of CSM and their Rhino awaited the Necrons at the Black Legion objective. Meanwhile, the Necron Destroyers had no viable targets present themselves.
A neutral third-party was asked to roll to see of the game would continue on a 4+. He rolled a 3, so the game ended with both objectives in sight of both opponents. But neither side in any further position to try to claim them.
Results: Draw
Overall Results
| Team Imperium & Xenos | Team Chaos | Result | |
|---|---|---|---|
| Jackson (Ultramarines) vs. | vs | David (Chaos Space Marines) | Imperium Victory |
| Cole (Grey Knights) vs. | vs | Ron (Chaos Daemons) | Chaos Victory |
| Evan (Necrons) vs. | vs | Jason (Chaos Space Marines) | Draw |
With one victory for the Imperium, one victory for Chaos, and one Draw; both Teams are evenly matched going into Mission 2. Critically that means that neither side gains the vital intelligence bonus for Game 5! Over the next few weeks, the players will fight Mission 2 – Force Supremacy What will Mission 2 hold for our valiant Generals? That is for the dice to decide.

5th edition, is in my opinion one of the best versions of 40K. Awesome stuff, thanks.
LikeLiked by 1 person