

This past weekend, I had the privilege of attending a Bolt Action tournament at Battle at the Crossroads in Cambridge, Ohio. Hosted by Jason of Father and Son Gaming, I knew it would be an exciting day of challenging missions, fun opponents, and as you’ll see through my experience – the presence of the ever-fickle dice…
The tournament list construction was structured similarly to my own Siege of Tobruk event – 1,000 pts Generic Reinforced Platoon with at 14 Order Dice cap and some restrictions on Flamethrowers, Multiple Launchers, and Heavy Howitzers. I was excited to see how Jason would come up with his own twists on missions and I have to say, I was blown away by his care and consideration for the players.
In his packet, Jason included a start-up checklist for each mission. The checklist ensured players knew exactly how to begin without fumbling through different rulebooks or wondering whether Outflanks or Reserves are allowed – it was all there! I’m definitely stealing this for my future events, haha. Anyway – on to my list!
Inspired by Andrew’s North African Italian Colonial force, I dared to make Il Duce proud and try my hand at my own Italian force.
The Army – 999pts, 13 Order Dice
| 2nd Lt – Reg – 50 x1 Extra man – 10 | 60pts |
| Cavalry Section – Vet – 6 men | 90pts |
| Cavalry Section – Vet – 6 men | 90pts |
| Colonial Troops Section – Inexp – 9 men Tough Fighters | 72pts |
| Carabinieri Section – Vet – 6 men x3 SMG x3 Pistols with Rifles | 102pts |
| Med. Mortar Team – Reg – 50 Spotter – 10 | 60pts |
| Flamethrower Team – Reg – 50 | 50pts |
| AT Rifle Team – Reg – 30 | 30pts |
| Med. Howitzer – Reg – 75 | 75pts |
| L6/40 Armored Car – Reg – 95 | 95pts |
| M15/42 Medium Tank – Reg – 145 | 145pts |
| Truck – Reg – 39 Pintle MMG – 15 | 54pts |
| Autoprotetto S37 – Reg – 61 Pintle MMG – 15 | 76pts |
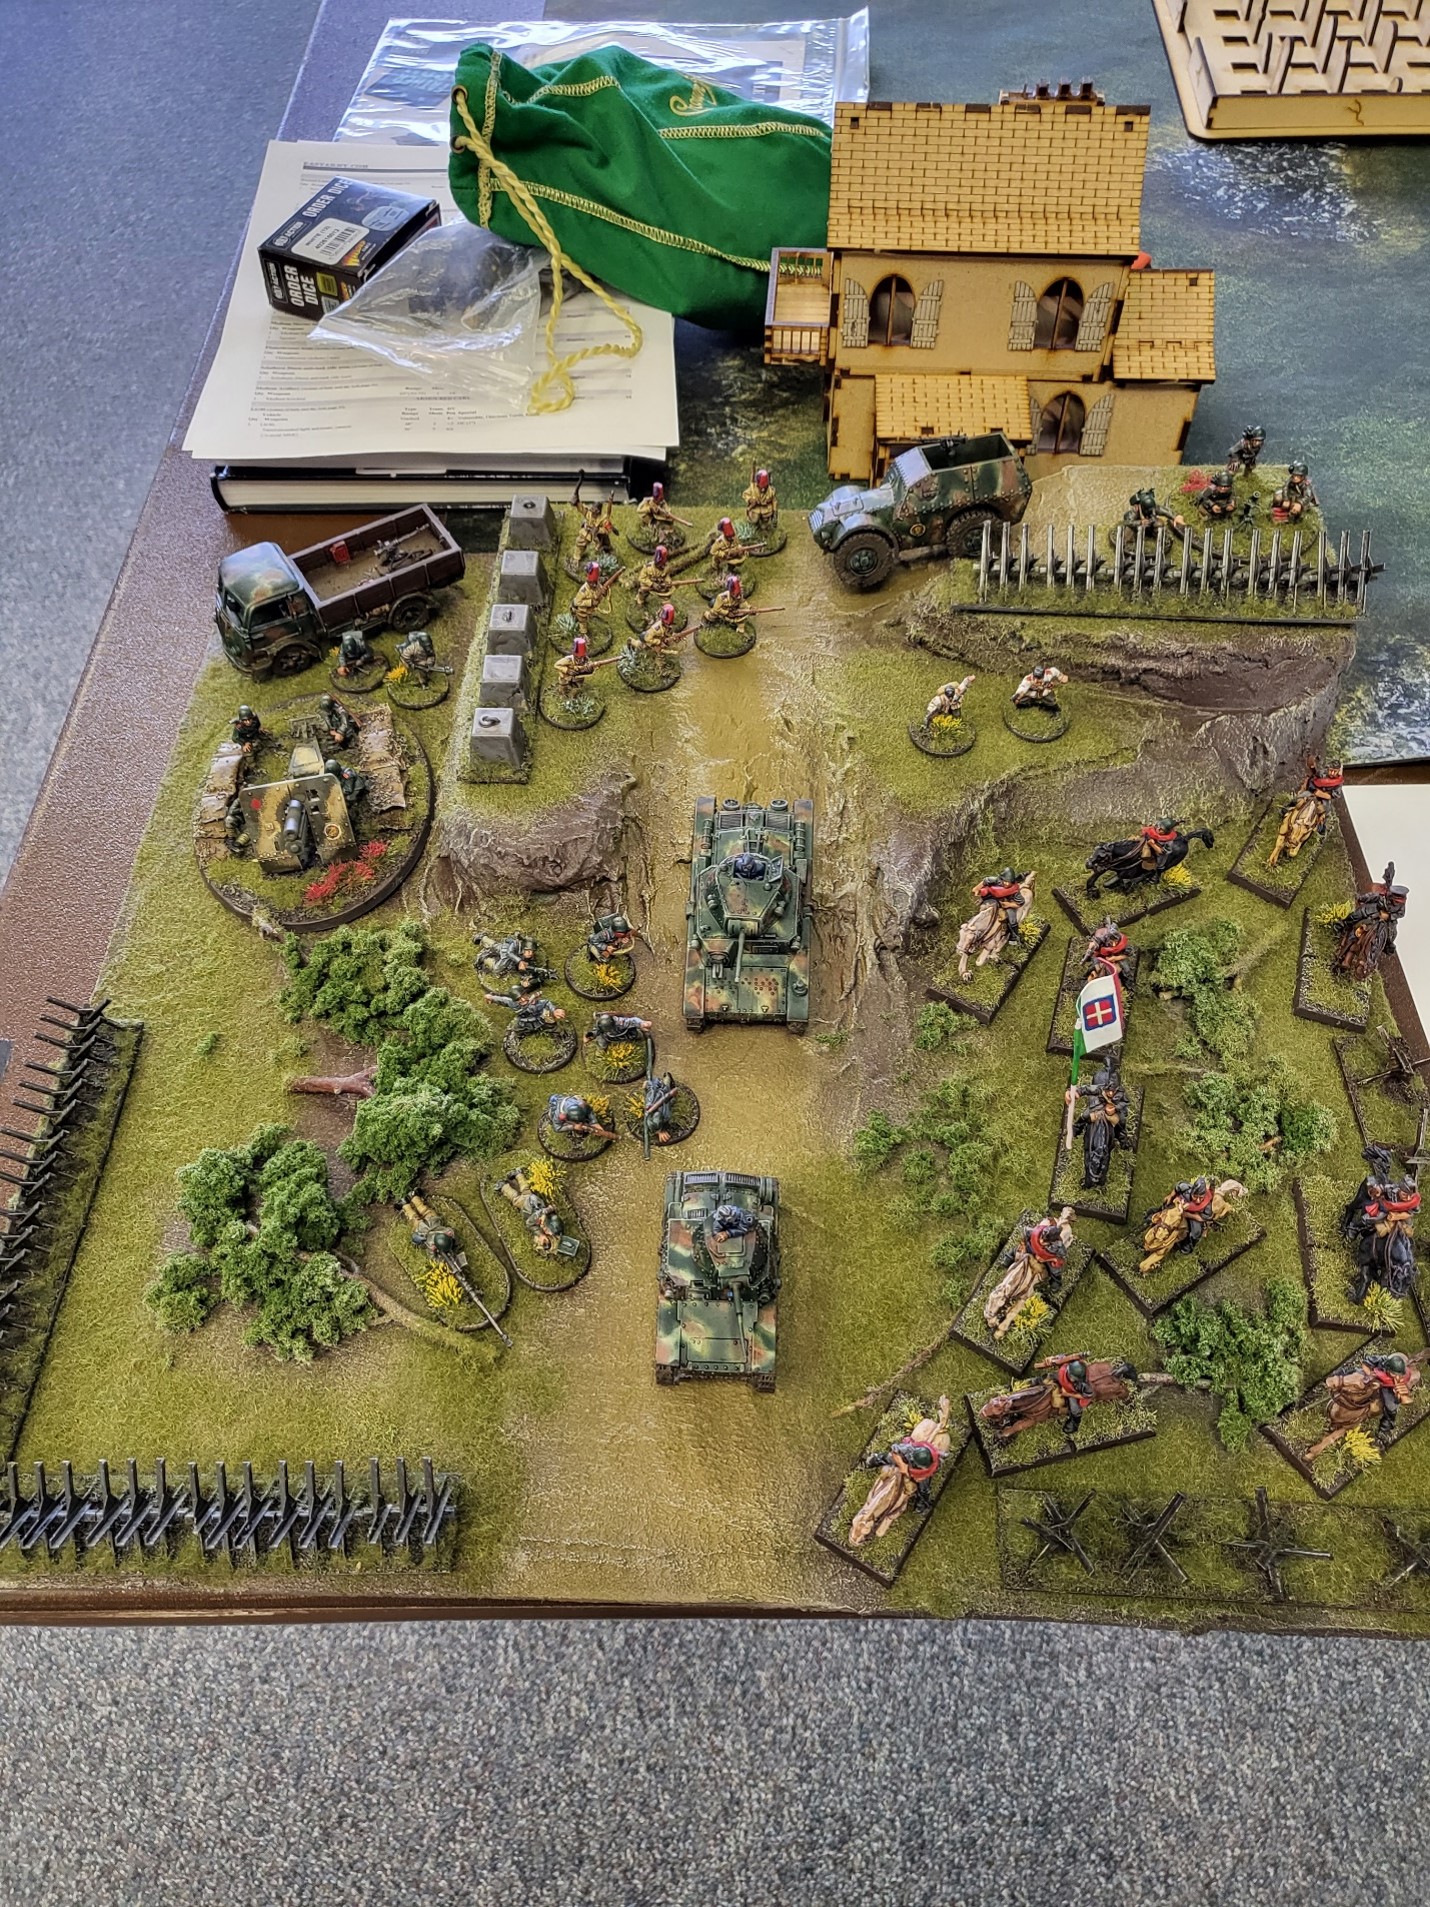

This army has been a labor of love and I challenged myself to incorporate different painting methods including breaking out my new airbrush for its maiden run! Also with the help of some 3D-printed barricades, I built a display board to match my force’s Sicilian/Italian mainland setting.
I wanted the focus of my army to be the two Cavalry units – inspired by the heroic charge of the Savoia Cavalleria at Izbushensky on the Eastern Front. I also opted to include some Carabinieri Military Police to take advantage of their Traffic Direction ability. I like putting vehicles in Reserve and wanted to ensure my tanks didn’t arrive late to the fight!
Game 1 – Double Envelopment vs. Chris (US Army Rangers)

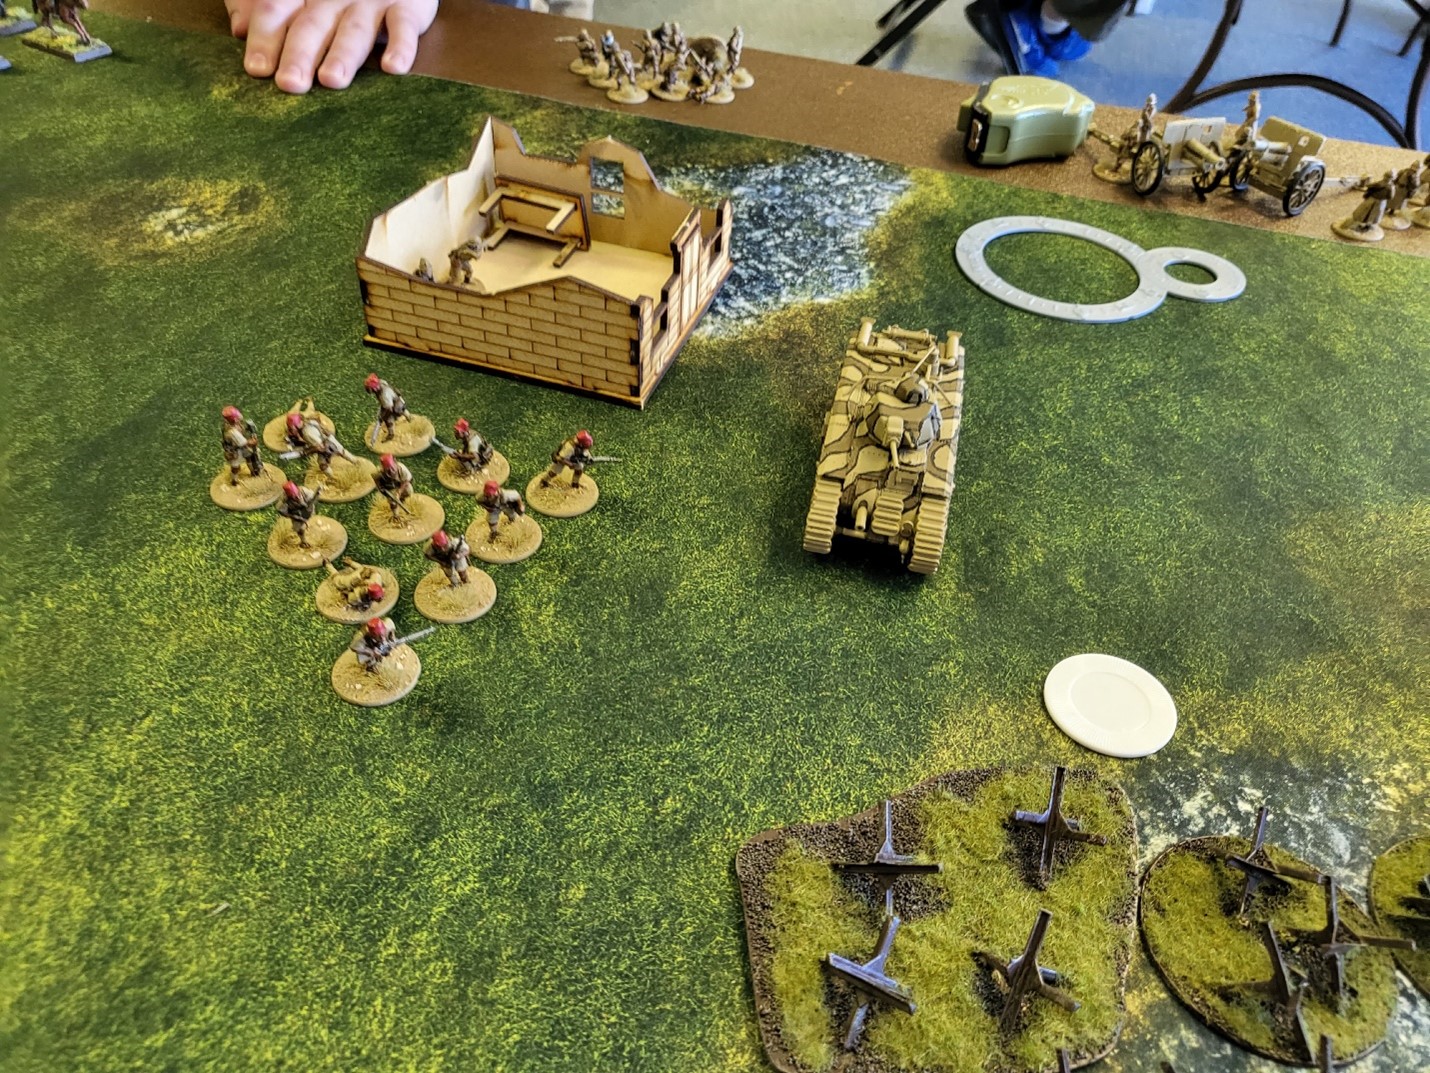
Game 1 was a modified Double Envelopment against Chris S and his US Army Rangers force supported by a Twin-Bazooka Jeep and a scary Sherman Crocodile tank. I was on the back foot from the start, because the mission rewarded a bonus point for killing any unit with a run speed greater than 12”…and I had 6 of them.
Pre-Game
I decided I would begin conservatively with half of my army in Reserve to see where Chris’ flame tank goes and hopefully set up a plan to take it out before it could do some nasty damage.
Reserved units – Carabinieri and Flamethrower Team in the Autoprotetto, Colonial Troops, Truck, and L6/40.
Play-by-Play
Turn 1 we jockeyed for position, but unfortunately, Chris’s dice started off hot with his Howitzer staring my own Howitzer down and zeroing in on the first shot! From the first shot of the game, my Howitzer had one crew remaining and I was already sweating.
Turn 2 saw our Reserves come in with my Carabinieri really pulling their weight as I rolled exactly 9s for my vehicles to come on and without their Traffic Direction, the vehicles would have been held off this turn. My Cavalry pulled off a Turn 2 charge thanks to their boosted movement and some aggressive play from Chris allowing me to pull ahead and get into his backfield.
This aggressive action from Turn 2 carried through Turn 3 as Chris struggled to deal with the Cavalry before they exited the board, but his dice could not carry the momentum from Turn 1 and the Italian weight of numbers started to pull through as the Rangers were drowned in Pins.
Turn 4 saw the Italians pull ahead by 3 Order Dice triggering Avanti Savoia and its Morale boost across my army. It was at this point that the Americans could not stop the quick mobility of the Italians and Chris called the game. Victory to Il Duce!
Post-Game Reflection
Chris was an excellent sport through the whole game, and I can empathize with the dice not going your way when you need them to. He did end up winning Best Sportsman at the event!
Game 2 – Key Positions vs. Alex (Free French)
Hot off my win and with a great chicken sandwich in hand (major shoutout to the organizers and staff at Battle at the Crossroads, as on-site lunch, was both delicious and easy on the wallet), I was up against Alex and his Free French force in a game of modified Key Positions. This mission had 5 Objectives and an interesting bonus to gather Intel. Wouldn’t you know we also played on my own table! Home court advantage anyone?
Intel Gathering Point – each player will be given an Intel token to place on the table outside of buildings. If your Officer (or an Intelligence unit should you have one) has LOS to the enemy token at the end of any given Turn, you get 1 point at the end of the game if the Officer lives.
Woah – that Intel Point was interesting, as it would require me to be defensive with my placement but be risky with my Lieutenant’s movement as he needed to see my opponent’s Intel Token and live to carry the vital info back to headquarters.
Alex and I were chatting before the event began and I had secretly hoped I would play him – sure enough, we were paired for Game 2. While I was excited about the match, I saw his list and was nervous for what lay ahead – double Howitzer, lots of large Infantry sections, and the lumbering Char B1 Tank that I couldn’t exactly take out with my Light AT. Man, I really was happy I packed a Flamethrower!
Pre-Game
I had the option to Outflank and decided that the late game Objectives would be crucial and I wouldn’t want to get bogged down in the early turns by those dual Howitzers that had a commanding view of the table with their Spotters.
The Carabinieri and Flamethrower in the Autoprotetto (notice a pattern?), the Colonials in the Truck, and a Cavalry squad went into outflank with my L6/40 going into Reserve.
Note: Looking back, I may have done this incorrectly as I put 7 units into Reserves with a total of 13 Order Dice. Is it rounding down or up? I didn’t know but didn’t catch it until I got back home. (It depends on the mission – Ed.)
Play-by-Play
Turn 1 we moved onto the board and with both of us making use of Reserves and Outflank, there really wasn’t much to do aside from set up for what was going to be a bloodbath in the center (Three Objectives and my Intel Point were on the center-left side of the table).
Turn 2 saw some Reserves come in, but Alex’s Reserve squad failed to appear! The Char B1 scored a deadly hit on my M15/42 – immobilizing it behind some tank traps and forcing it to be a backfield target drowning in pins from the enemy Howitzer who zeroed in on the first try – again!? This was gonna be tough…
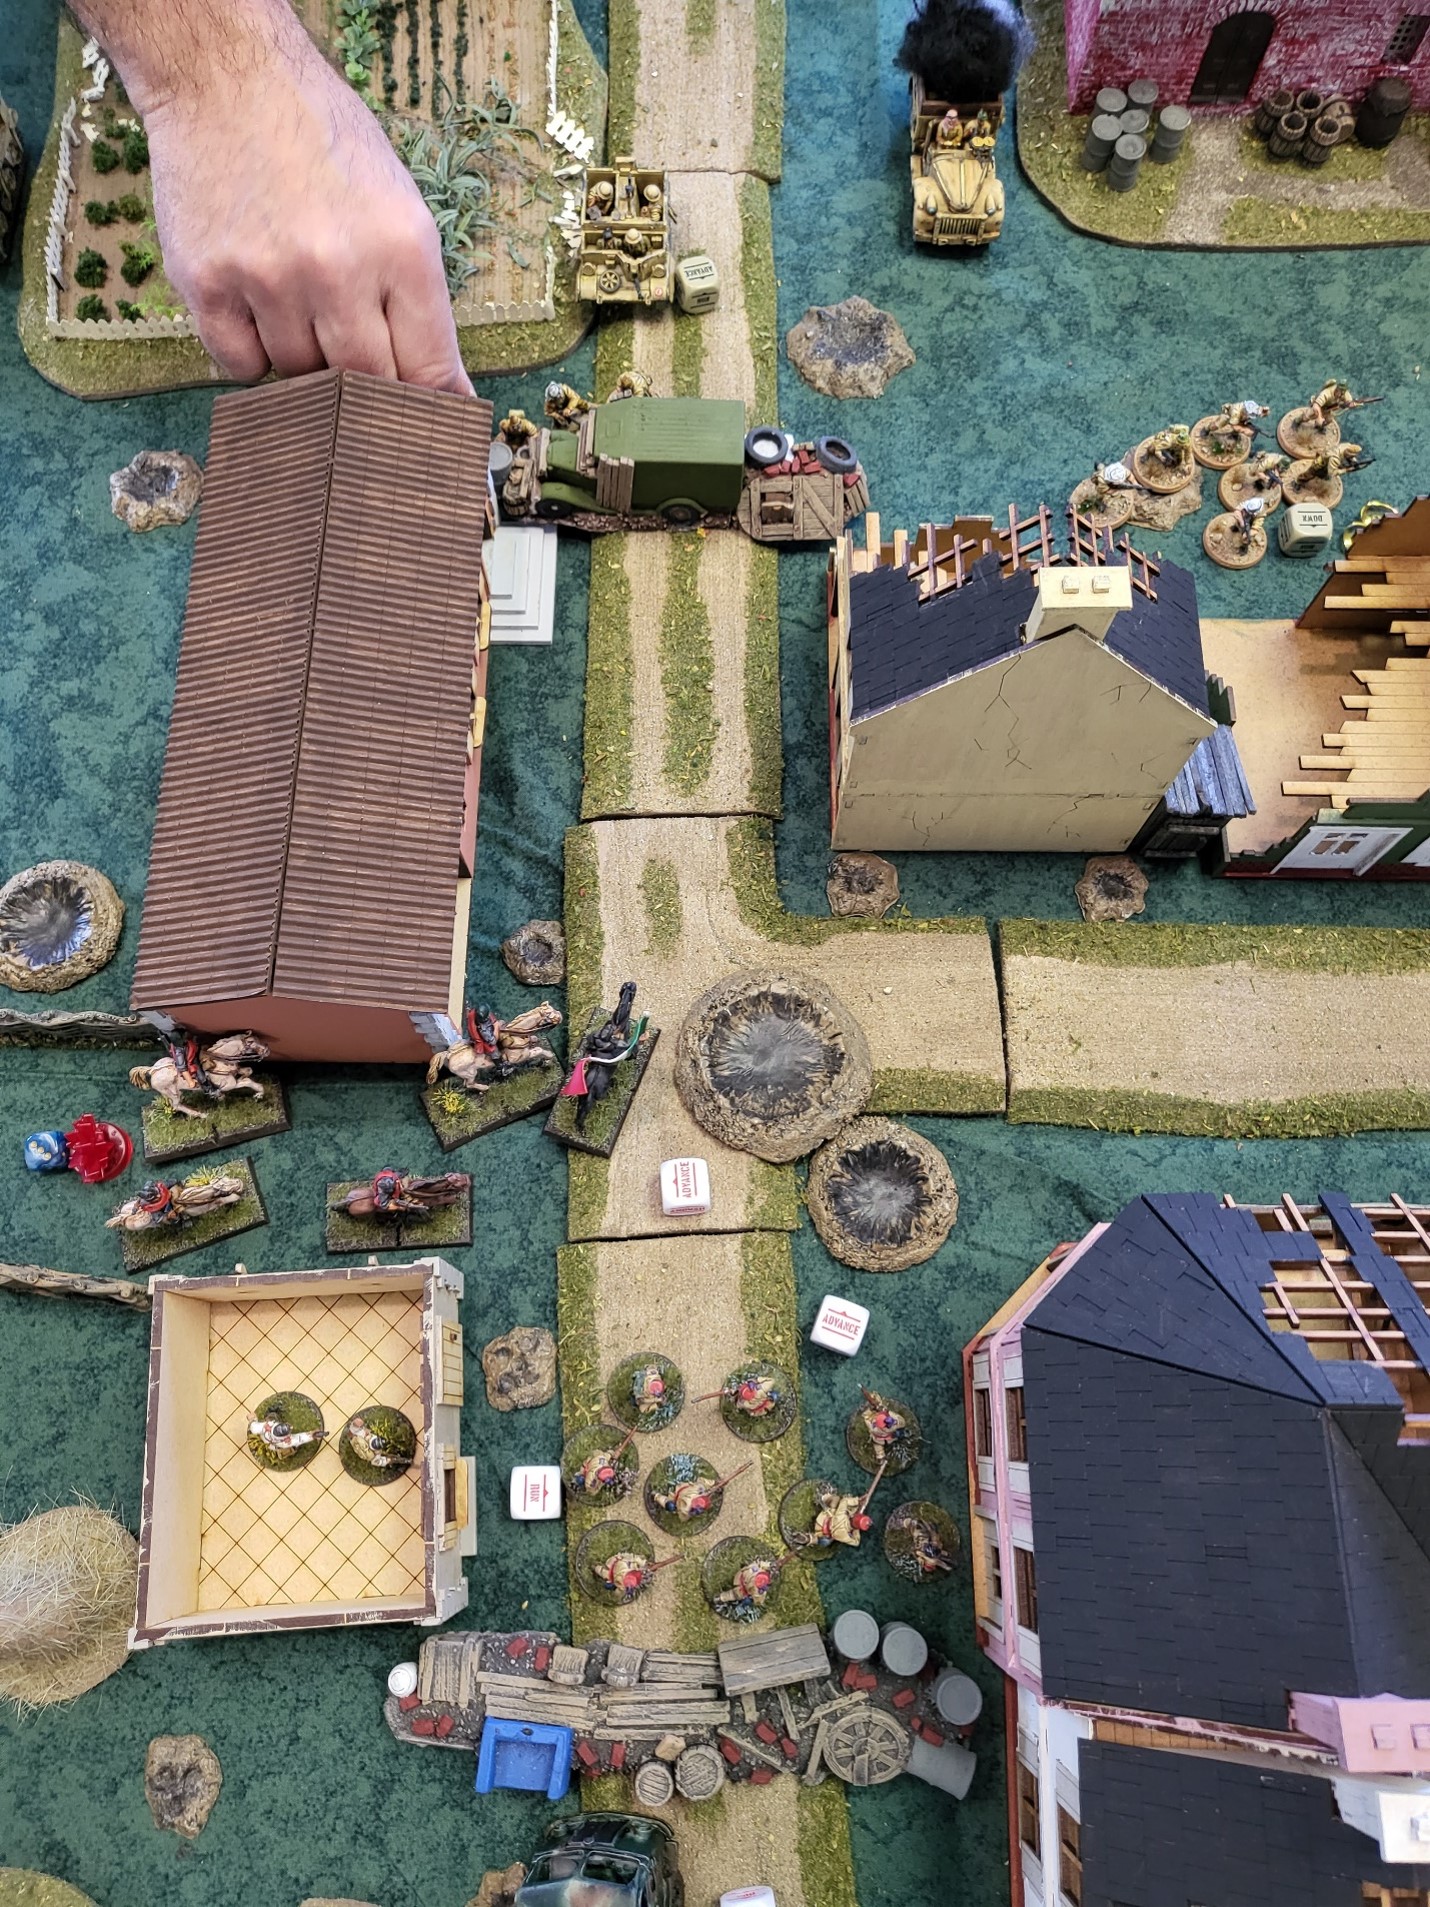
Turn 3 sounded the cavalry charge as all of my Reserves came on (thank you Carabinieri). The stage was set – both of Alex’s Howitzers fired to minimal effect allowing me to have the lion’s share of the back half of the Turn. The Autoprotetto came on disgorging the Carabinieri and the Flamethrower team eyeing up Alex’s large dual-LMG squad in a farmhouse. Seeing fear in my opponent’s eyes, I rolled to hit with an evil smile and…2. Miss. No! Upset for the miss, but maintaining my composure, I rolled to check fuel…1 – he runs out of fuel and abandons the battle (internal scream). As Alex breathes a sigh of relief, I struggle to think of how I will get out of this – Alex’s squads were bearing down on my Objectives and his Armored Car also had control of the flank with my Flamethrower team out of action. The battle rages on, but I need to get creative if I’m gonna secure victory.
Turn 4 saw both of Alex’s Howitzers eliminated with the help of a lucky Mortar shot and cavalry charge on the flanks. I begin to form a plan to secure the win in the later turns and Alex knows he needs to keep up the pressure to stop me. The late turns will be the deciding factor! Evenly matched on Order Dice casualties (even after the flamethrower disaster), I am not worried about Avanti Savoia’s leadership debuff and opt to be risky with my charges to mitigate his remaining squad effectiveness.
Turn 5 rolls by with a wave of Down orders and escape moves. My L6/40 takes a side shot from the Char, causing it to burst into flames and the crew bails out of the now hulking wreck. My Lieutenant also makes a move to see Alex’s Intel Point possibly banking a bonus point should he live, but the Senegalese squad nearby had other plans…
Turn 6 – the final turn. Two generals enter, and one shall leave…
Alex springs his counter and jumps on an objective with his Cadets even after taking a Howitzer shot to the face and losing 7 of his 10 men. Stubborn saved the day on that Morale check. My Mortar sees the opportunity following the fire of the Char to move onto the Objective and contest it.
Alex’s Lieutenant climbs out of the ruins he’s been hiding in for the whole game to capture Alex’s home Objective.
My Carabinieri manage to secure the Objective near the farmhouse and stare down an enemy LMG squad. Having a Down order, they will be difficult to remove.
My AT Rifle Team after losing a man to the Armored Car’s machine gun is unfazed and moves to secure the Objective in my backfield behind the L6/40 hull and out of sight from the Char.
Alex sees an opportunity to take not only the center Objective but also kill my Lieutenant in the same swing! Luckily, I pull an Order Die before he can implement his plan and my M15 tank which has been immobilized and pinned since Turn 1 has been shedding pins with Rally orders and the Char has been ignoring it – a grave mistake, as I place the tank on Ambush – twin turret MMGs at the ready to defend their commander! His Senegalese squad charges my Lieutenant in the cemetery forcing us to fight at the same time. The M15 springs its ambush along with reaction fire from my Lieutenant and kills six of the Senegalese! This morale check will be decisive no matter the result… In an act of sheer bravery, the colonials pass their morale check and continue the assault.
Both rocking Tough Fighters, it comes down to the dice – I kill two men, and the Senegalese kill my Lieutenant and his attendant, passing another Morale check and moving onto the central Objective and stopping my bonus Intel Point from taking effect! My Cavalry, down to two men themselves get cold feet and go for the conservative play of Rallying on the center Objective – contesting the point.
The final Order Die is pulled belonging to Alex’s regular dual-LMG squad that narrowly survived a Flamethrower attack. Alex weighs his options and unsure of the distance to my Carabinieri squad to charge opts for the safe option to move onto the Objective and contest it – shooting my downed men on the way, killing three forcing a Morale check. Needing a 6 and understanding the gravity of this roll, I shake out the dice … 2 and a 3 – the Carabinieri hold firm and stay on the objective! Let’s go boys!
As the dust settles, Alex and I tally our points – 1 Objective for the French, 1 for the Italians, and 3 contested force a tie! I guess we’ll need a rematch!
Post-Game Reflection
Holy smokes, what a game! Alex and I were on the ball the whole time, and each decision was played expertly on both sides despite the dice being rough. We both looked at each other as we left the table and I offered to buy him a beverage – truly, I met my match and was thankful to have played such a skillful opponent. I look forward to our next game Alex!
Game 3 – Night Fight vs. Chris (British 8th Army)
Ok… 1 Win and 1 Draw going into Game 3 – Il Duce willing, Best Axis might be on the table should I secure a win this round. My opponent was Chris V and his beautifully painted British Desert Rats force with three squads of SAS Commandos and a Stuart tank. I had a conversation with Chris earlier in the day and found that this was his first event in the past six months. I was excited to see what his forces could do, as both of us were assault-heavy armies and had lots of hard punches to throw.
As I scan the mission, I noticed a familiarity – it was a modification to a mission of my own design! I laughed as I recalled Jason telling me how he liked the night-fighting mechanic from my Siege of Tobruk event back in January. This mission was Kill Points based on the cost of each unit destroyed (Ex: killing a Regular Lieutenant would give me 50 points) and had visibility limited in the early parts of the game. Turn 1 had 12” visibility for all units; Turn 2 had 24” visibility; Turn 3 had full table visibility.
Play-by-Play
Turn 1 saw us both adjust positions with not much shooting going on.
Turn 2 I took a risk and played quite aggressively to take advantage of the 24” visibility and use my Cavalry to its full effect. If I could get the drop on Chris this turn, then I could limit his counter-punch dramatically.
I split-fired with my M15/42 into his Chevy Truck holding a small SAS squad with the turret MMGs and the hull MMGs going into his Forward Observer before he could get a shot off. Chris recognized the importance of the Artillery Observer and went Down forcing me to hit on 7’s. The Observer was unscathed as shots pepper his foxhole. The Chevy Truck was not so lucky and it caught fire and bailed out – killing one Commando and giving me first blood. Smiling, I charged his SAS with my Cavalry – two kills to one, yes I won! Not so fast, as Chris reminds me that the SAS are Fanatics, and we need to fight again. My victory wouldn’t come as easily as I anticipated…We roll again and I whiff, killing no one! Chris rolls and kills one of the Cav, winning the combat and wiping my unit – oh no…
I’m down by 60 points going into Turn 3 as I realize that the SAS are far tougher than I gave them credit for.
Turn 3 sees Chris pull the first Order Die and keenly had his Artillery Observer call in the strike before my tank can turn him into Swiss cheese. He may have given up 100 points when my tank finally fired, but he got the artillery strike counter down and he was happy with that. Chris’s luck didn’t stop there, as he managed to kill my second Cavalry unit and the L6/40 with his Stuart. The differential rises and I am running out of tricks…
Turn 4 I see an opportunity to make up some important points as my Flamethrower hops out of the Autoprotetto coming up the flank and prepares to torch a Regular Infantry Section in a building. I guess he remembered what happened against the French, but didn’t learn his lesson, as I proceed to not only miss but also run out of fuel again! ARGH – I need to find a new Flamethrower operator… Chris breathes a sigh of relief as my last-ditch attempt to make up points backfired in spectacular fashion. By the end of Turn 4, Chris had proceeded to kill 512 points to my 131. I decided to call the game at the end of Turn 5 as Chris killed my Mortar and Truck forcing the differential up further. Great game Chris, but man I may need new dice, haha.
Final Thoughts

What a day! Full of triumphs and follies, I ended up in the middle of the pack, with 1-1-1, but happy with my performance versus a variety of tough opponents. Also, throughout the day, Jason had folks come into the tournament hall and vote for the army they most liked to see – and to my surprise, I ended up with the Best Painted award!
I accepted my award and was impressed with my result considering the caliber of armies and talented painters at this event (Mark I’m looking at you…). I guess my display board and historical write-up came in handy! For my efforts, I was rewarded with an incredible dice tower that doubled as a factory for Bolt Action games! This thing is incredible and will definitely be on my home table for years to come.
Thank you so much to Jason for running a spectacular event and to Battle at the Crossroads for hosting a great venue. I plan on coming back to future events and hopefully, my Italians can take home the Best General’s trophy (let’s see if the Flamethrower can remember to pack fuel, haha).

It’s great to see Italians being used and with the approach of the ‘Italy:Tough Gut’ book it’s especially interesting.
LikeLike