

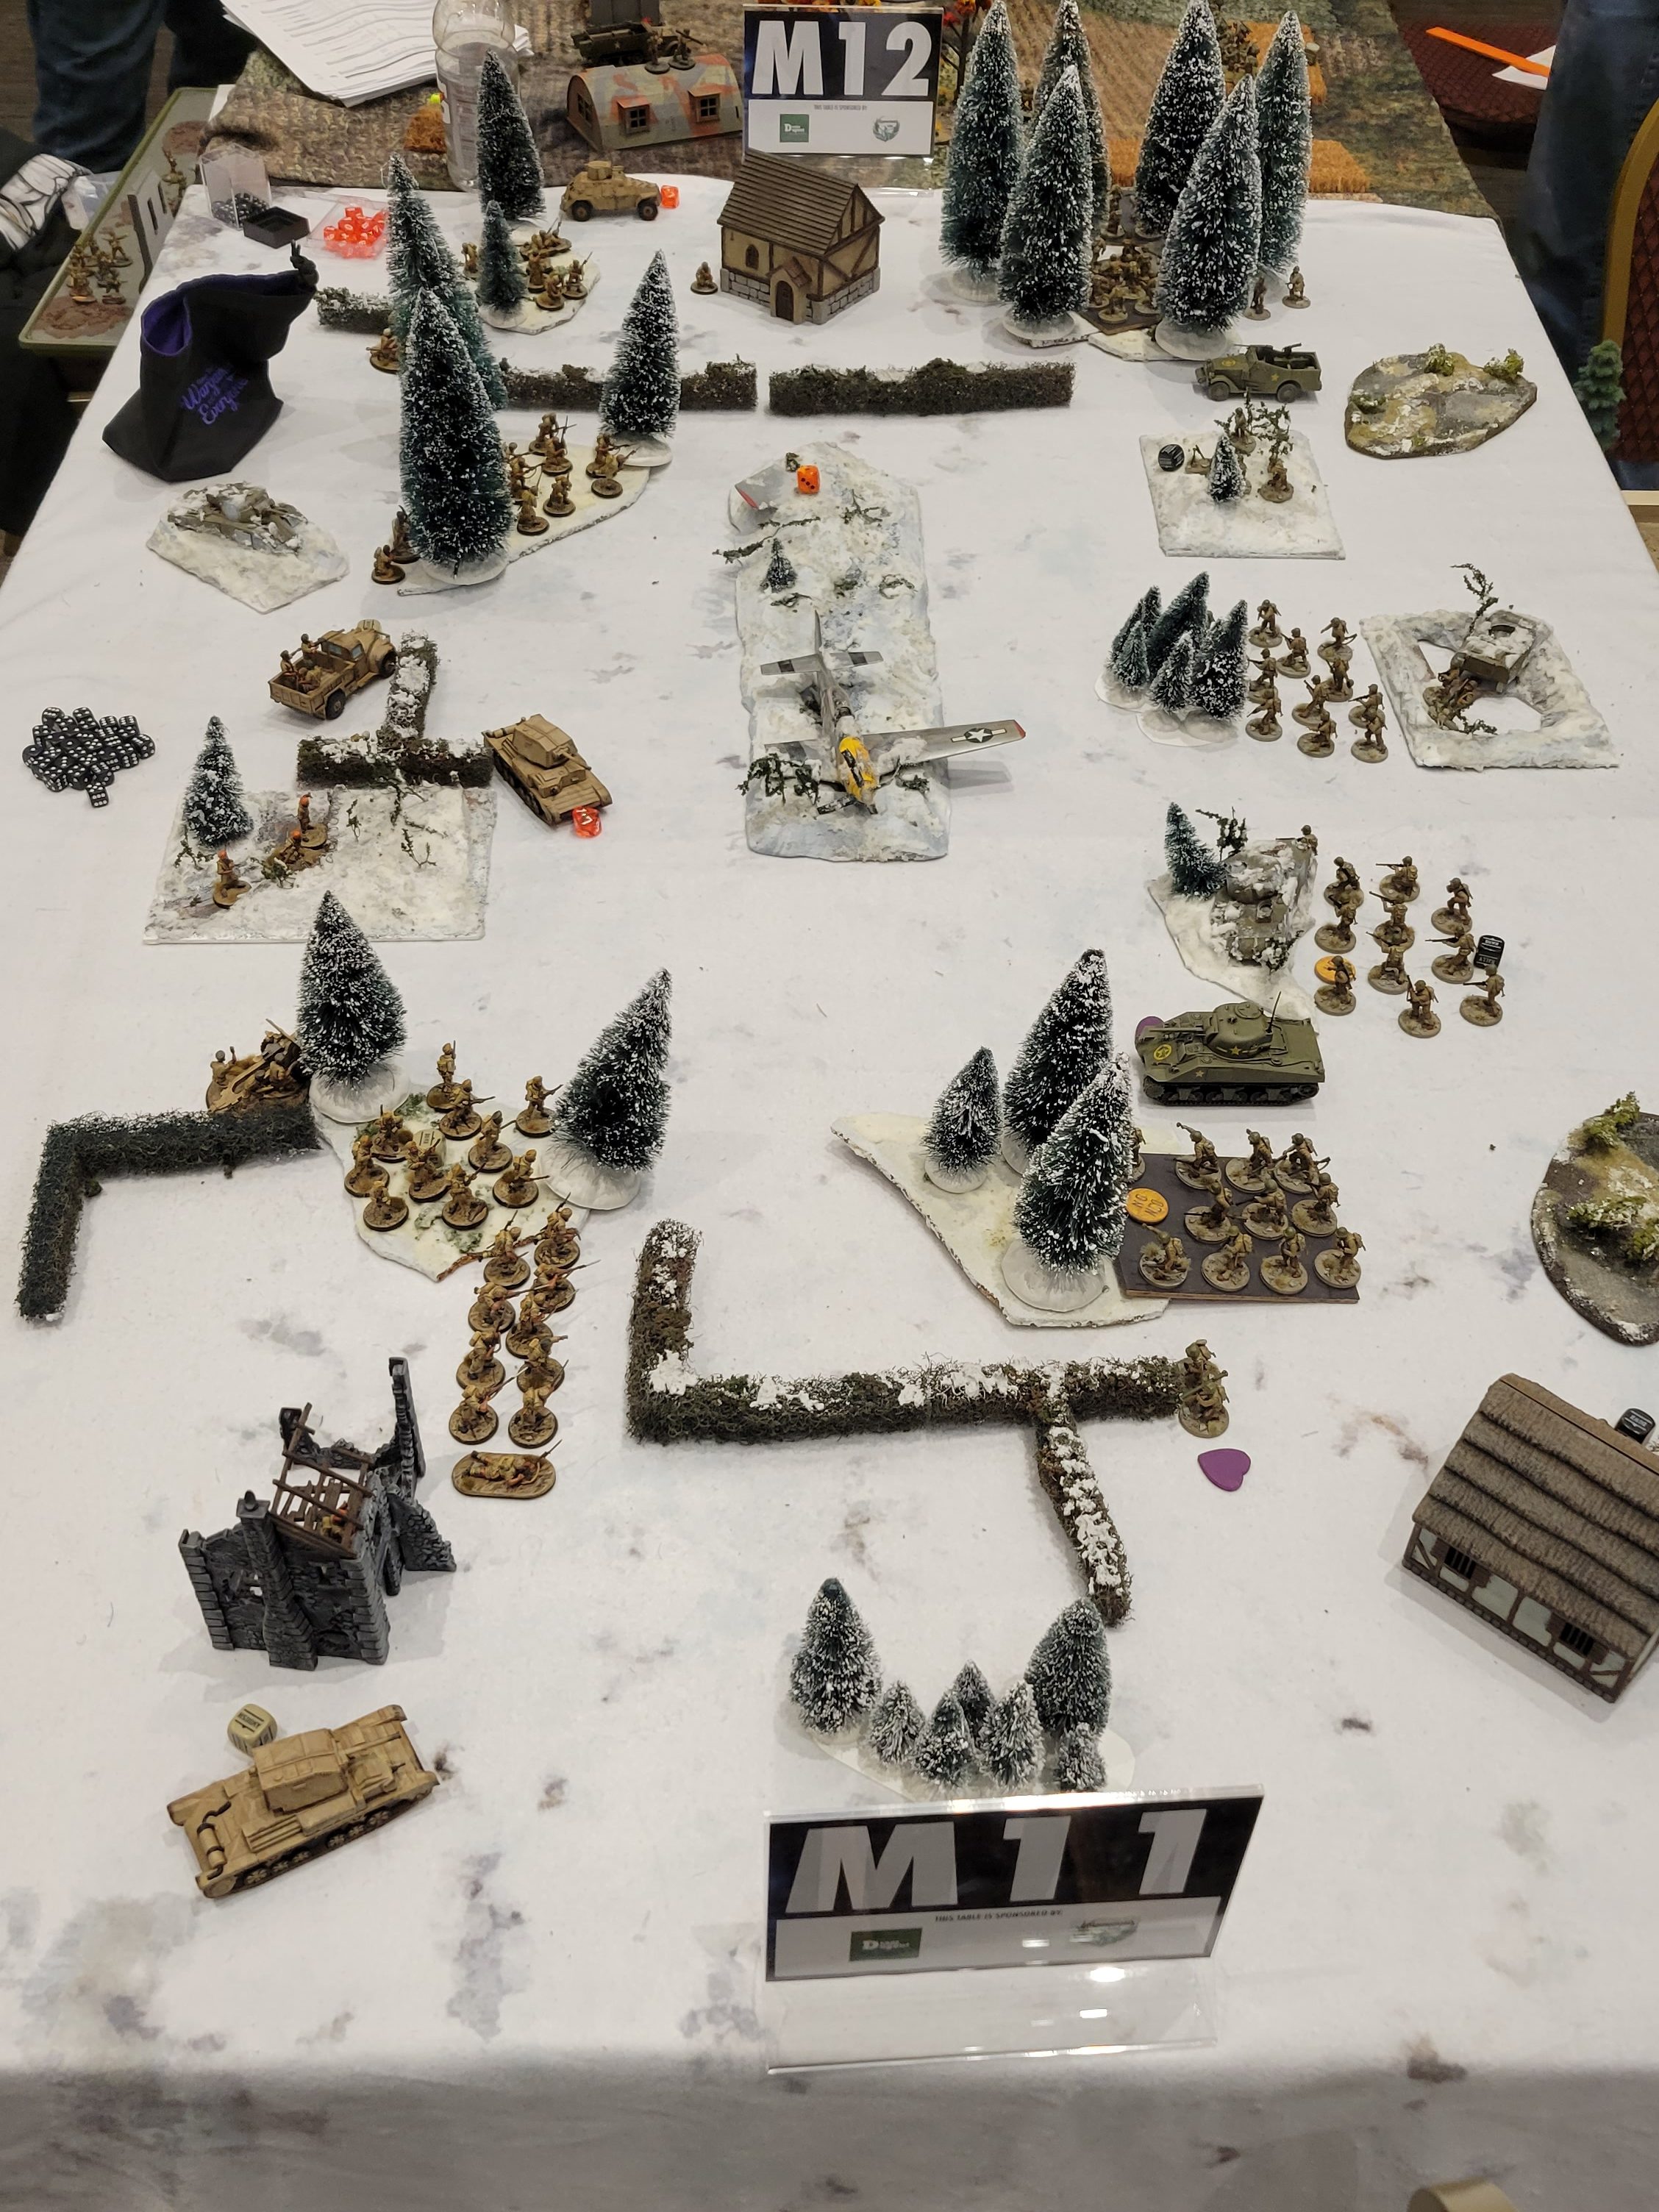
The Escalation Tournament at Polar Vortex was my first Bolt Action event of 2023 and the first true test for my Early War Commonwealth force. My “Manpower of the Empire” hobby progress series documents my preparation for this event as I built and painting some 60 Sikhs with accompanying vehicles and artillery (Part I, Part II, Part III). Read on to see how they did!
Game 1
Prisoner Capture vs Jeff (LRDG)
My Army – 450pts, 7 Order Dice
| 2nd Lieutenant – Reg (50) +1 extra man (10) | 60 |
| Infantry Section – Reg 7 men with Rifles | 70 |
| Infantry Section – Reg 7 men with Rifles | 70 |
| Infantry Section – Reg 8 men with Rifles | 80 |
| Medium Mortar – Inexp. | 35 |
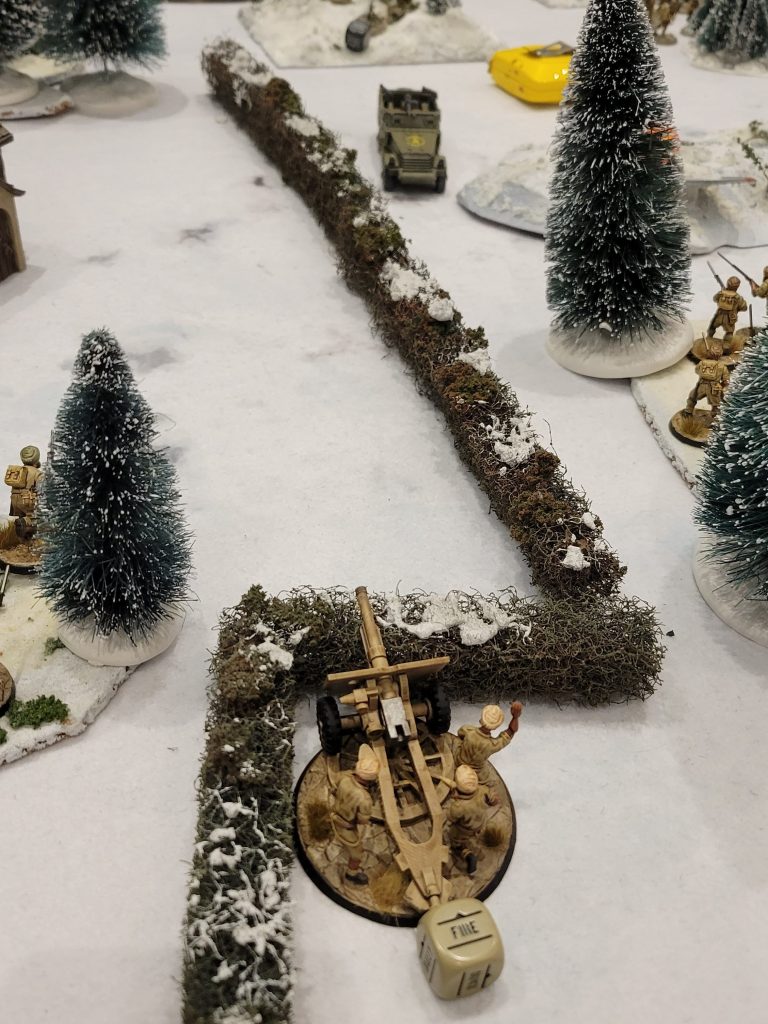
| Light Artillery – Reg Light Howitzer / Light Anti-Tank Gun (25-pounder AP Shell) | 55 |
| Marmon Herrington Armoured Car – Reg 2 paired turret-mounted MMGs, Armor 7, Recce | 80 |
My Opponent’s Army
Jeff’s very cool LRDG force (which deservedly won Player’s Choice) consisted of a Lieutenant, three small squads of Vet infantry, an Anti-Tank Rifle, a Transport truck with an MMG, and an LRDG Gun Truck with an MMG and a Light Autocannon.
The Mission
For Game 1 we played “Prisoner Capture”, a mission that had at least half our armies arriving via First Wave and the rest via Reserves with Outflanking allowed. You scored points by “spotting” enemy units by bringing your Lieutenant within 24″ of an enemy unit that was in open ground or light cover. You scored additional points by “capturing” enemies by defeating an enemy unit in close combat, with bonus points awarded for capturing the enemy Lieutenant. You can read the full mission details in the player packet.
The Game
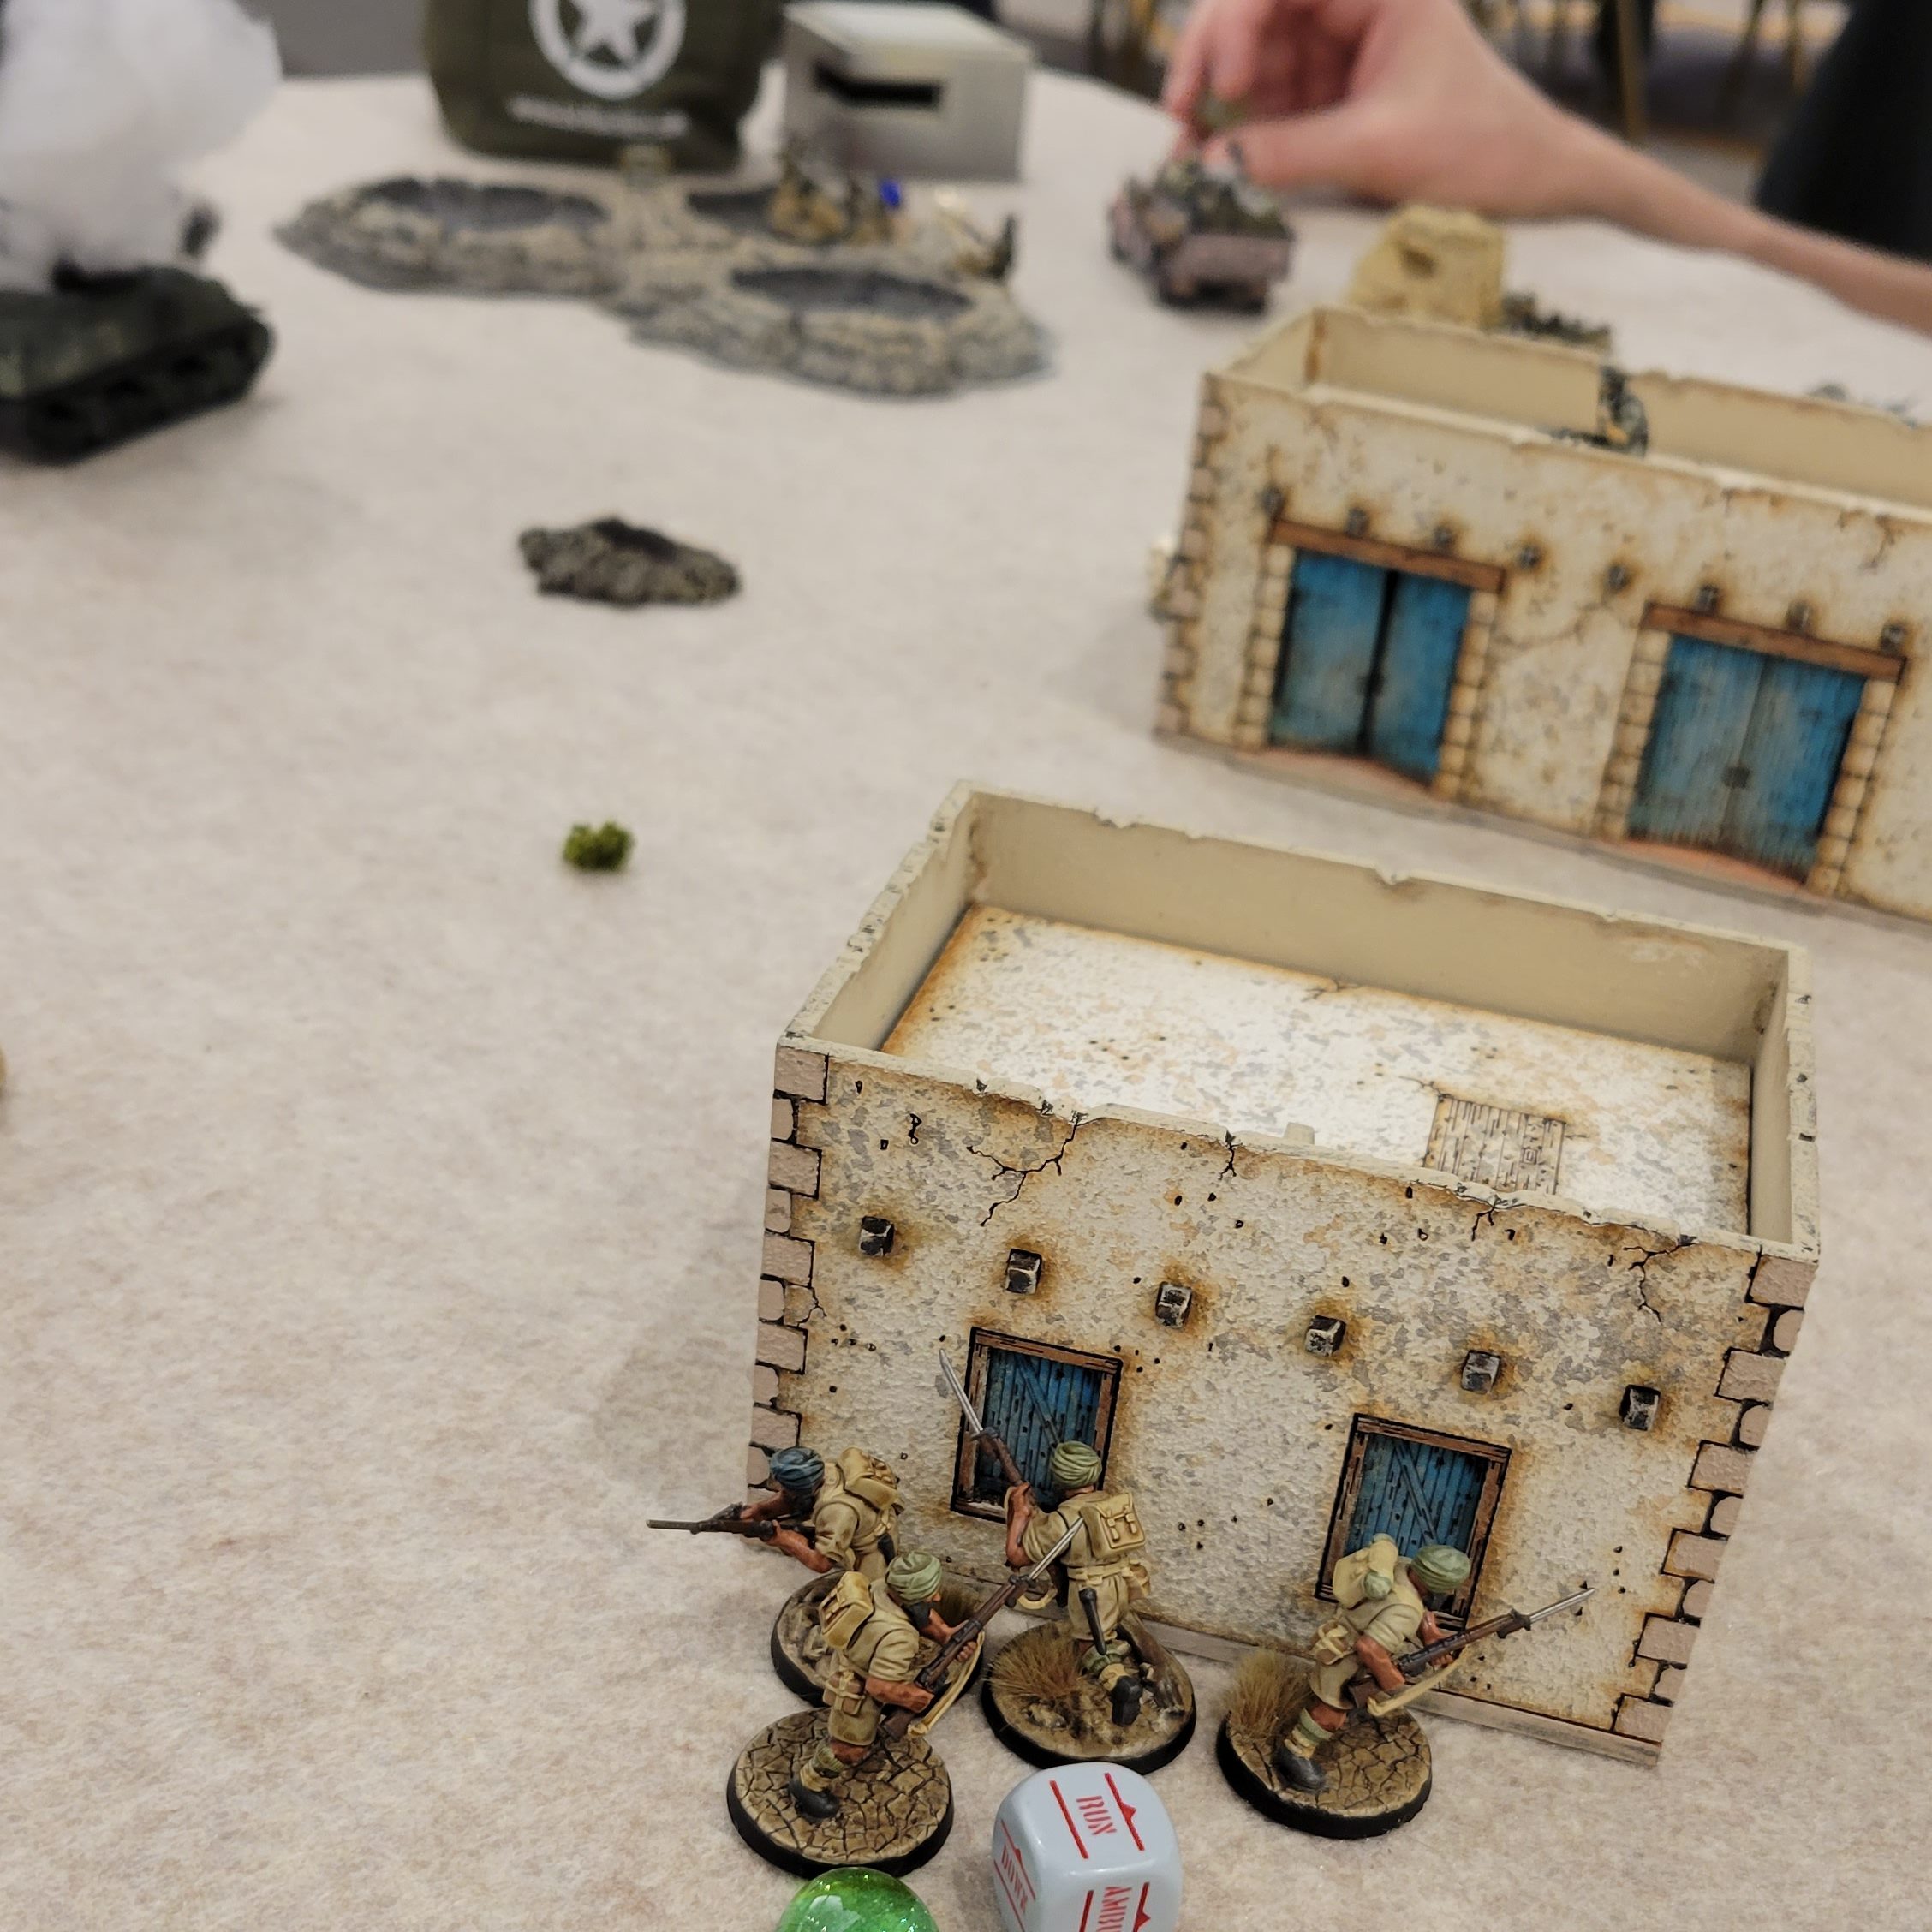
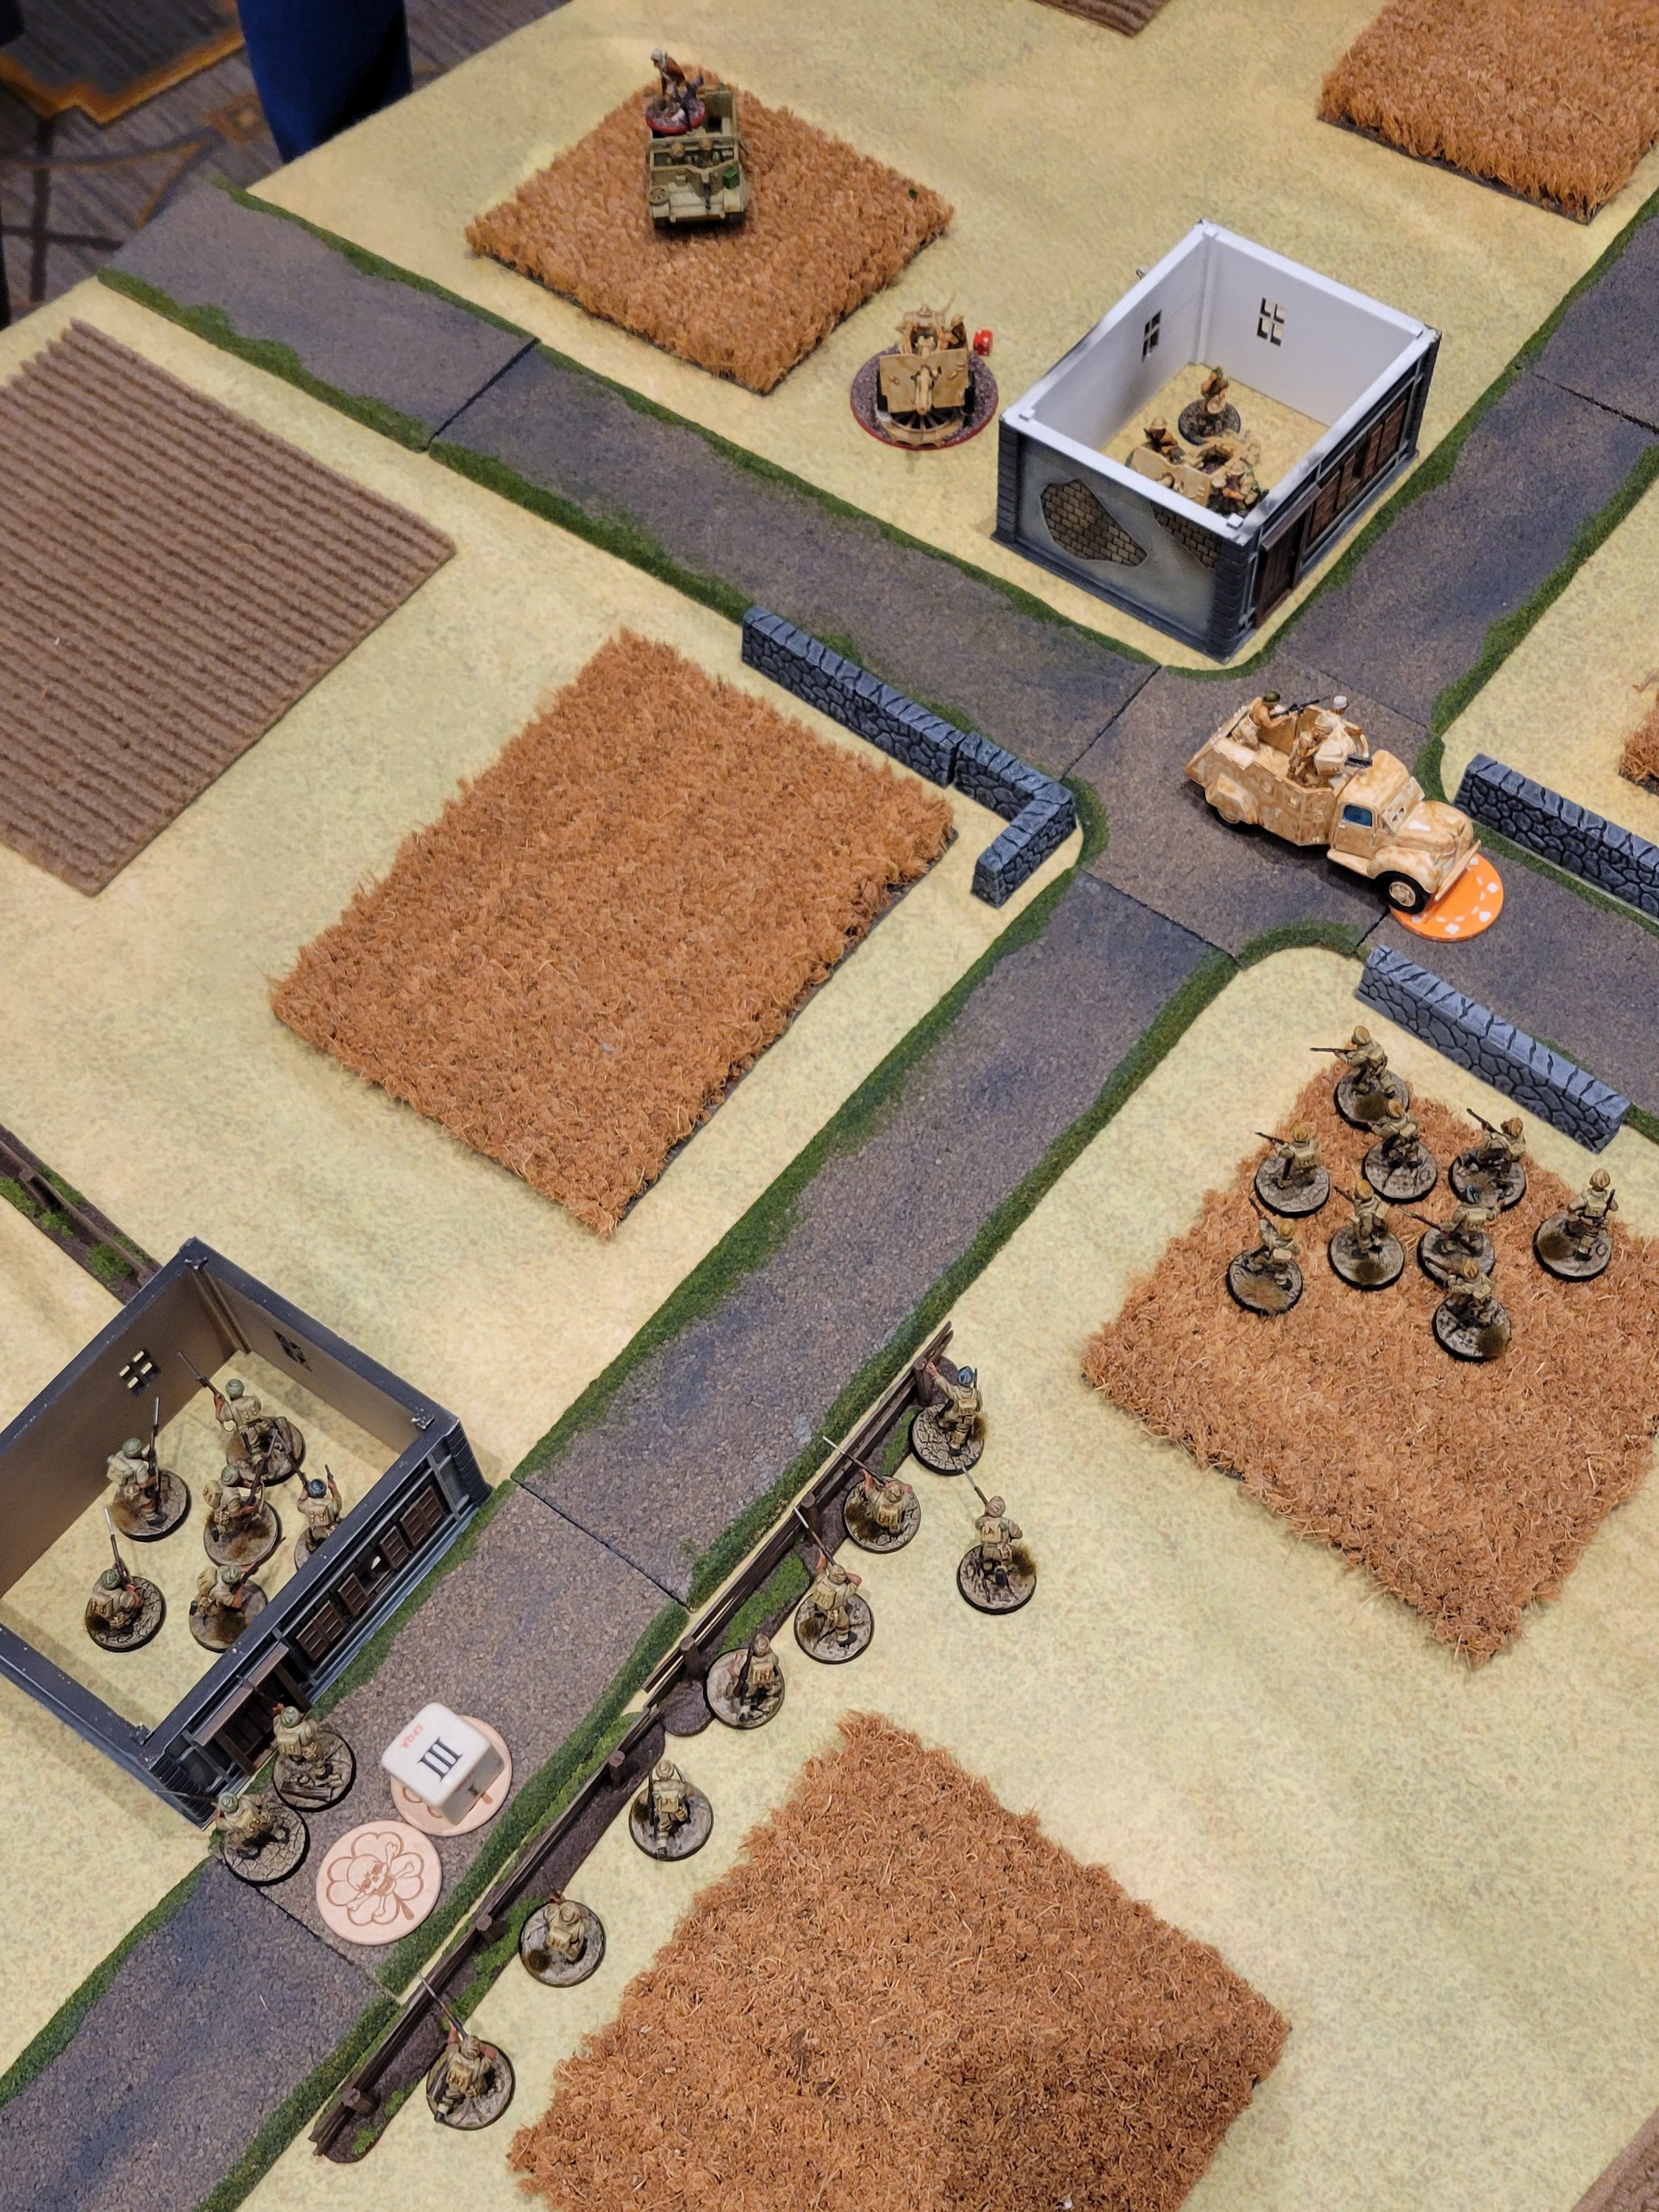
During Turn 1 we each brought our First Wave units onto the battlefield. Jeff brought his entire army on, while I held one of my infantry sections and my armored car in Reserve as Outflankers. A few long-range shots were taken, but no real damage was done.

Positioning at the end of Turn 1
In Turn 2 our forces continued to advance as the firefighting intensified. My exposed infantry section took heavy fire but was able to make it to safety behind a building in the center of the board. At this point it started to become clear that the key to victory in this mission would be positioning your Lt to spot as many enemy units as possible while protecting them from enemy assaults.
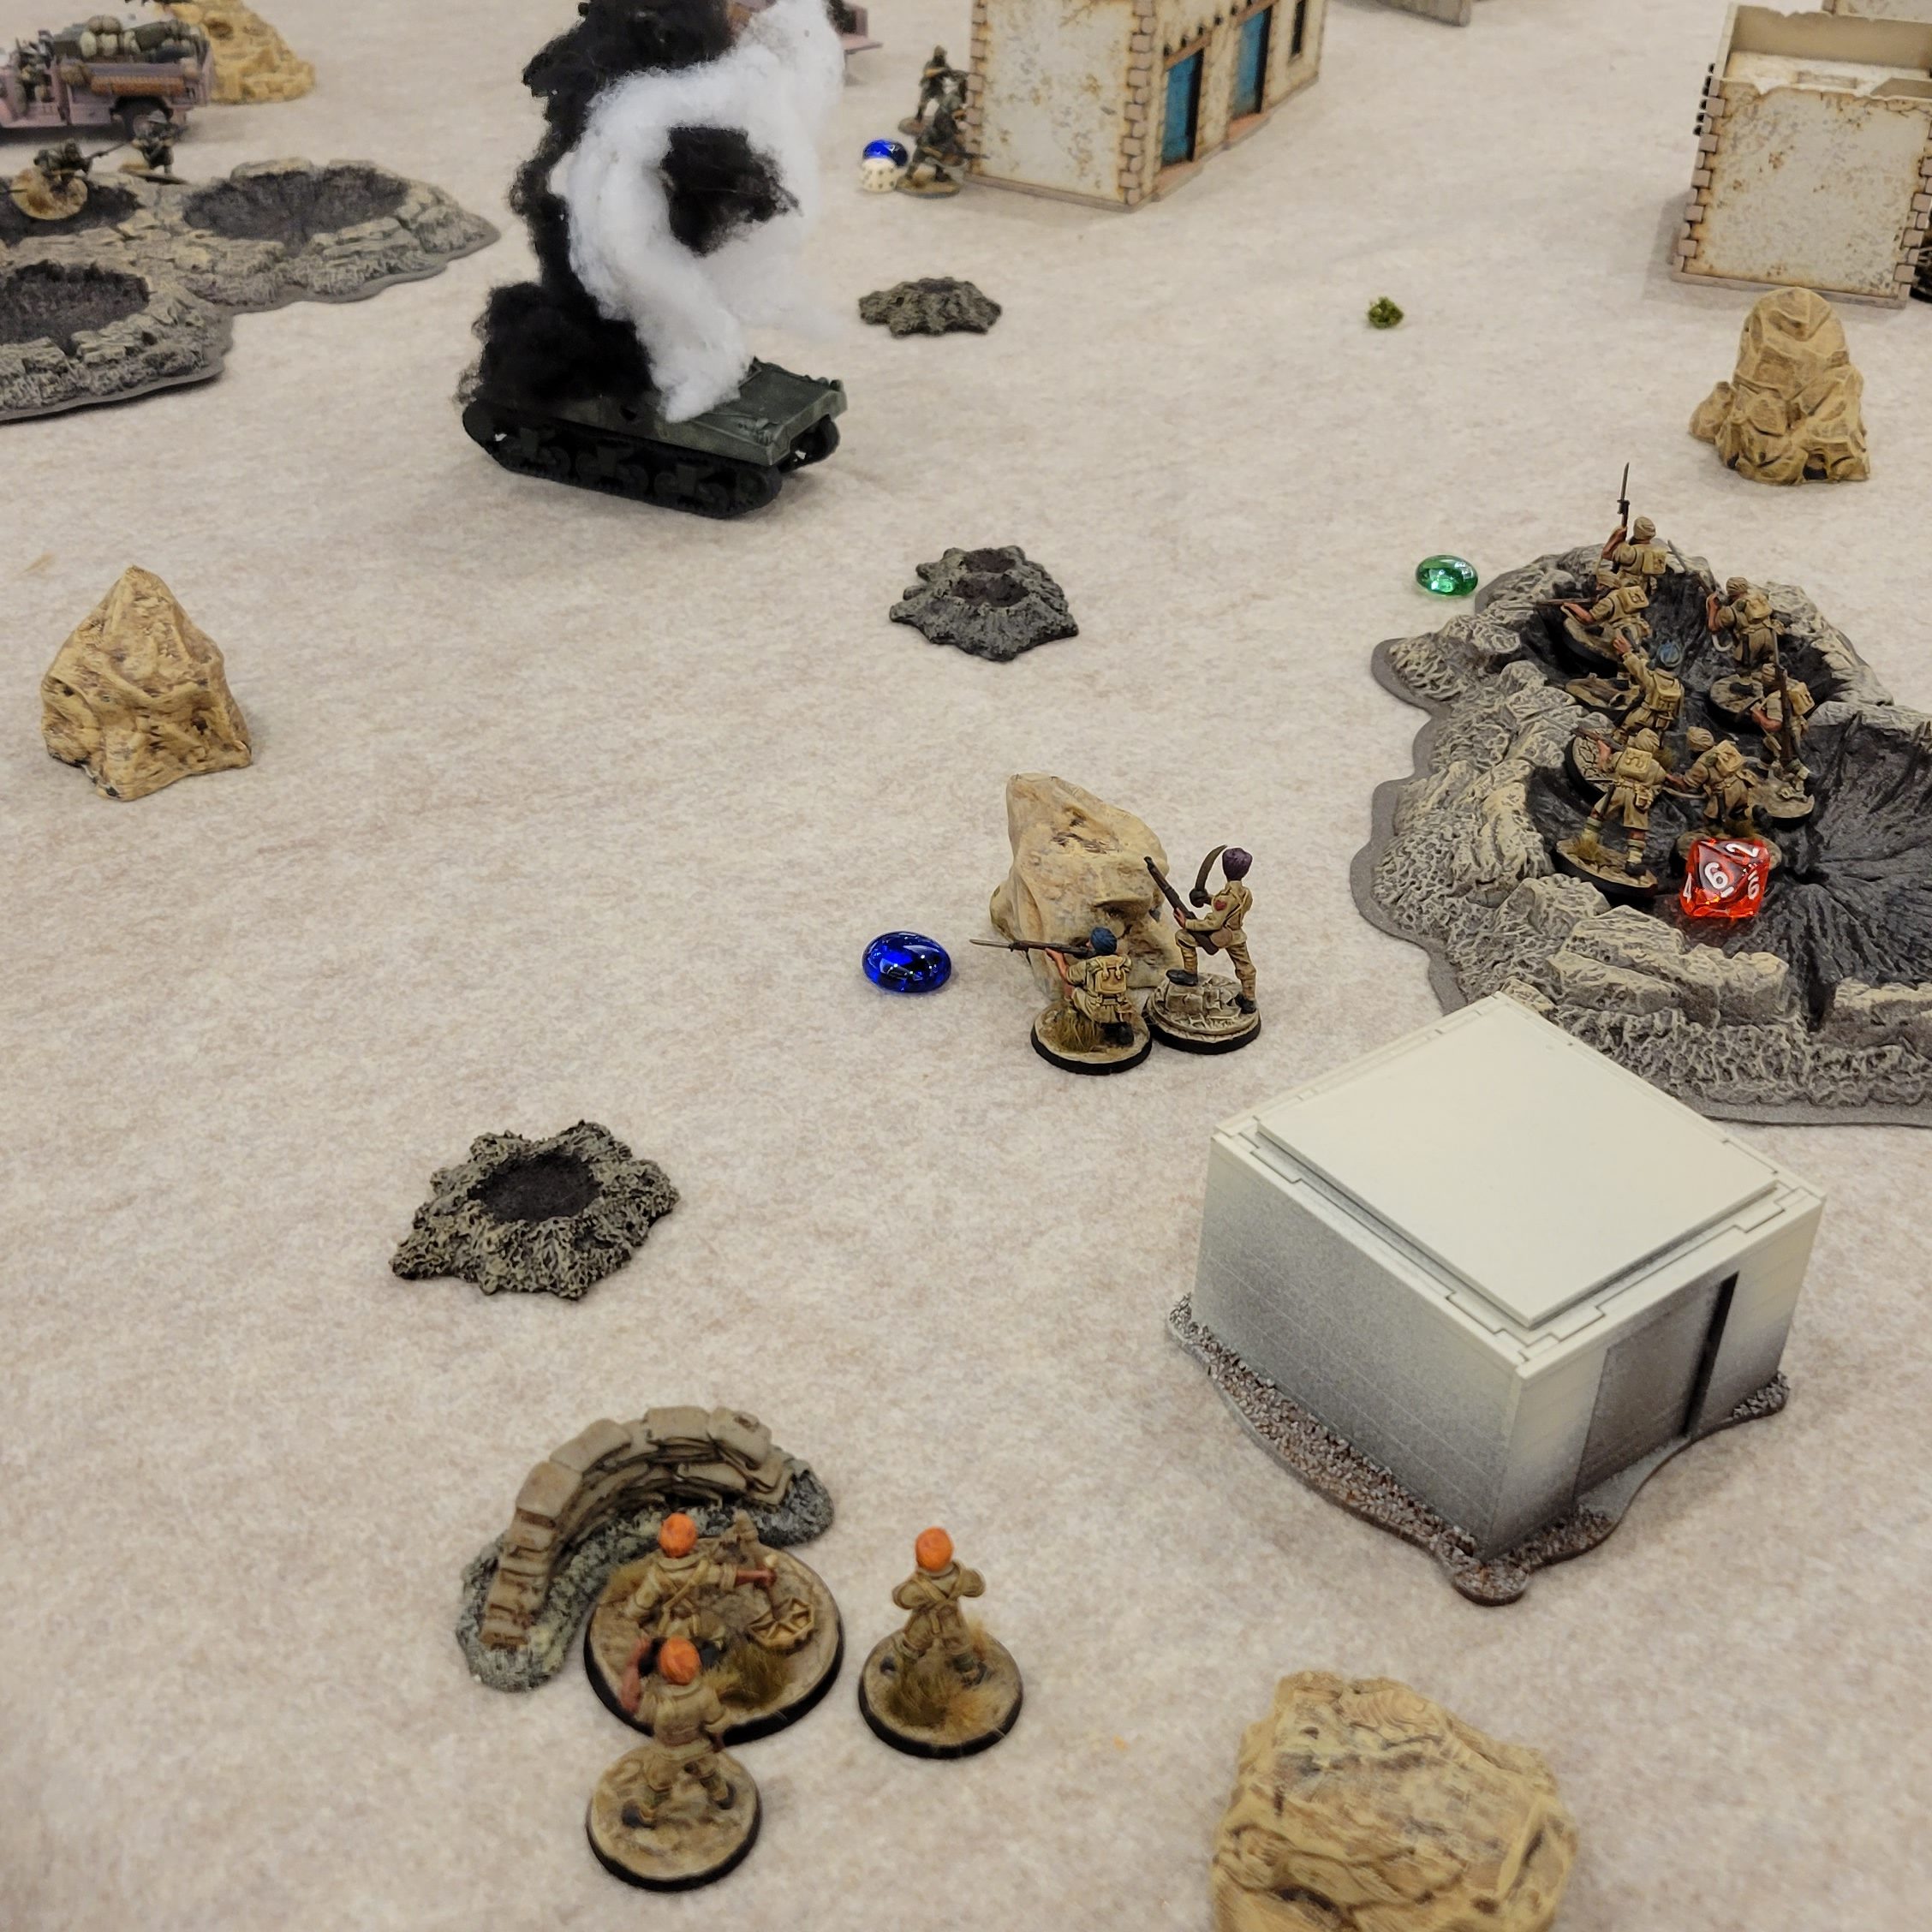
On Turn 3 my Reserves both arrived – my third infantry section on my right flank, and my Armored Car on the left. At this point I started inflicting heavy casualties on Jeff’s LRDG, including setting his Gun Truck on fire. Jeff made an aggressive move and ran his Lt into a building on my half of the board, which allowed him to spot nearly all of my remaining units, but left him dangerously over-exposed.
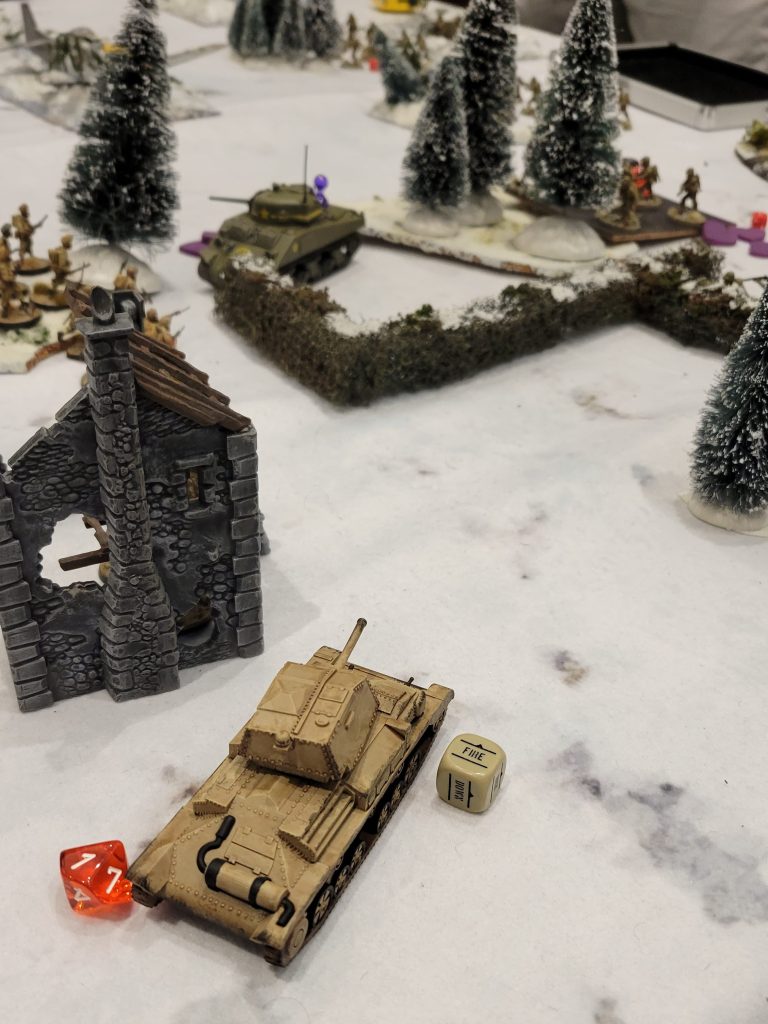
Marmon Herrington arrives and starts dishing out damage.
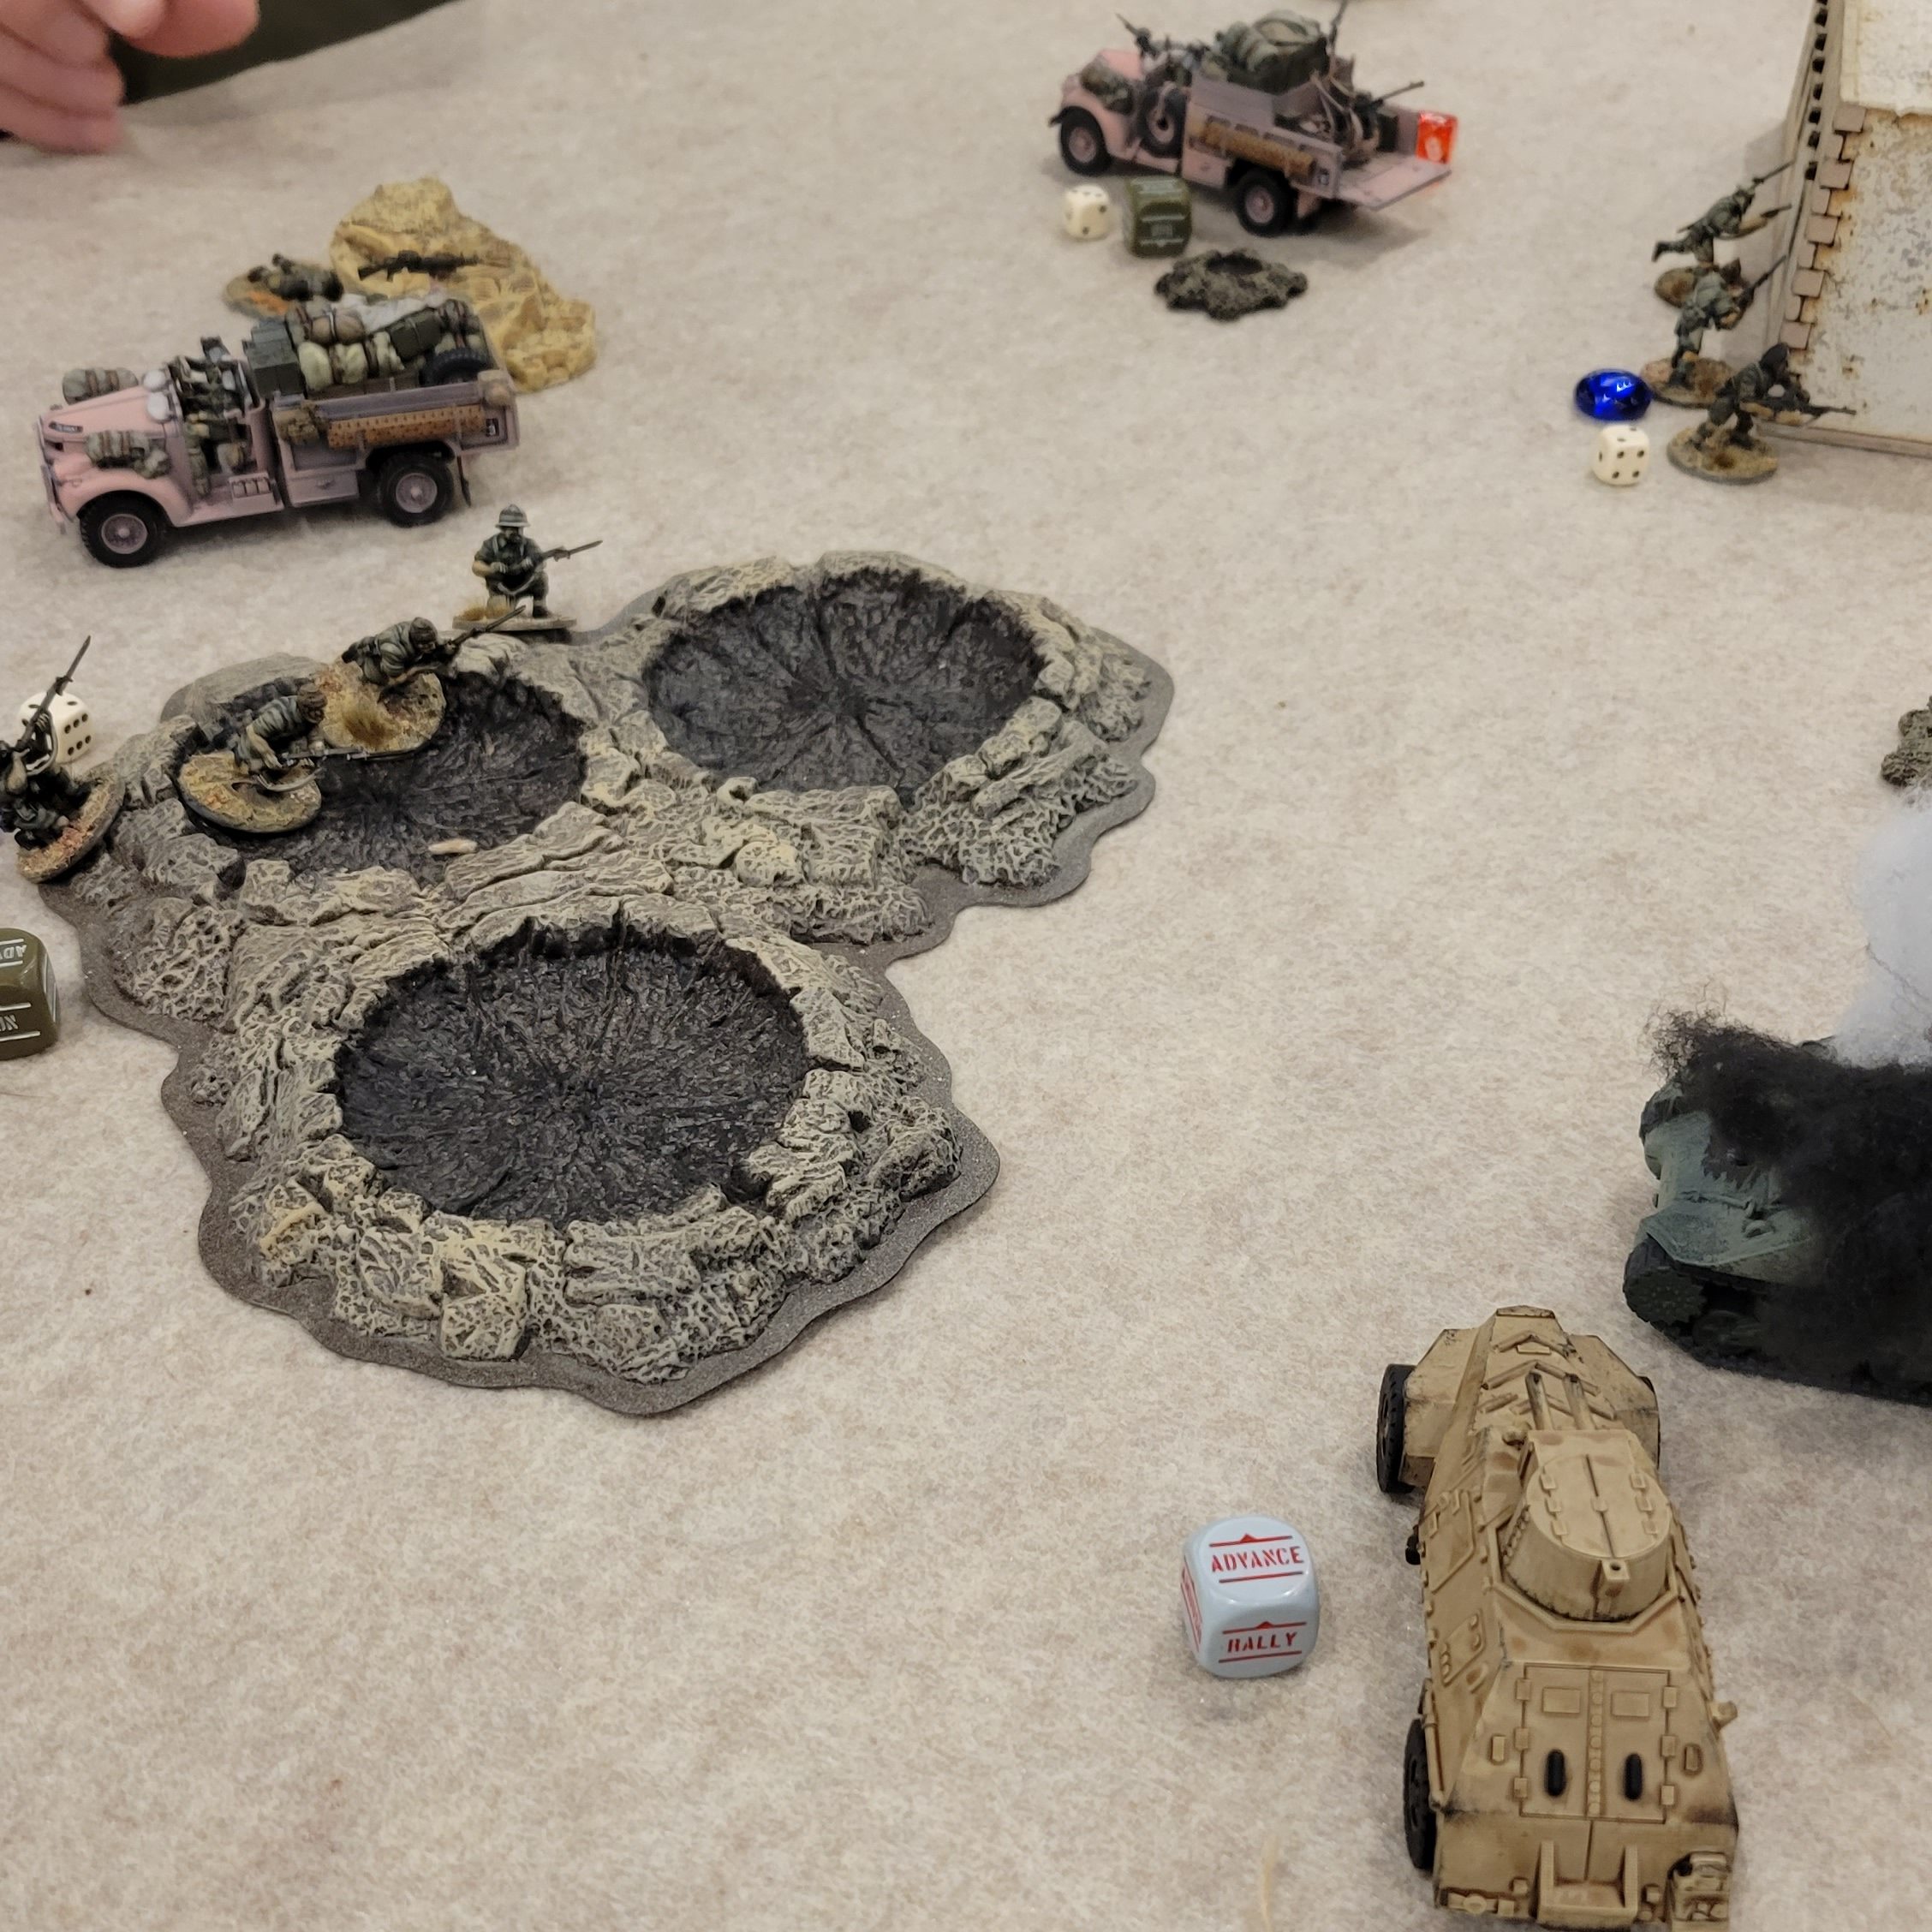
The start of Turn 4 was crucial. With Jeff’s Lt within striking distance of my infantry, if I managed to pull the first order die I would be able to assault and likely capture him. We each had 7 Order Dice in the bag so it was a 50/50 chance. Unfortunately luck was not on my side. The first die was one of Jeff’s and he quickly ran his lieutenant back to the safety of a building on his side of the board. My bad luck was compounded when I made a devastating tactical blunder – in an attempt to move my own Lieutenant further up the board I left him within 12″ of one of Jeff’s veteran squads who capitalized on the opportunity. They assaulted and successfully captured my Lt, giving Jeff an 11-6 victory point advantage. To make matters worse, we had run out of time for the round so I didn’t have a chance to counter-strike and try to even the score.
Jeff’s lieutenant, just out of reach…
If we had time to play another turn, things may have turned out differently. But in a tournament setting you often don’t have that luxury. A little bad luck and one big mistake changed this game from a likely draw to a certain defeat. Credit to Jeff for playing the mission smartly and for taking advantage of my misstep. He was a good opponent and it was a fun game, though I’d be kicking myself for my costly error for the rest of the day.
Result – Loss
11 VPs to 6
Game 2
Grudge Match
Scattered Drop vs Al (North Africa Free French)
My Army – 750pts, 10 Order Dice
1940-42 Commonwealth Infantry Brigade – Campaign: The Western Desert
| 2nd Lieutenant – Reg +1 extra man (10) | 60 |
| Infantry Section – Reg 8 men with Rifles | 80 |
| Infantry Section – Reg 8 men with Rifles | 80 |
| Infantry Section – Reg 8 men with Rifles | 80 |
| Free Infantry Section – Reg 10 men with Rifles Manpower of the Empire | 0 |
| Light Artillery – Reg Light Howitzer / Light Anti-Tank Gun (25-pounder AP Shell) Spotter (10) | 65 |
| Marmon Herrington Armoured Car – Reg 2 paired turret-mounted MMGs, Armor 7, Recce | 80 |
| A10 Cruiser Mk IIA – Reg Light AT Gun, co-ax MMG, hull MMG, Armor 8 | 135 |
| A10 Cruiser Mk IIA – Reg Light AT Gun, co-ax MMG, hull MMG, Armor 8 | 135 |
| 30 CWT Truck – Regular | 35 |
My Opponent’s Army
Al’s North Africa Free French force consisted of a 1st Lt, two five-man Foreign Legion Veteran Infantry sections, a Marksman, two Dodge Tanake Armored Cars, two 25-pounders, and two Bren Carriers with hull and pintle LMGs. I was looking forward to playing against Al. We’ve been at several of the same events over the last couple of years but have yet to play against each other, so we set up this game as a Grudge Match.
The Mission
For Game 2 we played “Scattered Drop”. There were three objectives spread evenly across the center of the board – whoever held the most at the end of the game won. As an added twist, half of our armies arrived via airdrop and were subject to scatter, the other half would arrive via Reserves without any Outflanking.
The Game
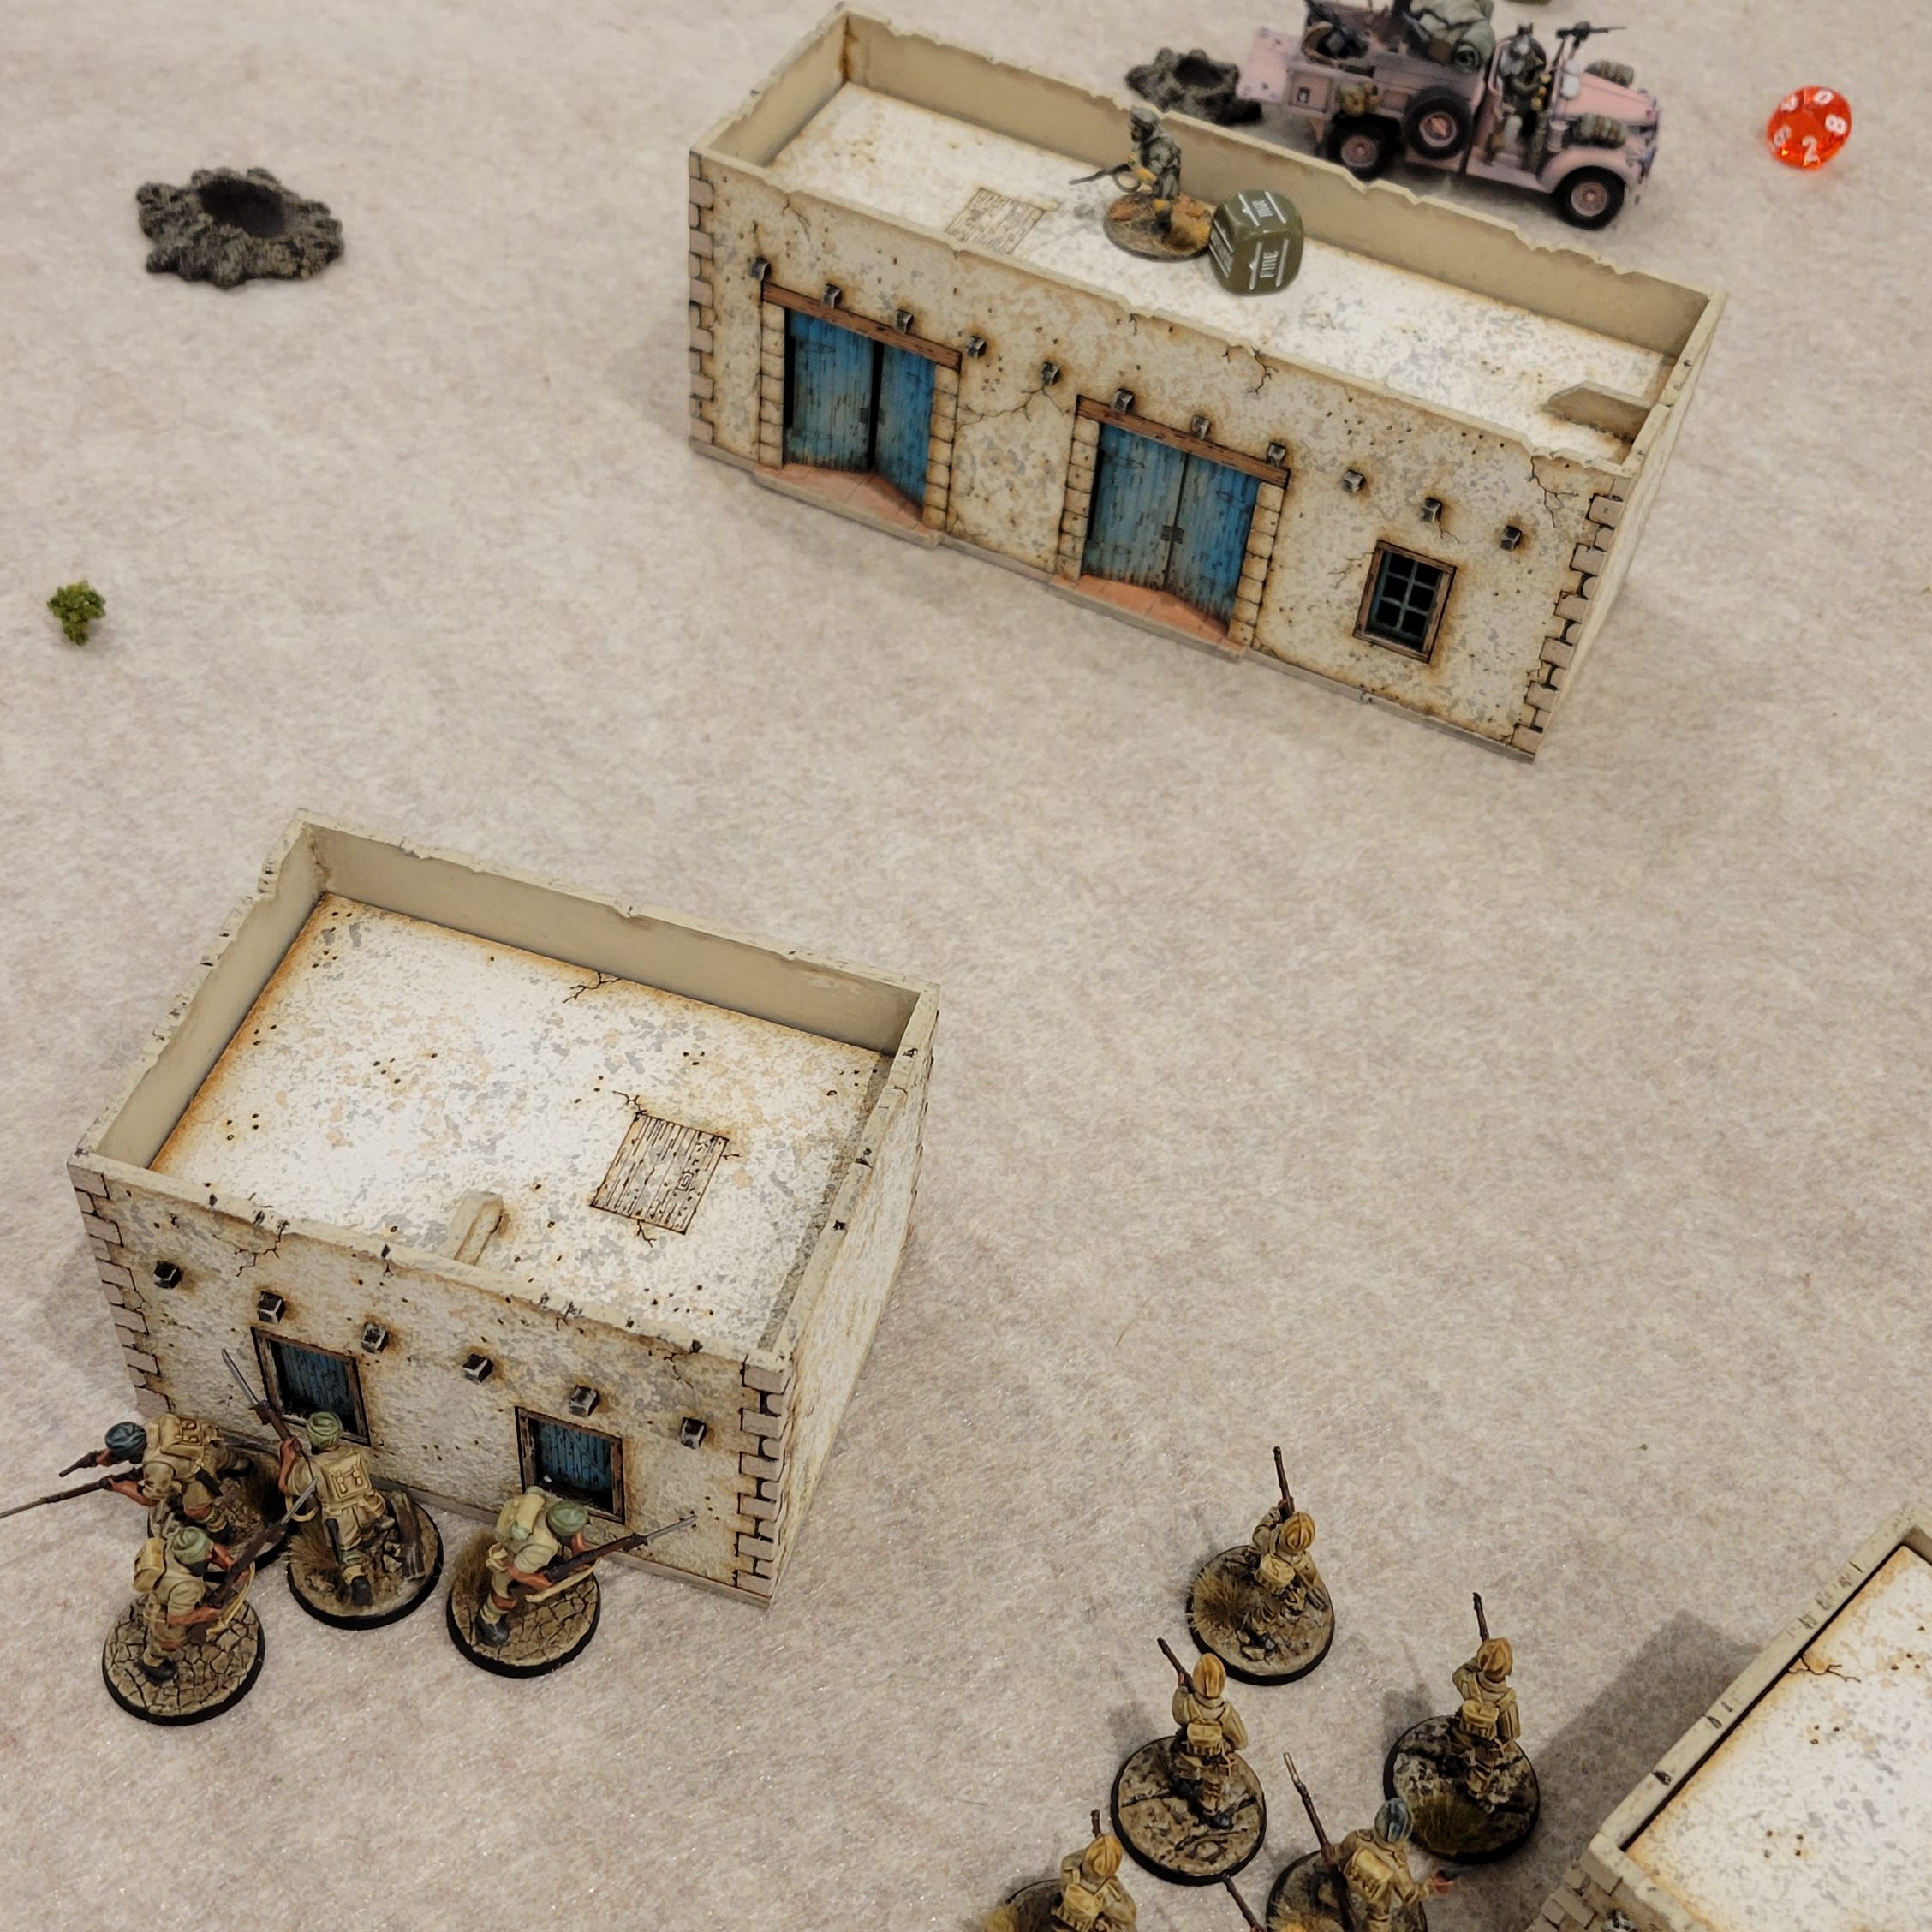
The units selected to airdrop could not be vehicles, and since both Al and I had four vehicles in our lists, there wasn’t much room for flexibility. I dropped my four infantry sections and my Lt, leaving my Artillery and vehicles in Reserve. Al dropped his infantry, Lt, and Artillery, leaving his Marksman and vehicles in Reserve. Our airdropped units didn’t scatter too dramatically. My infantry ended up fairly evenly spread across the table, putting me in a position to advance on all three objectives. Al concentrated his drops in one corner, but one of his 25-pounders somehow dropped straight into a building near the right-side objective, which meant it was stuck there for the rest of the game.

Al’s airdropped forces
As usual, Turn 1 mainly consisted of jockeying for position. We exchanged fire across the board, but it wasn’t very effective. Things heated up quickly in Turn 2 when all of our Reserve units arrived on the table. Al’s Marksman took up position in a house overlooking the left-side and center objectives. His Bren Carriers came on behind his infantry squads to provide fire support and transport capabilities. My vehicles rolled on opposite the bulk of his force and immediately started firing upon his positions. In an aggressive move, one of Al’s Tanakes came charging up the road to sit on one of the objectives and returned fire at my tanks, which were able to weather the storm of incoming fire.
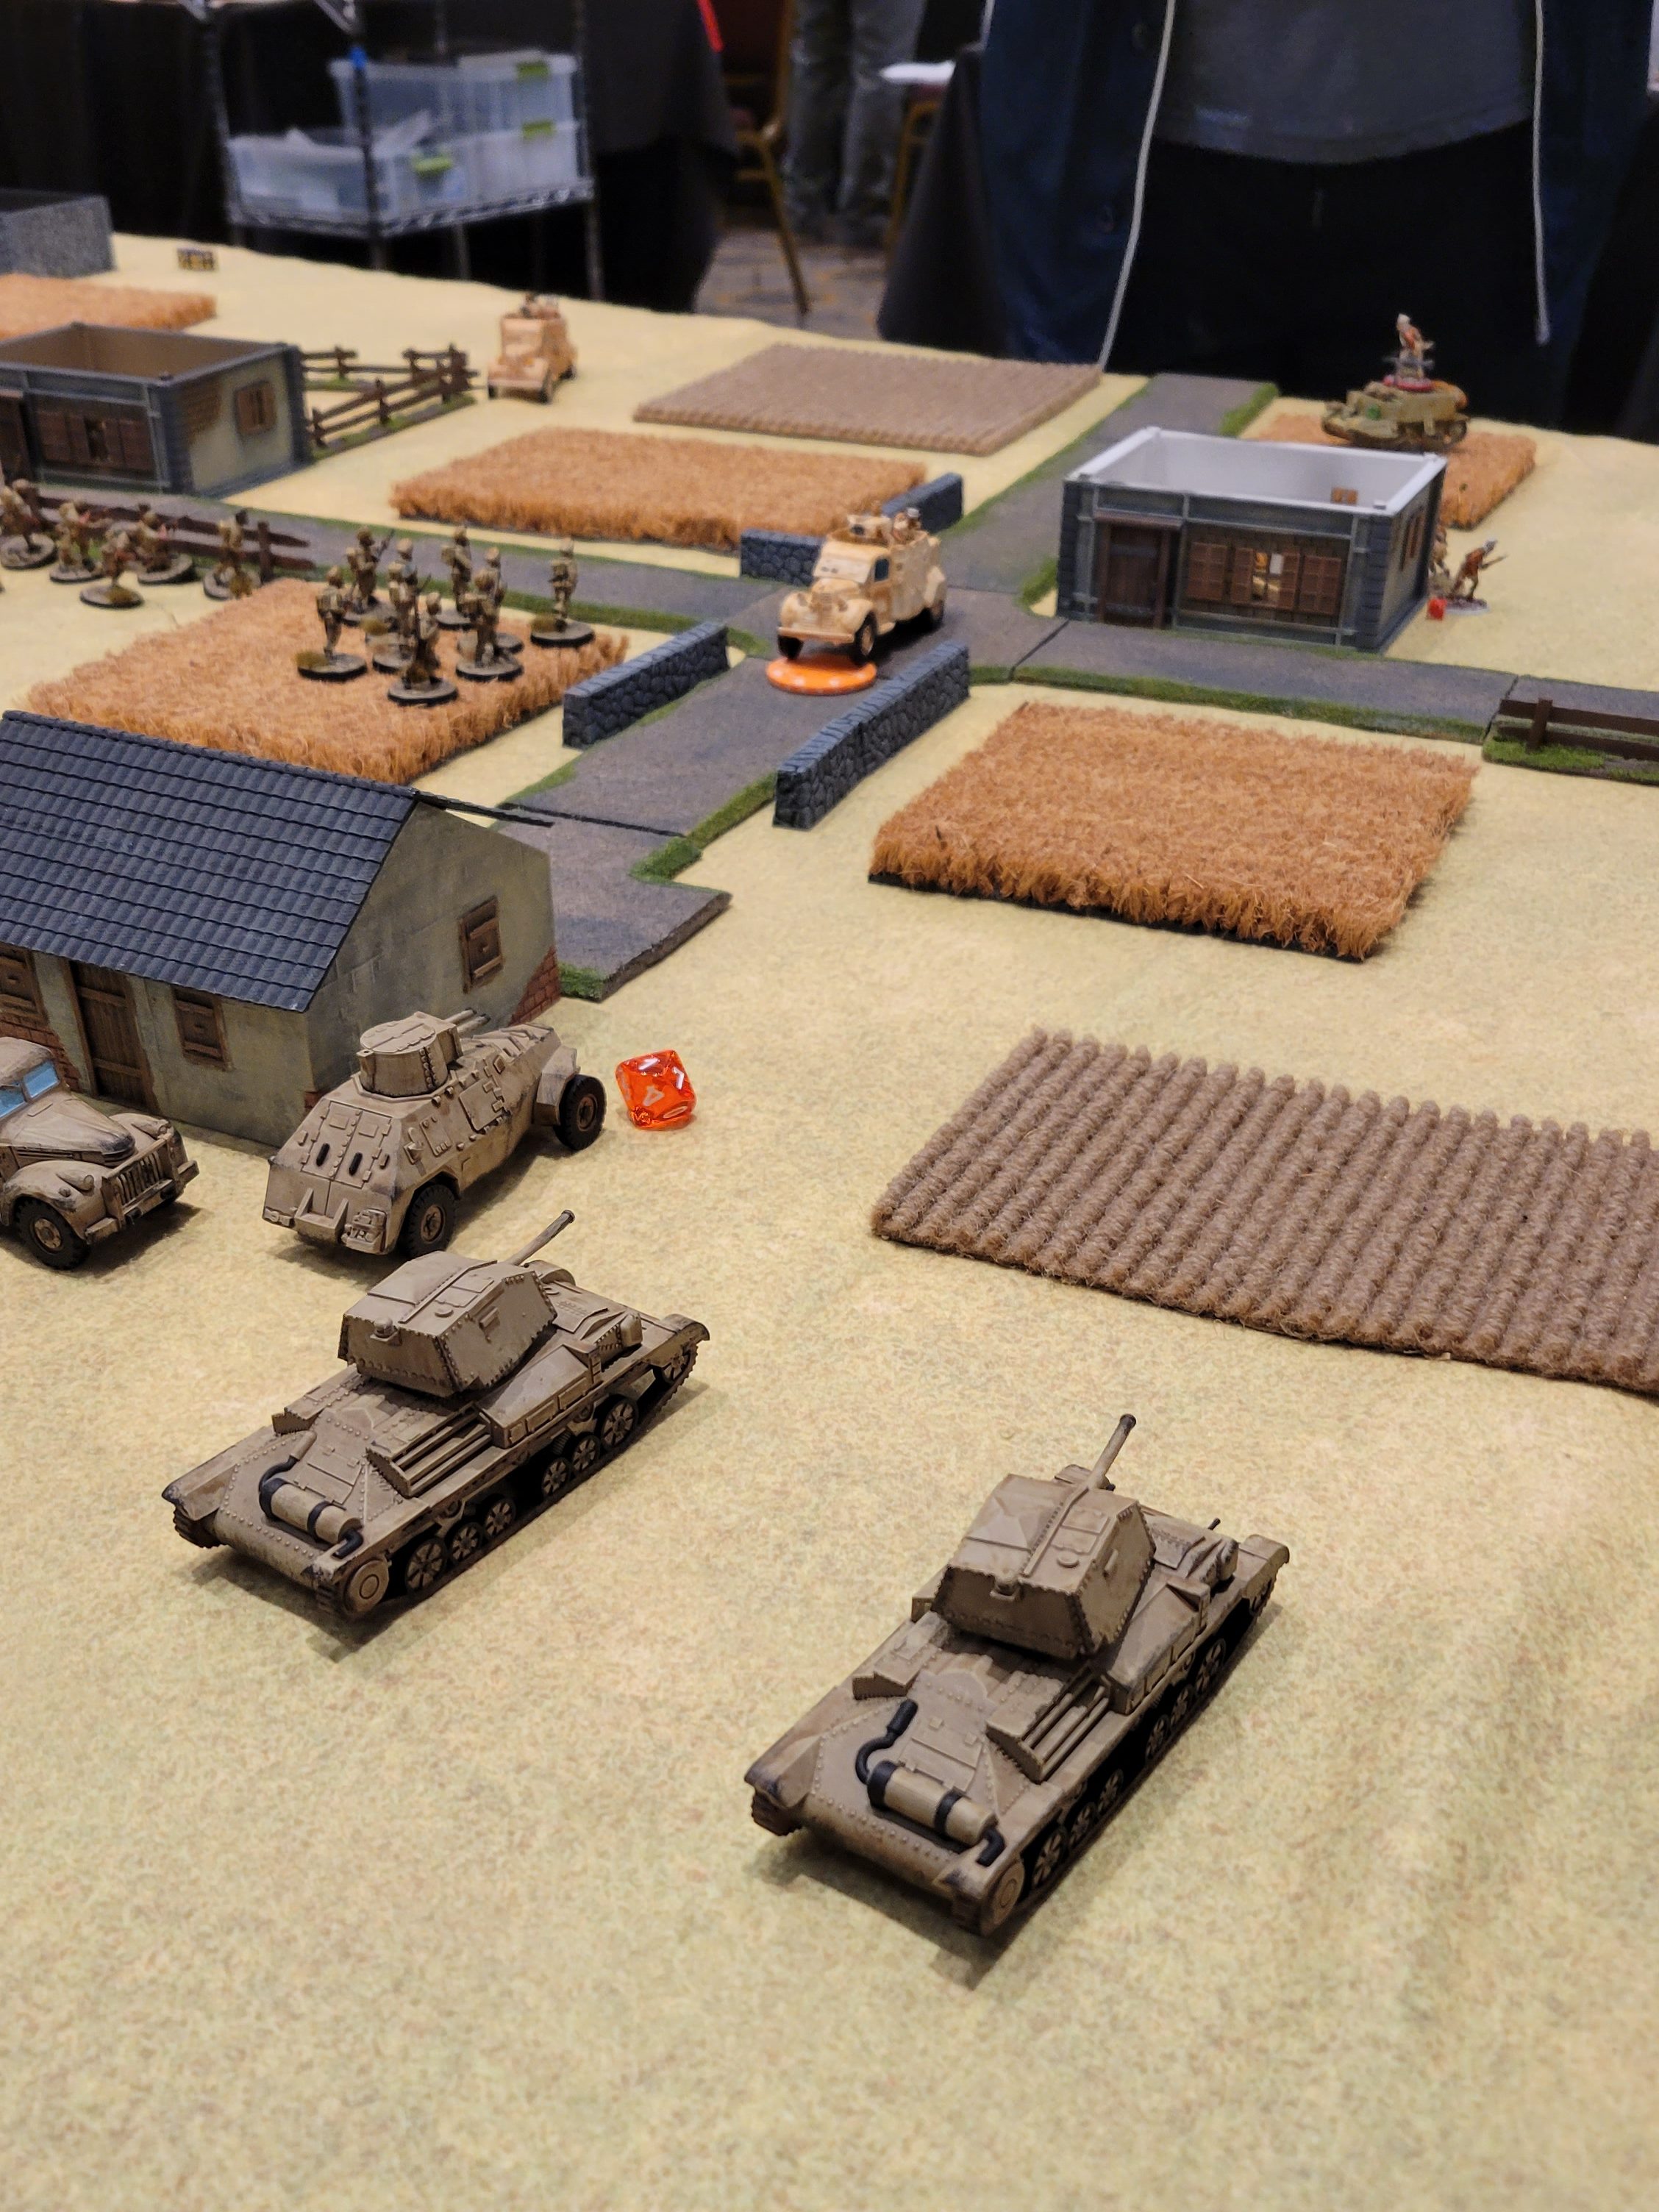
In Turn 3 Al’s infantry climbed aboard the Bren Carriers and they started advancing towards the hotly contested right-side objective. The advance of my armored vehicles forced Al’s Tanake to retreat back towards his Artillery, a well-considered move that would prove unfortunately costly for my opponent. Disaster struck on Turn 4 when a failed order test turned FUBAR and resulted in Al’s remaining 25-pounder taking a point-blank shot into the side of his own Tanake, destroying the vehicle. Soon after, one of my Tanks destroyed one of his Bren Carriers, and at that point there was little Al could do to salvage the game. My forces controlled all three objectives and it would have been near impossible for Al to contest or claim them for his own. We called the game early after a hard-fought battle and a good time for both players.

There’s no denying that the dice gods had my back during this game. I had a few unlikely successes and Al was hit hard by a couple of devastatingly tough rolls. This game involved a lot of tactical movement in the early phases and it all came down to a handful of key moments in the final turn. The Grudge Match definitely lived up to the hype and I’m excited for a rematch with Al.
Result – Win
3 Objectives to 0
Game 3
FUBAR! vs Tom (Operation Torch Americans)
My Army – 1,000pts, 14 Order Dice
1940-42 Commonwealth Infantry Brigade – Campaign: The Western Desert
| 2nd Lt – Reg +1 extra man (10) | 60 |
| Infantry Section – Reg 10 Men with Rifles | 100 |
| Infantry Section – Reg 10 Men with Rifles | 100 |
| Infantry Section – Reg 10 Men with Rifles | 100 |
| Free Infantry Section – Reg 10 Men with Rifles Manpower of the Empire | 0 |
| Medium Mortar – Reg Spotter (10) | 60 |
| Sniper Team – Reg | 50 |
| Light Artillery – Reg Light Howitzer / Light Anti-Tank Gun (25-pounder AP Shell) Spotter (10) | 65 |
| Light Artillery – Reg Light Howitzer / Light Anti-Tank Gun (25-pounder AP Shell) Spotter (10) | 65 |
| Marmon Herrington Armoured Car – Reg 2 paired turret mounted MMGs, Armor 7, Recce | 80 |
| A10 Cruiser Mk IIA – Reg Light AT Gun, co-ax MMG, hull MMG, Armor 8 | 135 |
| A10 Cruiser Mk IIA – Reg Light AT Gun, co-ax MMG, hull MMG, Armor 8 | 135 |
| 30 CWT Truck – Reg Pintle MMG | 50 |
My Opponent’s Army
Tom brought a thematic, Inexperienced horde to represent the American forces during Operation Torch. His entire force was Inexperienced and included a 2nd Lt, 6 Full Strength infantry squads with 12 men and BARs, a Captain, a Chaplain, a Light Mortar, a Bazooka Team, M3 White Scout Car, and an M4 Sherman 75. I haven’t had much experience facing this kind of force and I was worried that the sheer amount of soldiers and firepower would overwhelm my heavily outnumbered Sikhs.
The Mission
The mission for Game 3 was “FUBAR!”. Our entire armies were deployed on the table in deployment zones that were only 12″ apart. After deployment we also put a Pin marker on to two enemy units, removed the NCO from two enemy units, and placed three of our own units Down for Turn 1. We scored 1 VP for each enemy unit destroyed and additional VPs for pins on enemy units at the end of the game.
The Game
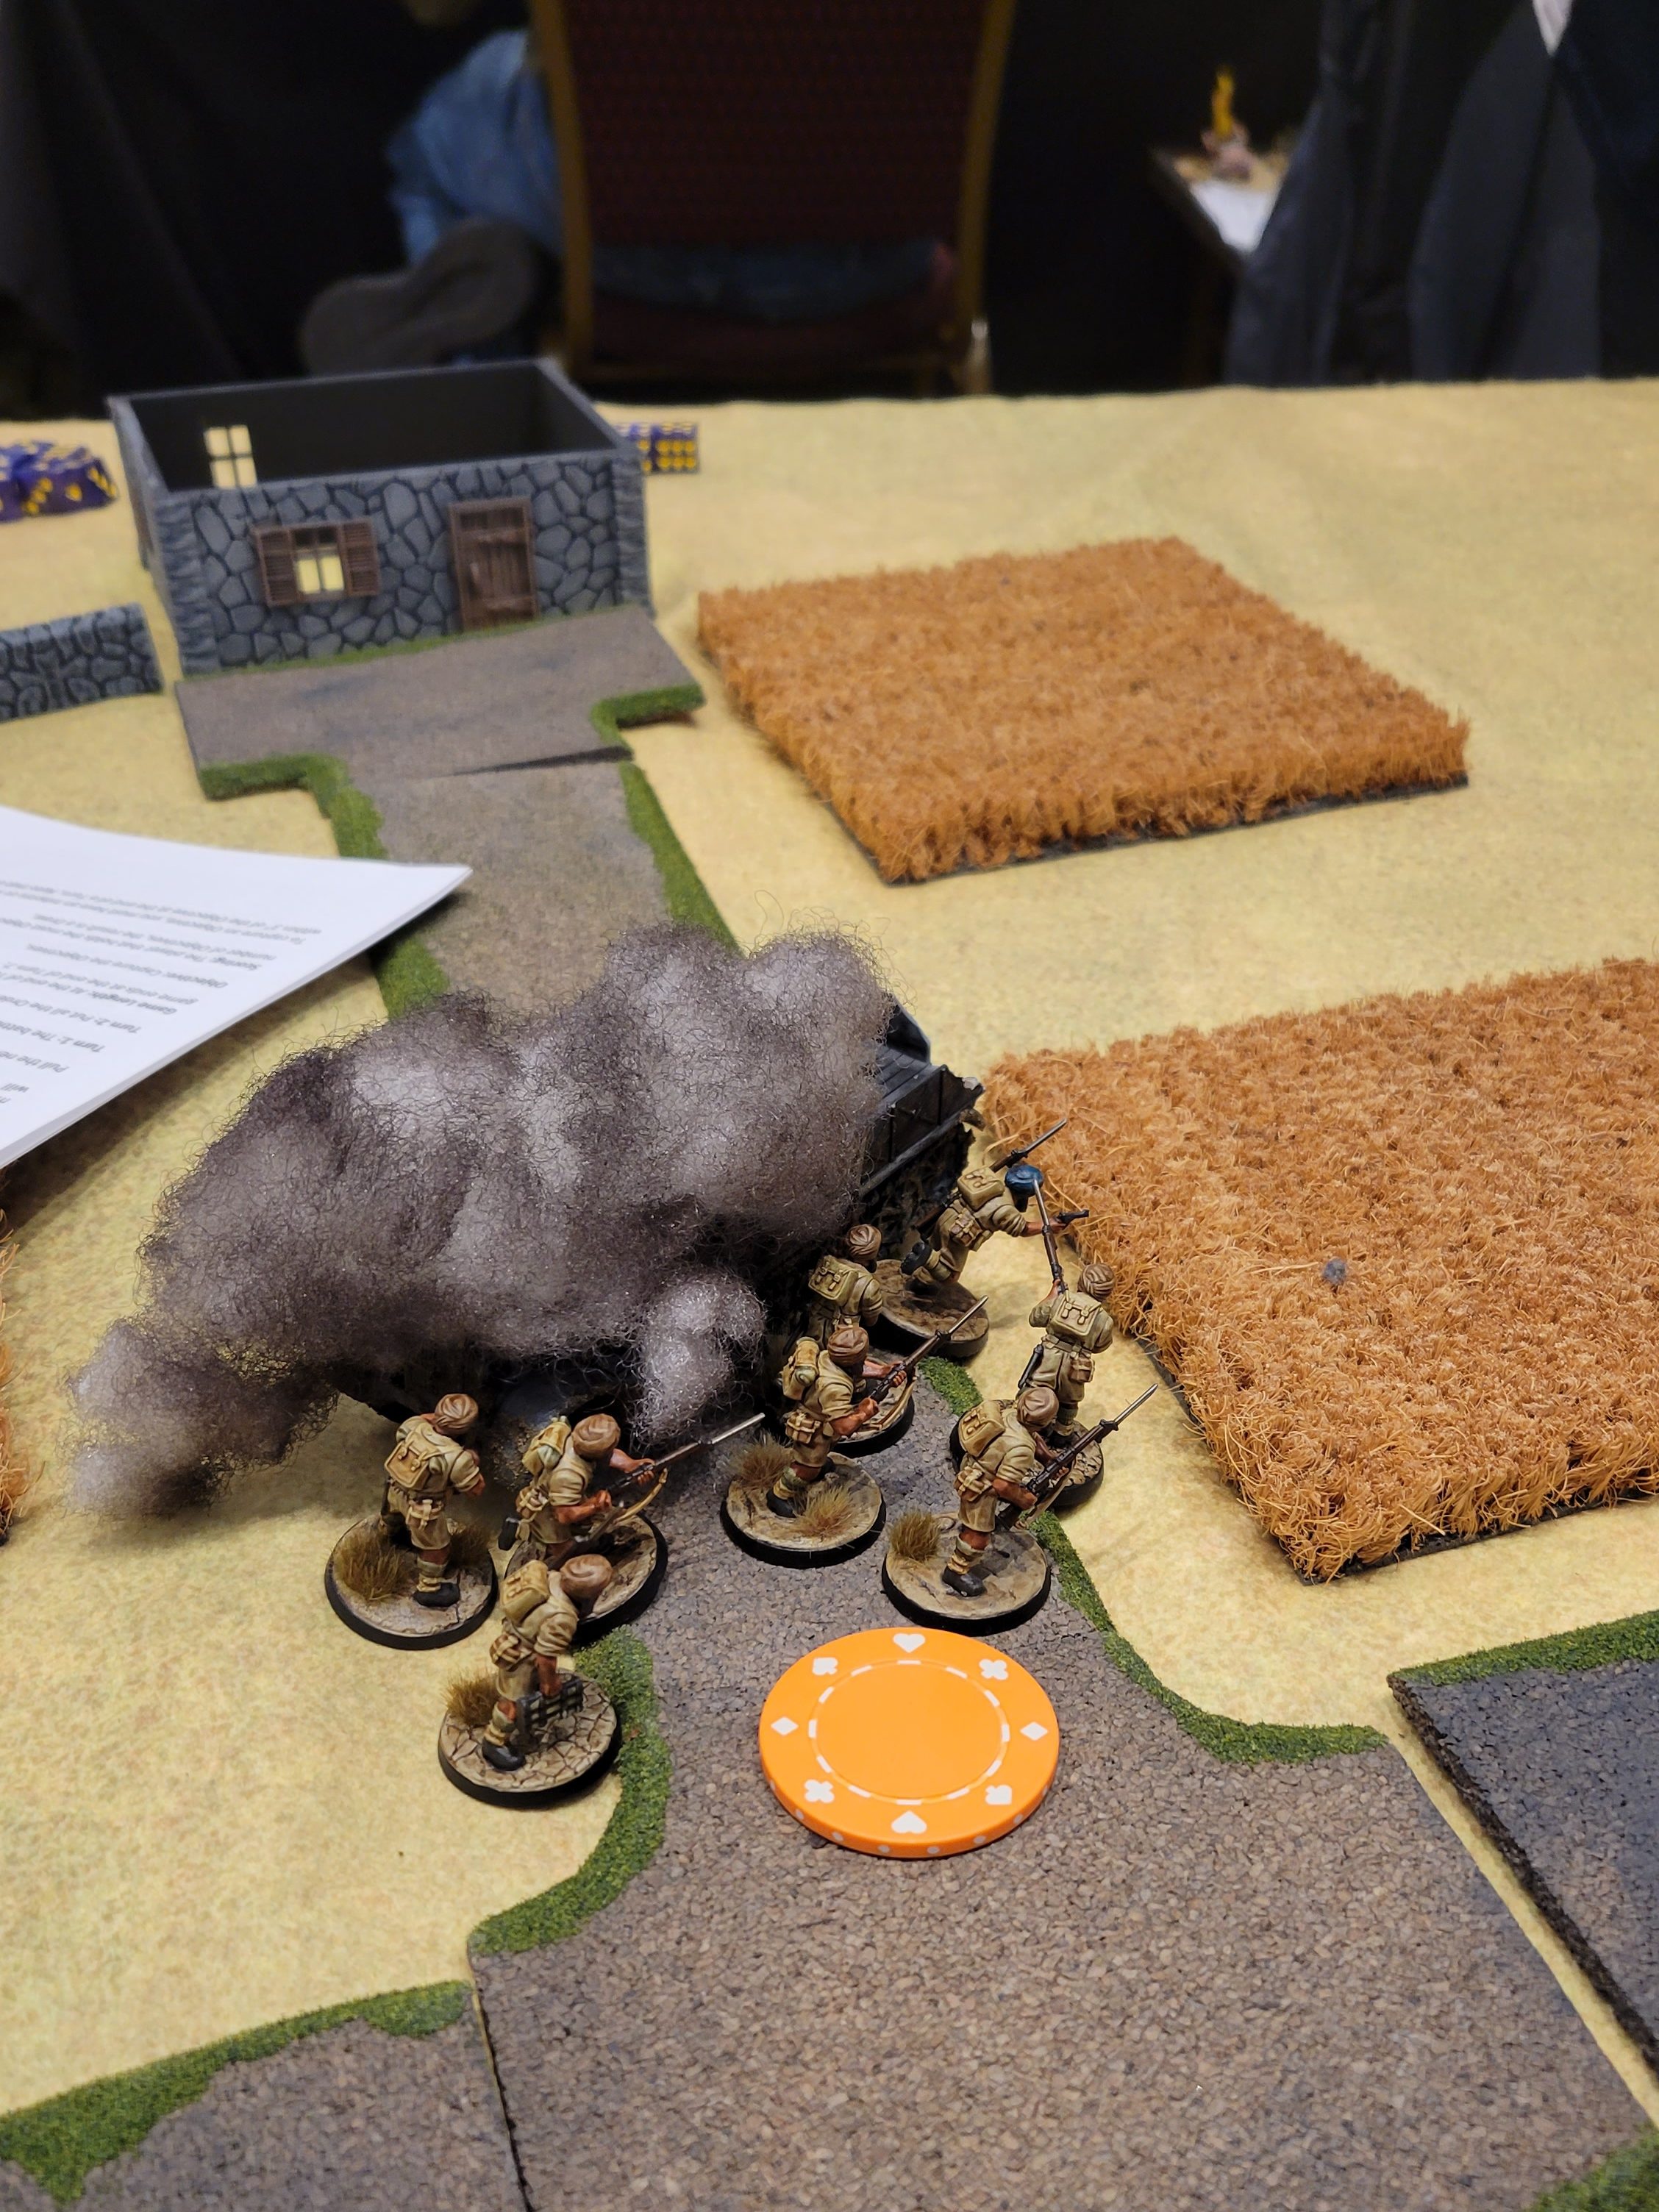
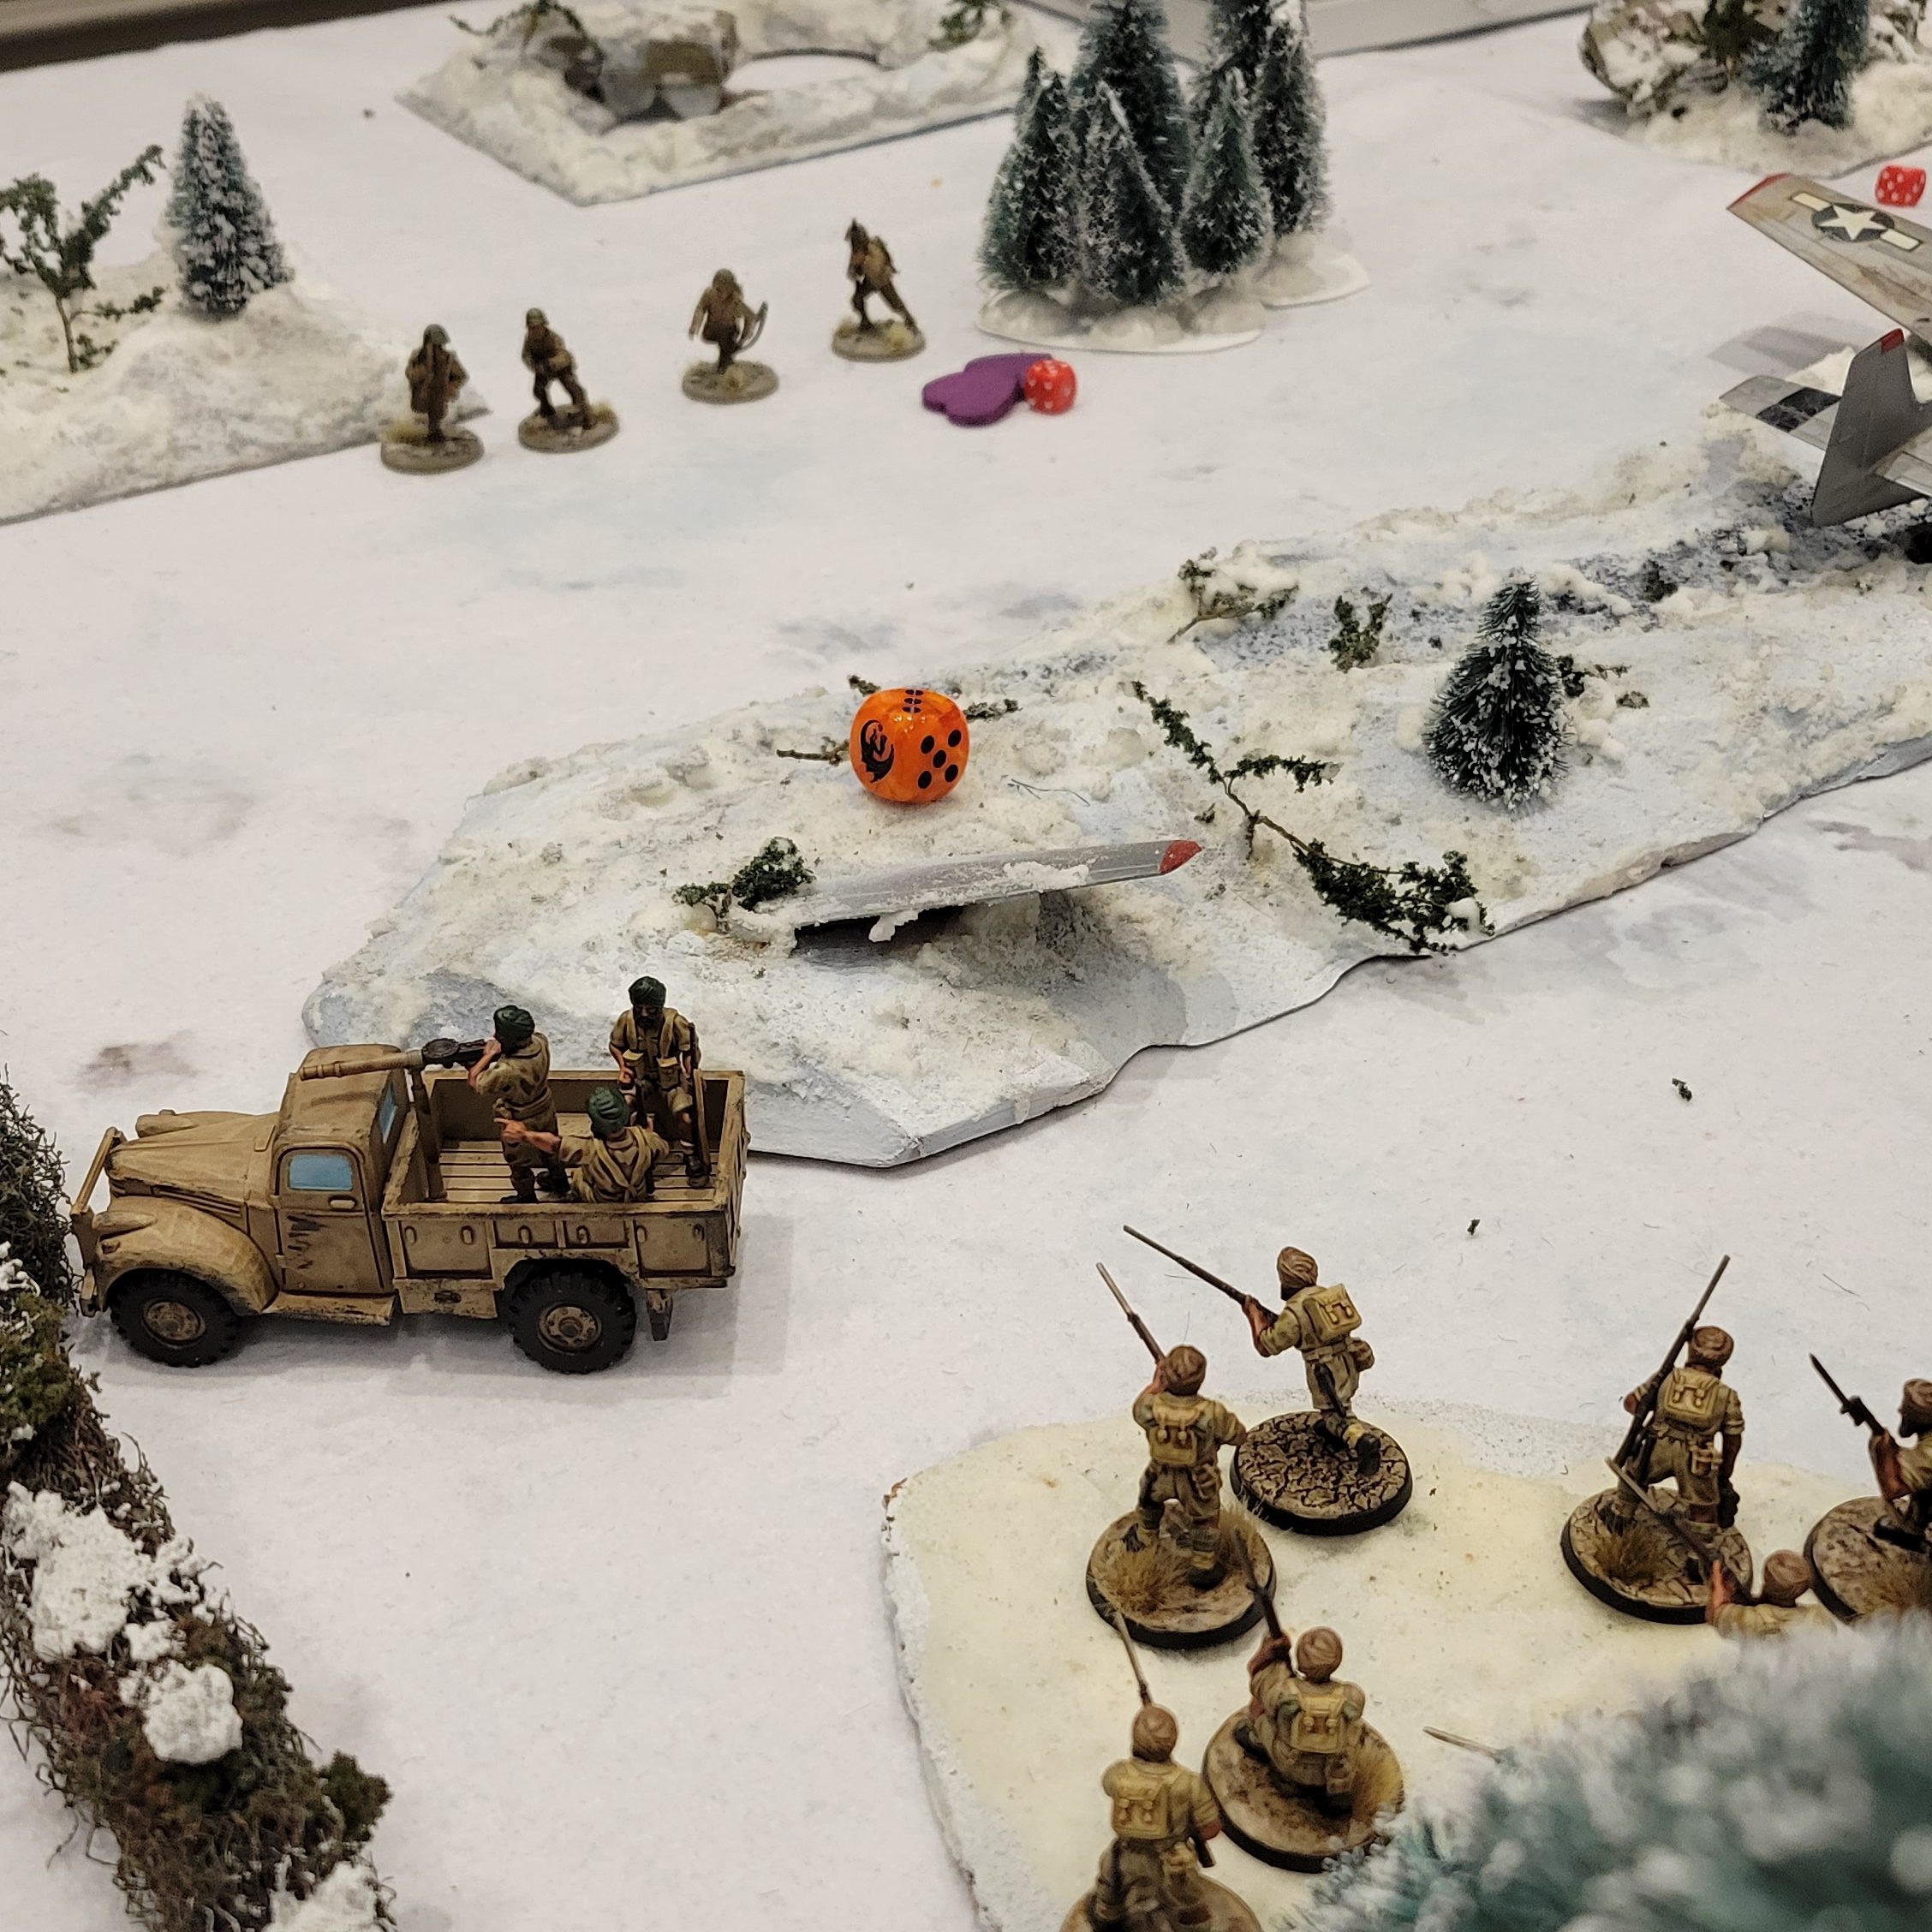
It’s hard to see here, but there are another 24 GIs hiding in the woods on the far side, and another 12 behind the farmhouse.
The close-proximity deployment zones set this game up to be exciting right from the start – and it did not disappoint! Tom’s army had pretty limited anti-tank options so my priority going into Turn 1 was to try to eliminate his Bazooka team and Sherman while keeping my own tanks operational. I fortunately drew the first Order Dice of the game and immediately used my Sniper to fire at his Bazooka. Unfortunately my Sniper missed, which became a trend throughout the game. My Sniper missed all but one shot, and the one hit failed to kill. Tom seized the opportunity and activated his Bazooka next, which hit but failed to damage one of my Tanks. The A-10 then brought it guns to bear and was able to eliminate the Bazooka team with its hull MMG and immobilize Tom’s Sherman. My Artillery failed to hit their targets and our infantry squads exchanged rifle fire. Both sides suffered casualties, but my Regulars held up better than Tom’s Inexperienced squads.
The carnage continued in Turn 2 when my tanks worked together to knock out Tom’s Sherman and my Artillery was able to destroy the M3 Scout Car. My MMG-armed Truck also eliminated Tom’s Light Mortar. By the end of the turn Tom was left a lot of infantry, but he lacked the tools to deal with my armored vehicles and Artillery. The momentum had definitely swung my way.
In Turn 3 I pressed my advantage on the right flank, inflicting heavy casualties on the Inexperienced Americans. My left flank was a different story. I had only deployed a single infantry squad and my armored car on that side. While the armored car was safe from the small arms fire of the advancing enemy infantry, my own rifle squad was overwhelmed and destroyed in close combat. Despite this loss at the close of Turn 3 Tom’s forces were decimated. To add insult to injury one of his infantry squads failed an Order Test and proceeded to open fire on their own Chaplain! At this point I had amassed a near-insurmountable VP lead.
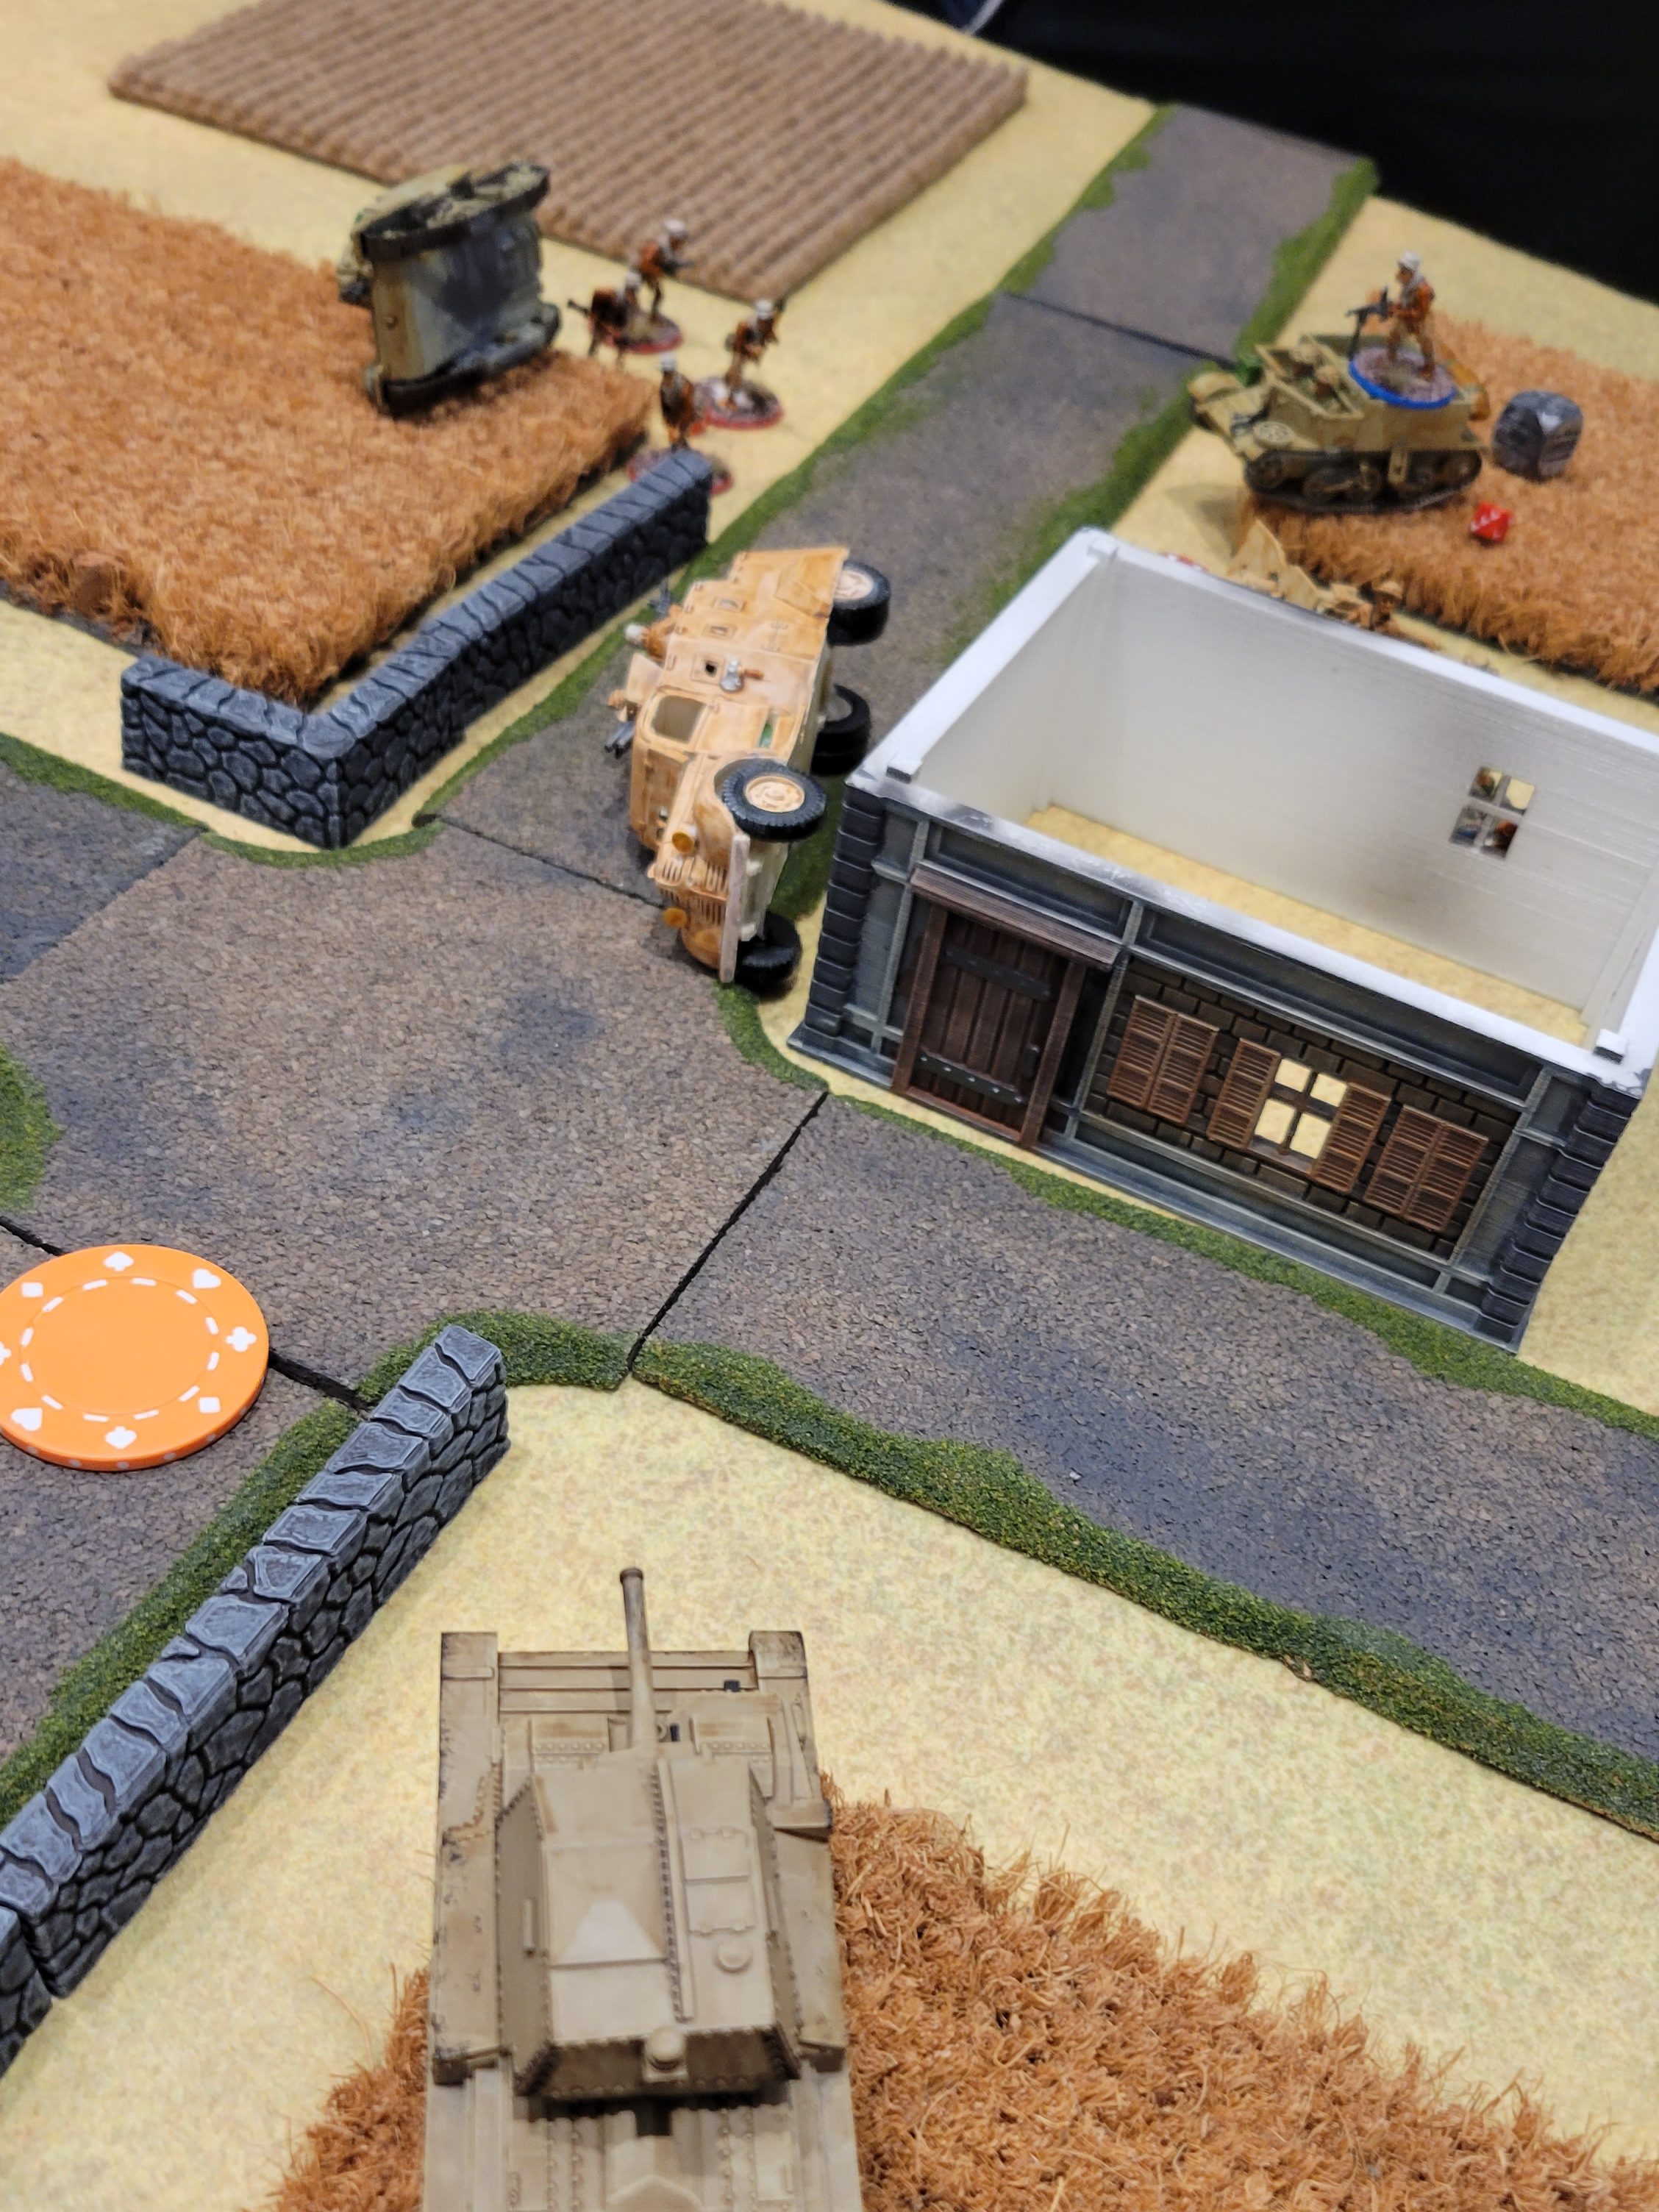
The remnants of the Inexperienced horde.
We played through Turn 4, which mostly consisted of my units mopping up the remaining, heavily damaged American infantry. Despite the rather one-sided result, Tom was a tremendously gracious and fun opponent. At the end of a long day of gaming we were both happy to laugh at the absurdity of North African Americans and British facing off on a snowy battlefield – FUBAR indeed!
Result – Win
12 Order Dice Eliminated to 1
Final Thoughts
My 2-1 record was enough to secure a Top-10 finish at the 24 player event, but more importantly I thoroughly enjoyed all three of my games and had a fun day full of gaming, discussing hobby and history, and marveling at beautiful armies up and down the tables. As always, Andrew ran a top-notch event and was always on-hand to answer questions about the missions, game rules, or logistics. This was my first Polar Vortex and I certainly plan to return next year.
With AdeptiCon only a month away it’s back on the hobby grind as I race to finish preparing my forces. Stay tuned for “Manpower of the Empire” Part IV!

I am glad you managed to get your Indians ready for the event. It looks like a great day too. Thanks for the report.
LikeLike
I felt guilty at the end of the first game as you completely outplayed me. Right up until that single mistake at the end.
It was a fun and tense mission and definitely made me think about mission objectives.
LikeLike