

This week saw the arrival of my hard copy of The Baron’s War. The book looks fantastic and the format and design is aesthetically well-done, and the layout is easy to follow. In the next installment, I’ll provide a more detailed review of the rules and start using them to organize my initial retinue (500 points). So stay tuned. In the meantime, I’d like to do a quick tutorial. I planned on doing a couple painting/hobby-focused posts, specifically doing metallics and free-hand shields. This week, I’m going to go through my metallics painting process and, particularly, chainmail.
I used to teach a painting class at AdeptiCon called Liber Metallica. It was a seminar on painting “true” metallics (as opposed to non-metallic metals) and I really enjoyed talking about ways to create different effects on various metal tones. One technique involved the use of washes to age/weather iron and steel metallic tones. It’s this method I use here, with my Medieval models.
Painting Chainmail
The first step, always, is to determine what you’d like your armor to look like. Personally, I am a fan of weathered, dirty armor. Nothing stays clean long and any length of time on campaign will see armor start to show the effects of battle and life in the field. I generally do some Google searching to try and find examples. In this case, I take a cinematic view. While the plate armor of Excalibur isn’t appropriate for this period, the general idea is the same. I want this sort of dulled, weathered iron and steel.
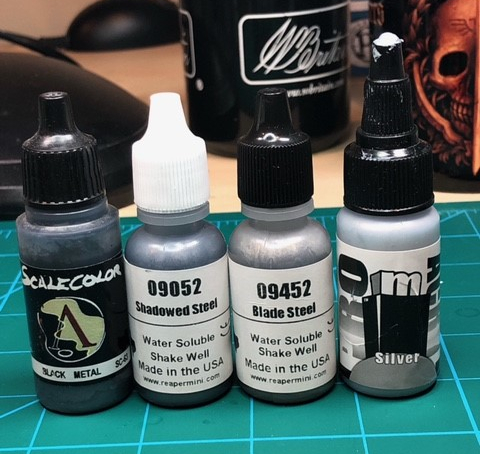
I prime most of my models black, using an airbrush. On this black base, I paint the chainmail with three shades of iron-tone metallics, one base coat and then two highlights. I use a combination of a few different brands (photo above), including Reaper and Scale 75.
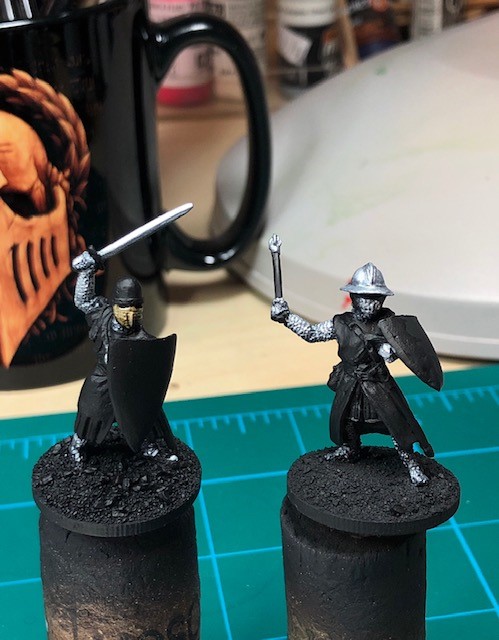
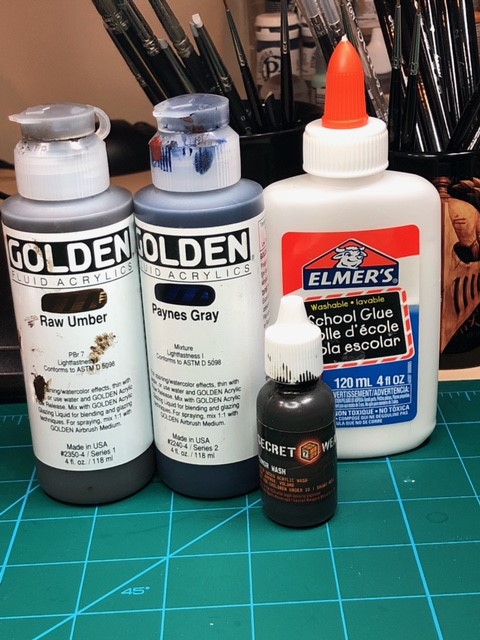
I now have my metallic foundation. It looks a little bright, but the next steps will tone this down dramatically. It is always easier to work “down” from a brighter tone. The next steps are the washes. A few points: keep your washes thin. It’s easier to build interesting tones with three to four thin washes than with one thick wash. My typical wash is about the consistency of skim milk. It is usually two parts paint, one-part water, and just a small dap of white/PVA glue. The white glue will do two things, help “hold” the wash in the recesses, where you want it to settle. It also helps mute/flatten the metallic base coat. Finally, make sure you let each layer of wash dry completely, otherwise you’ll pull off your previous washes. Repeat your washes until you’re happy with the result. Remember, you can use any color in your wash to create interesting tints.
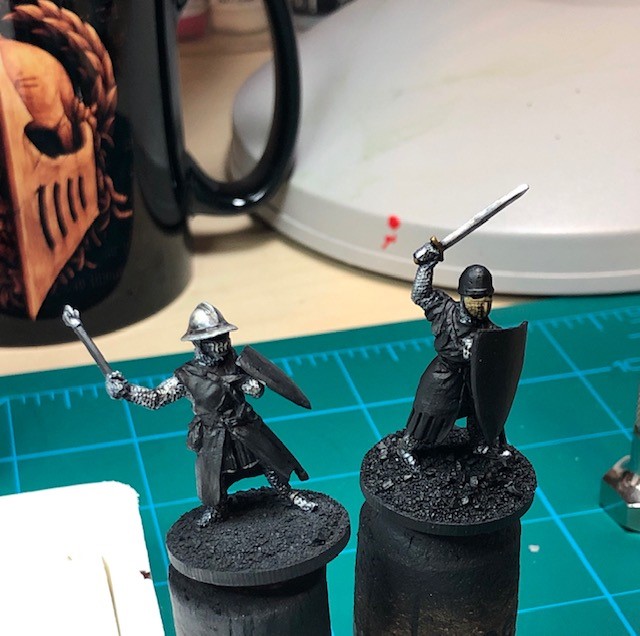
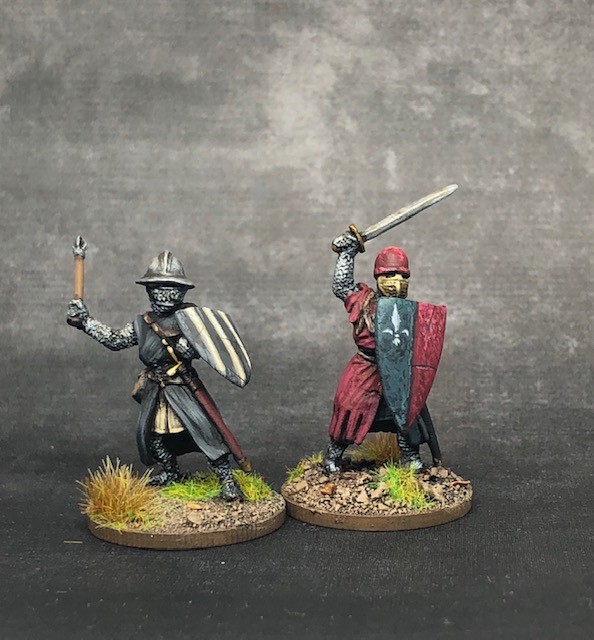
Finally, I always dull coat my models. This will flatten the metallics even more and give your model a consistent finish. Occasionally, I will go back after the matte coat is dry and hit the metallic areas with a thinned down gloss or semi-gloss coat, especially if the armor is “cleaner.” This gives it a slight sheen, so it’ll pop.
What’s Next…
Next Update. As I mentioned, I’m just delving into the newly arrived rulebook and hope to provide a thorough review, along with a preliminary army list. My friend and opponent, Jamie Welling (hope to feature some of his knights soon), and I have agreed to a 500 point starting retinue target, so we’ll be looking at around 15-20 models to begin with. Until then…
