

The Panzer IV Ausf. X Walker Tank is one of the new units found in the Konflikt ’47 Axis Starter Army. This Walker uses the existing Warlord Games plastic Panzer IV Tank kit plus additional resin components. Those resin additions to turn the base Panzer IV into an imposing four-legged Walker perfect for K47 that promises to bring some serious power to table. Lets check out this latest Axis creation.
The Parts
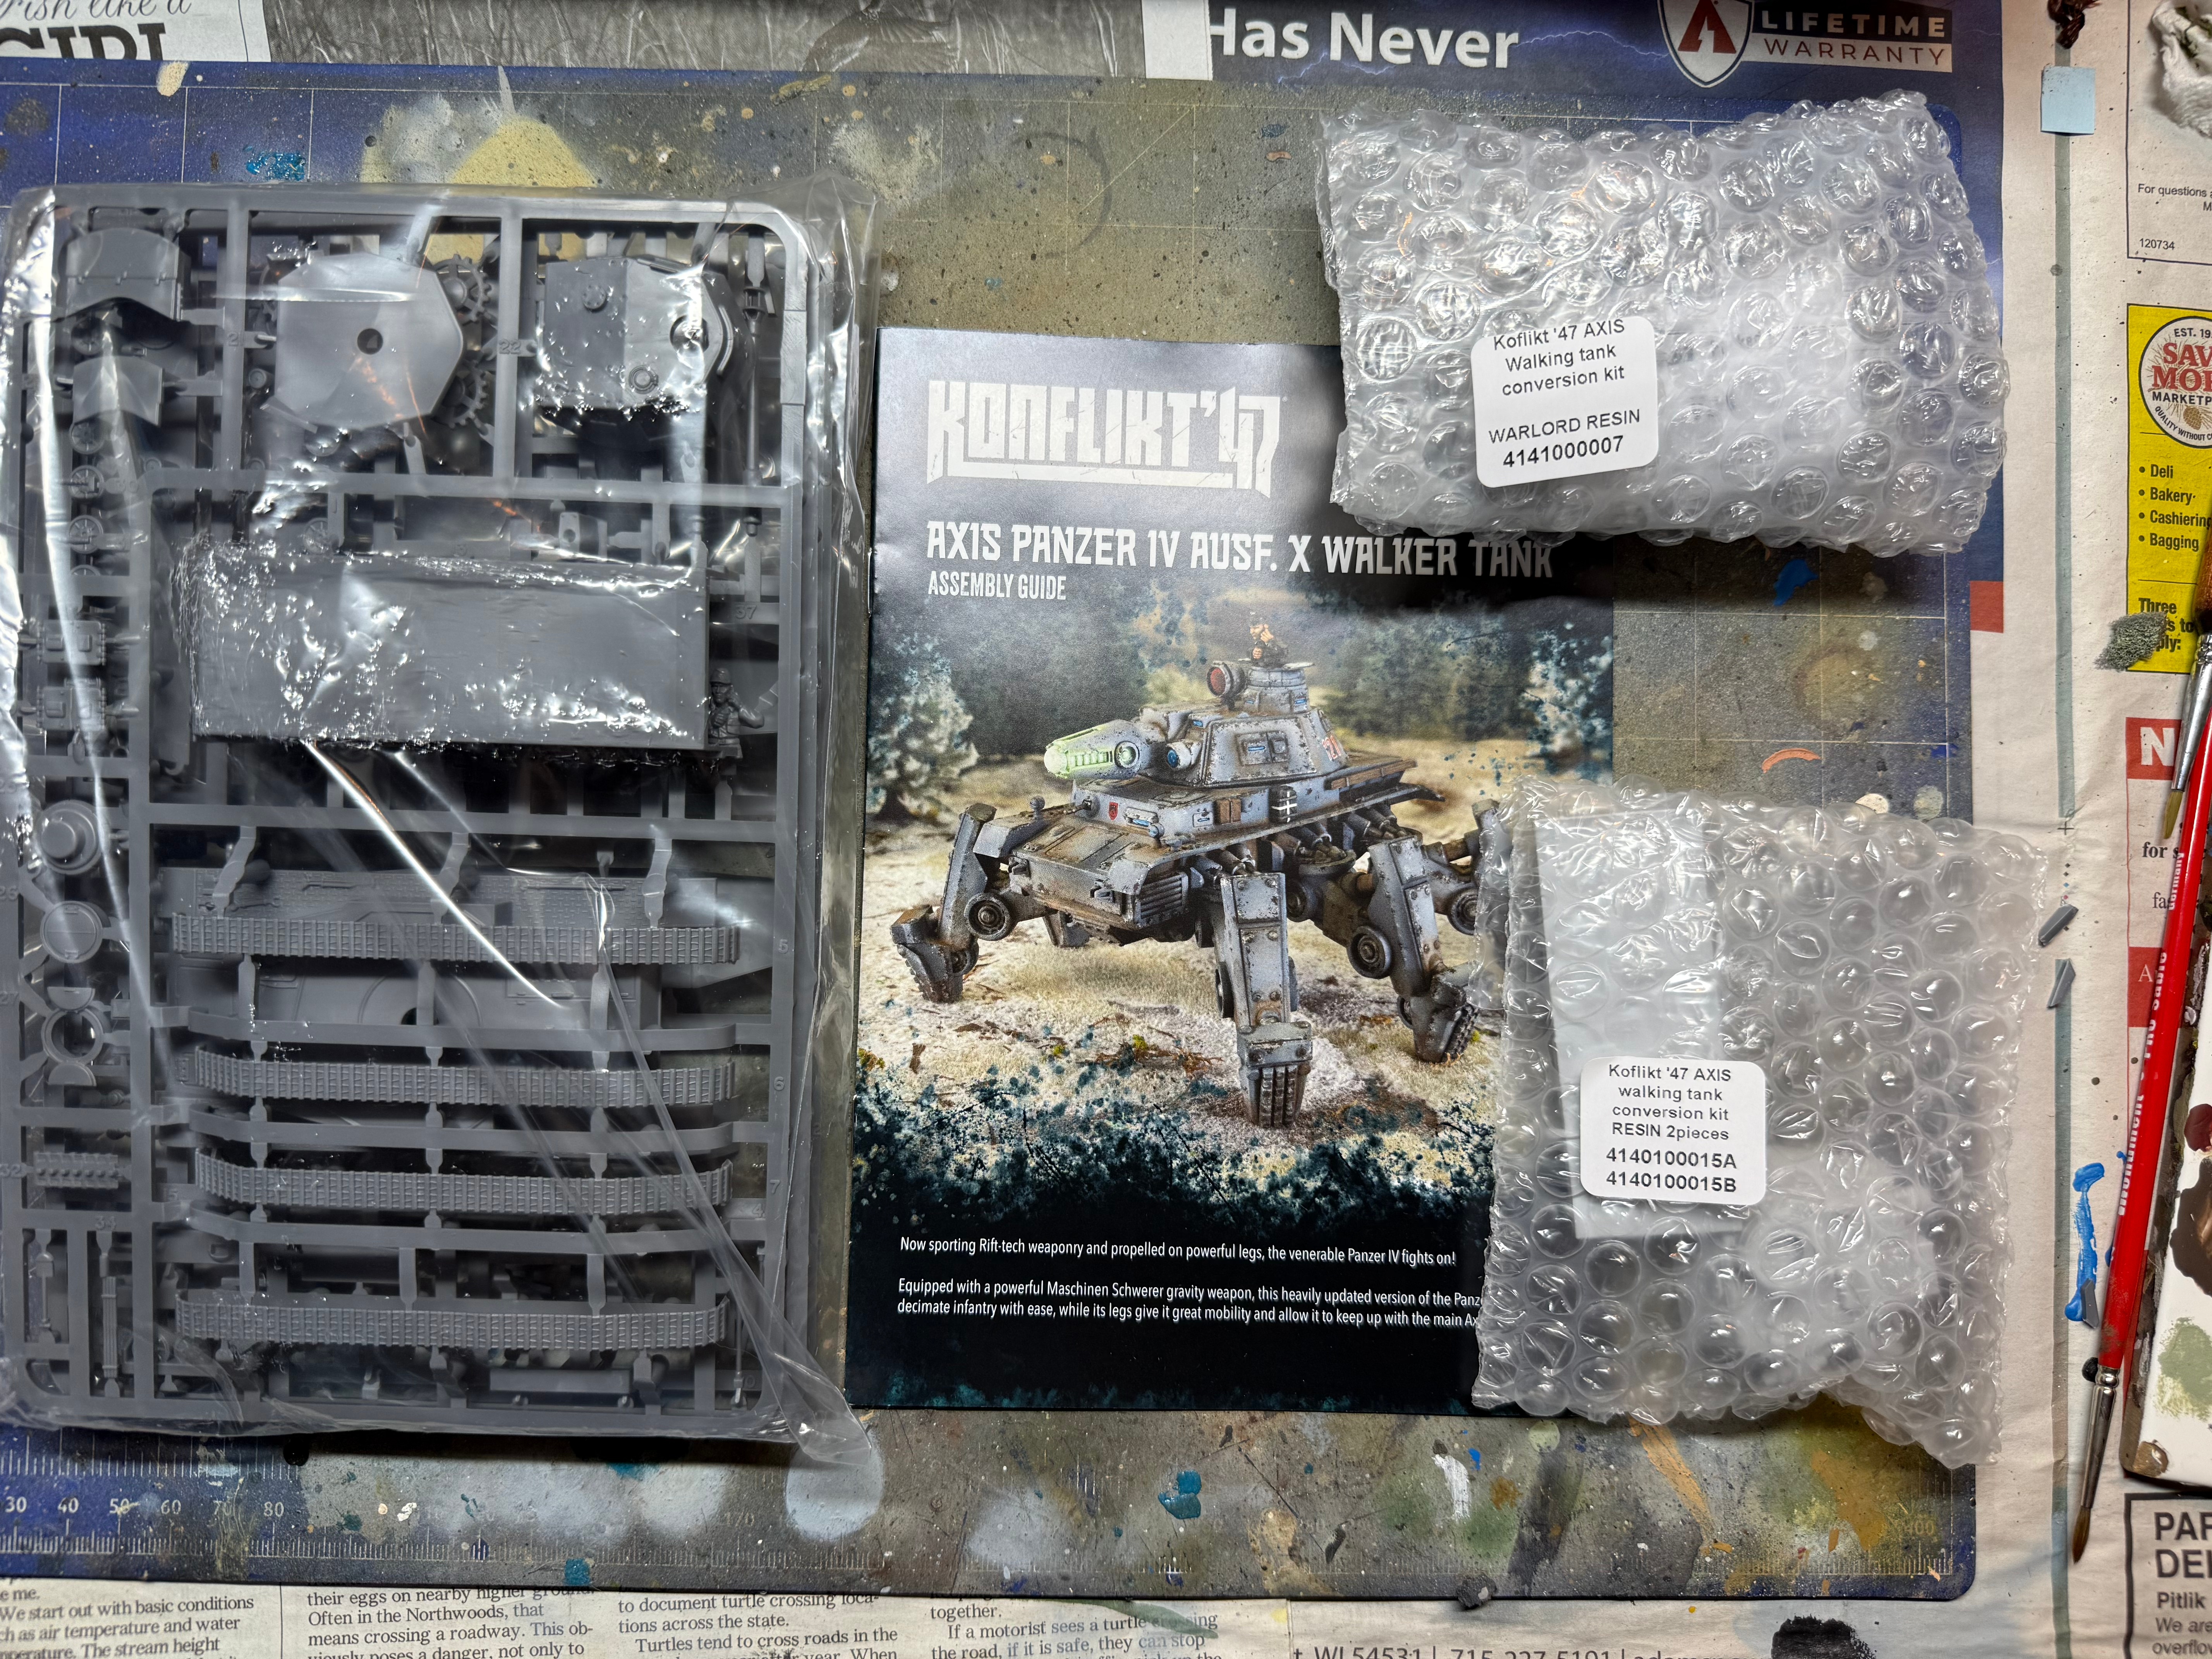
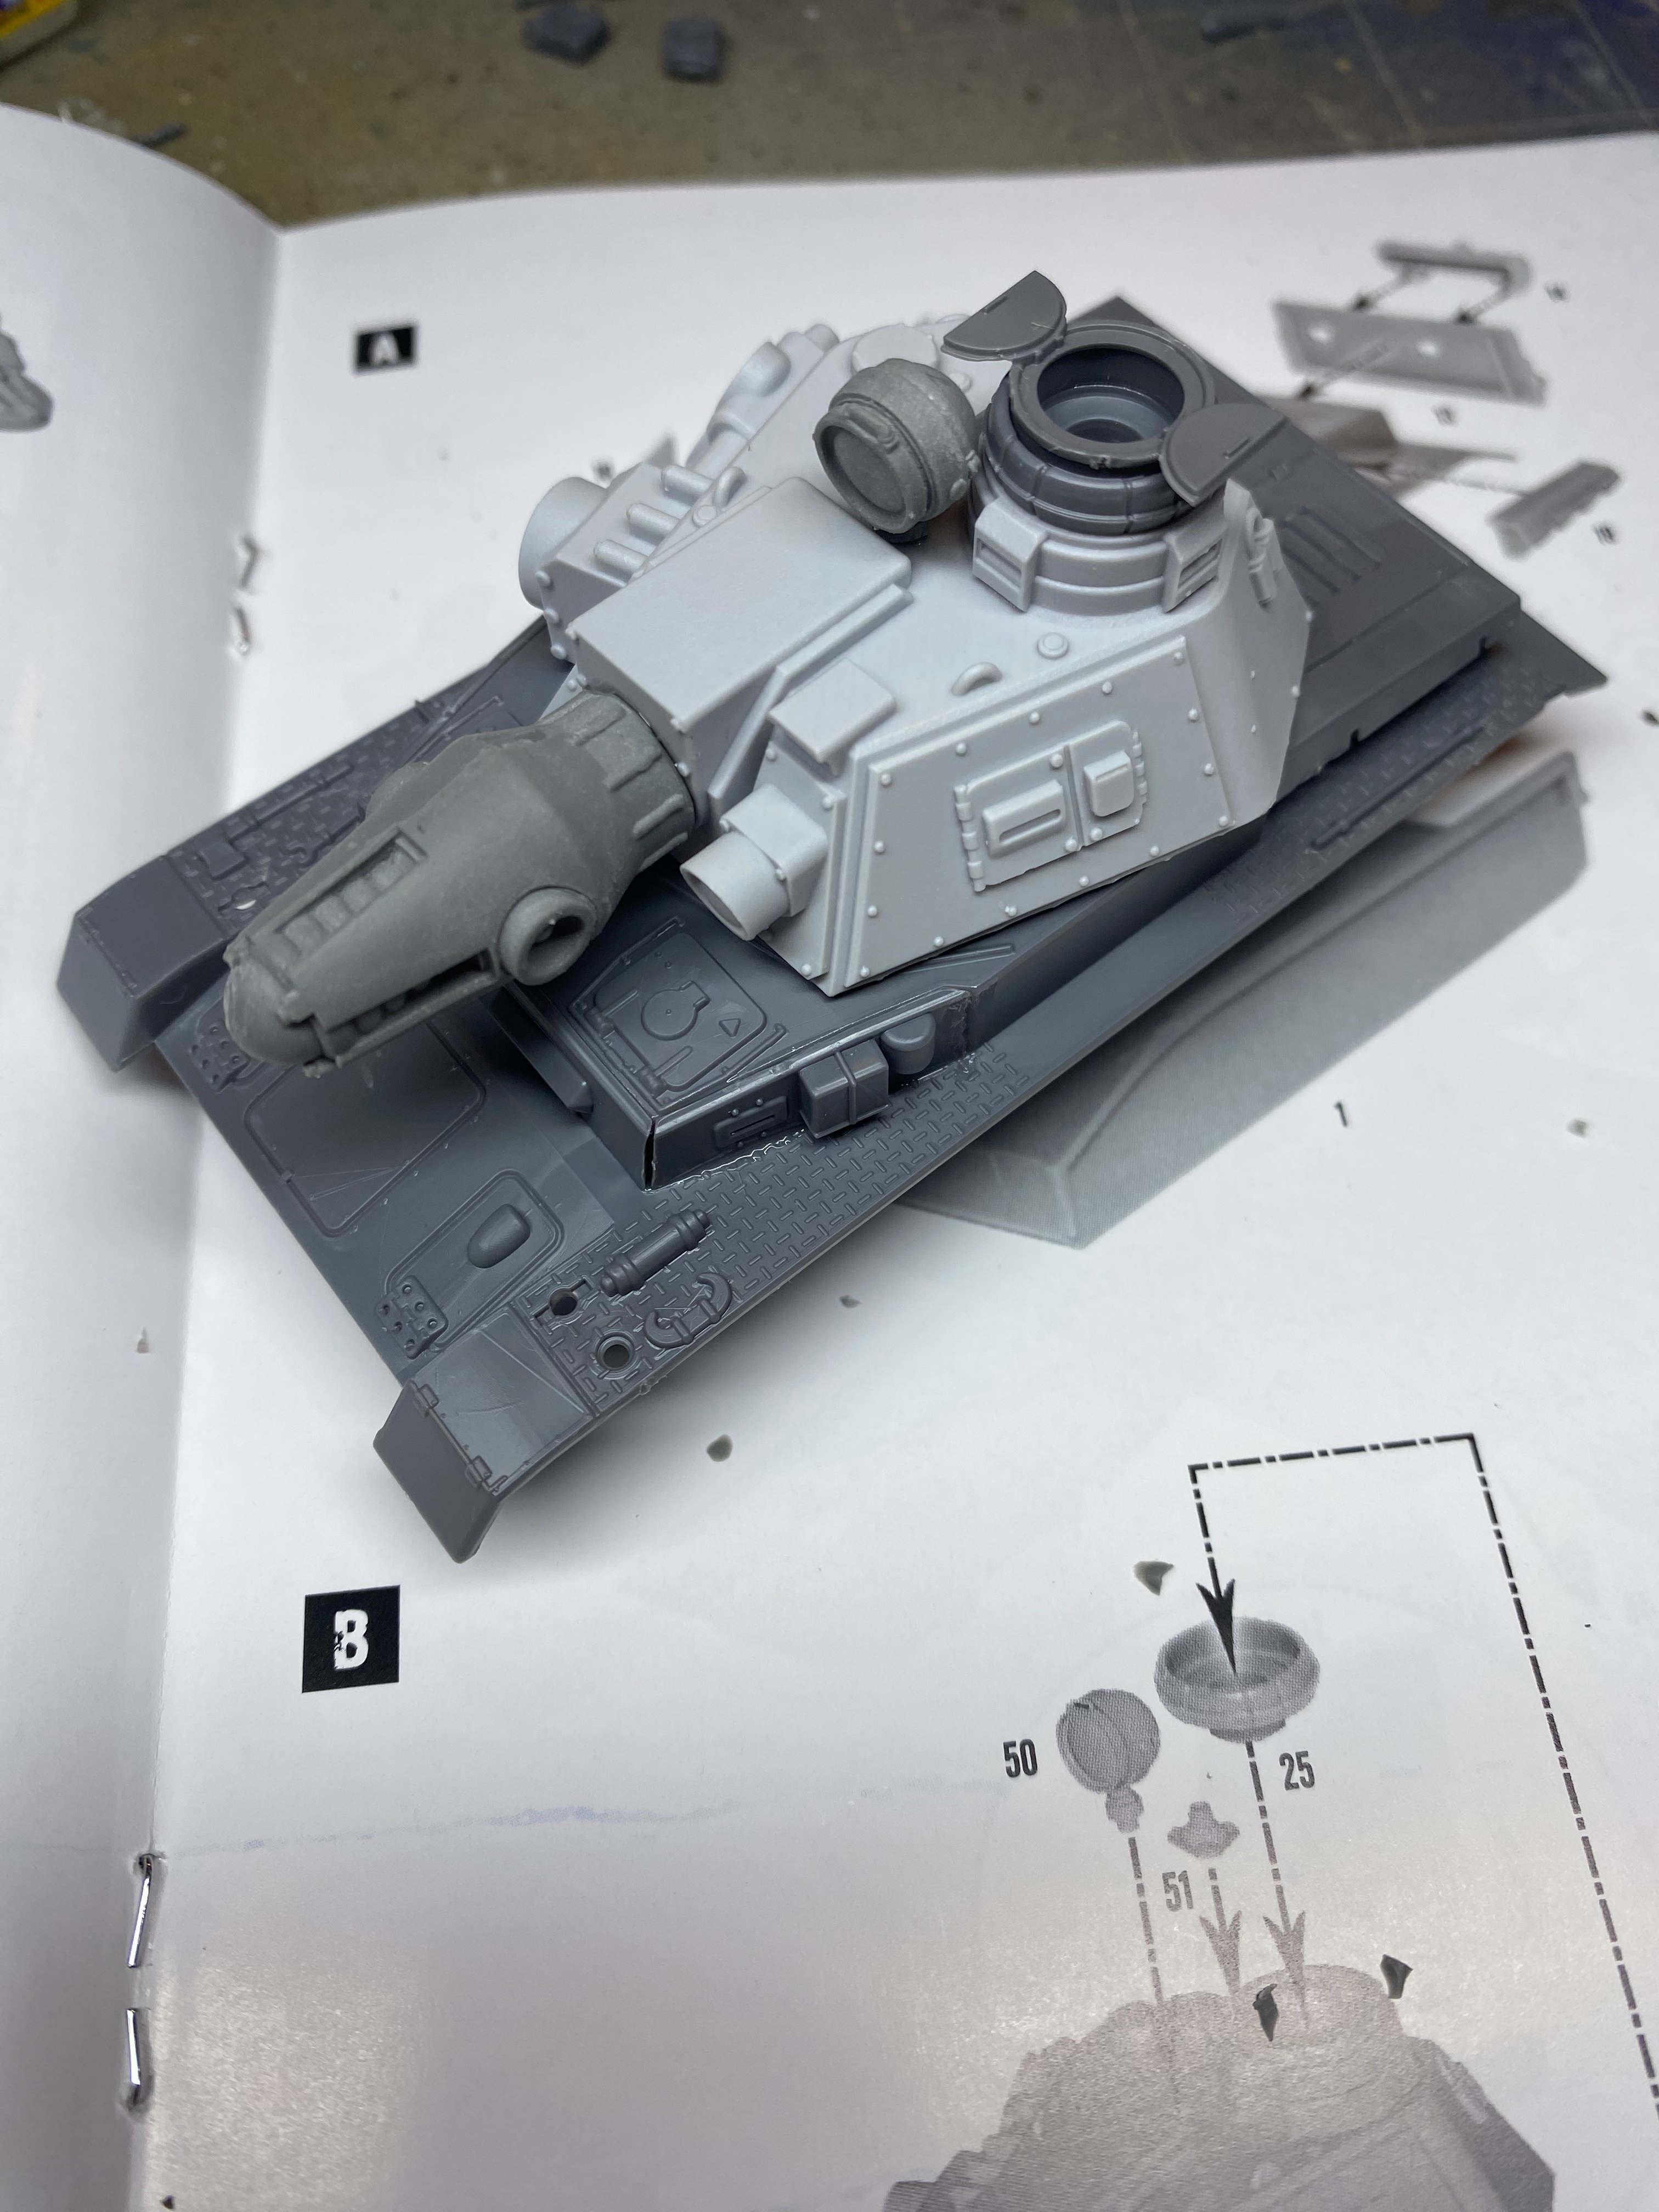
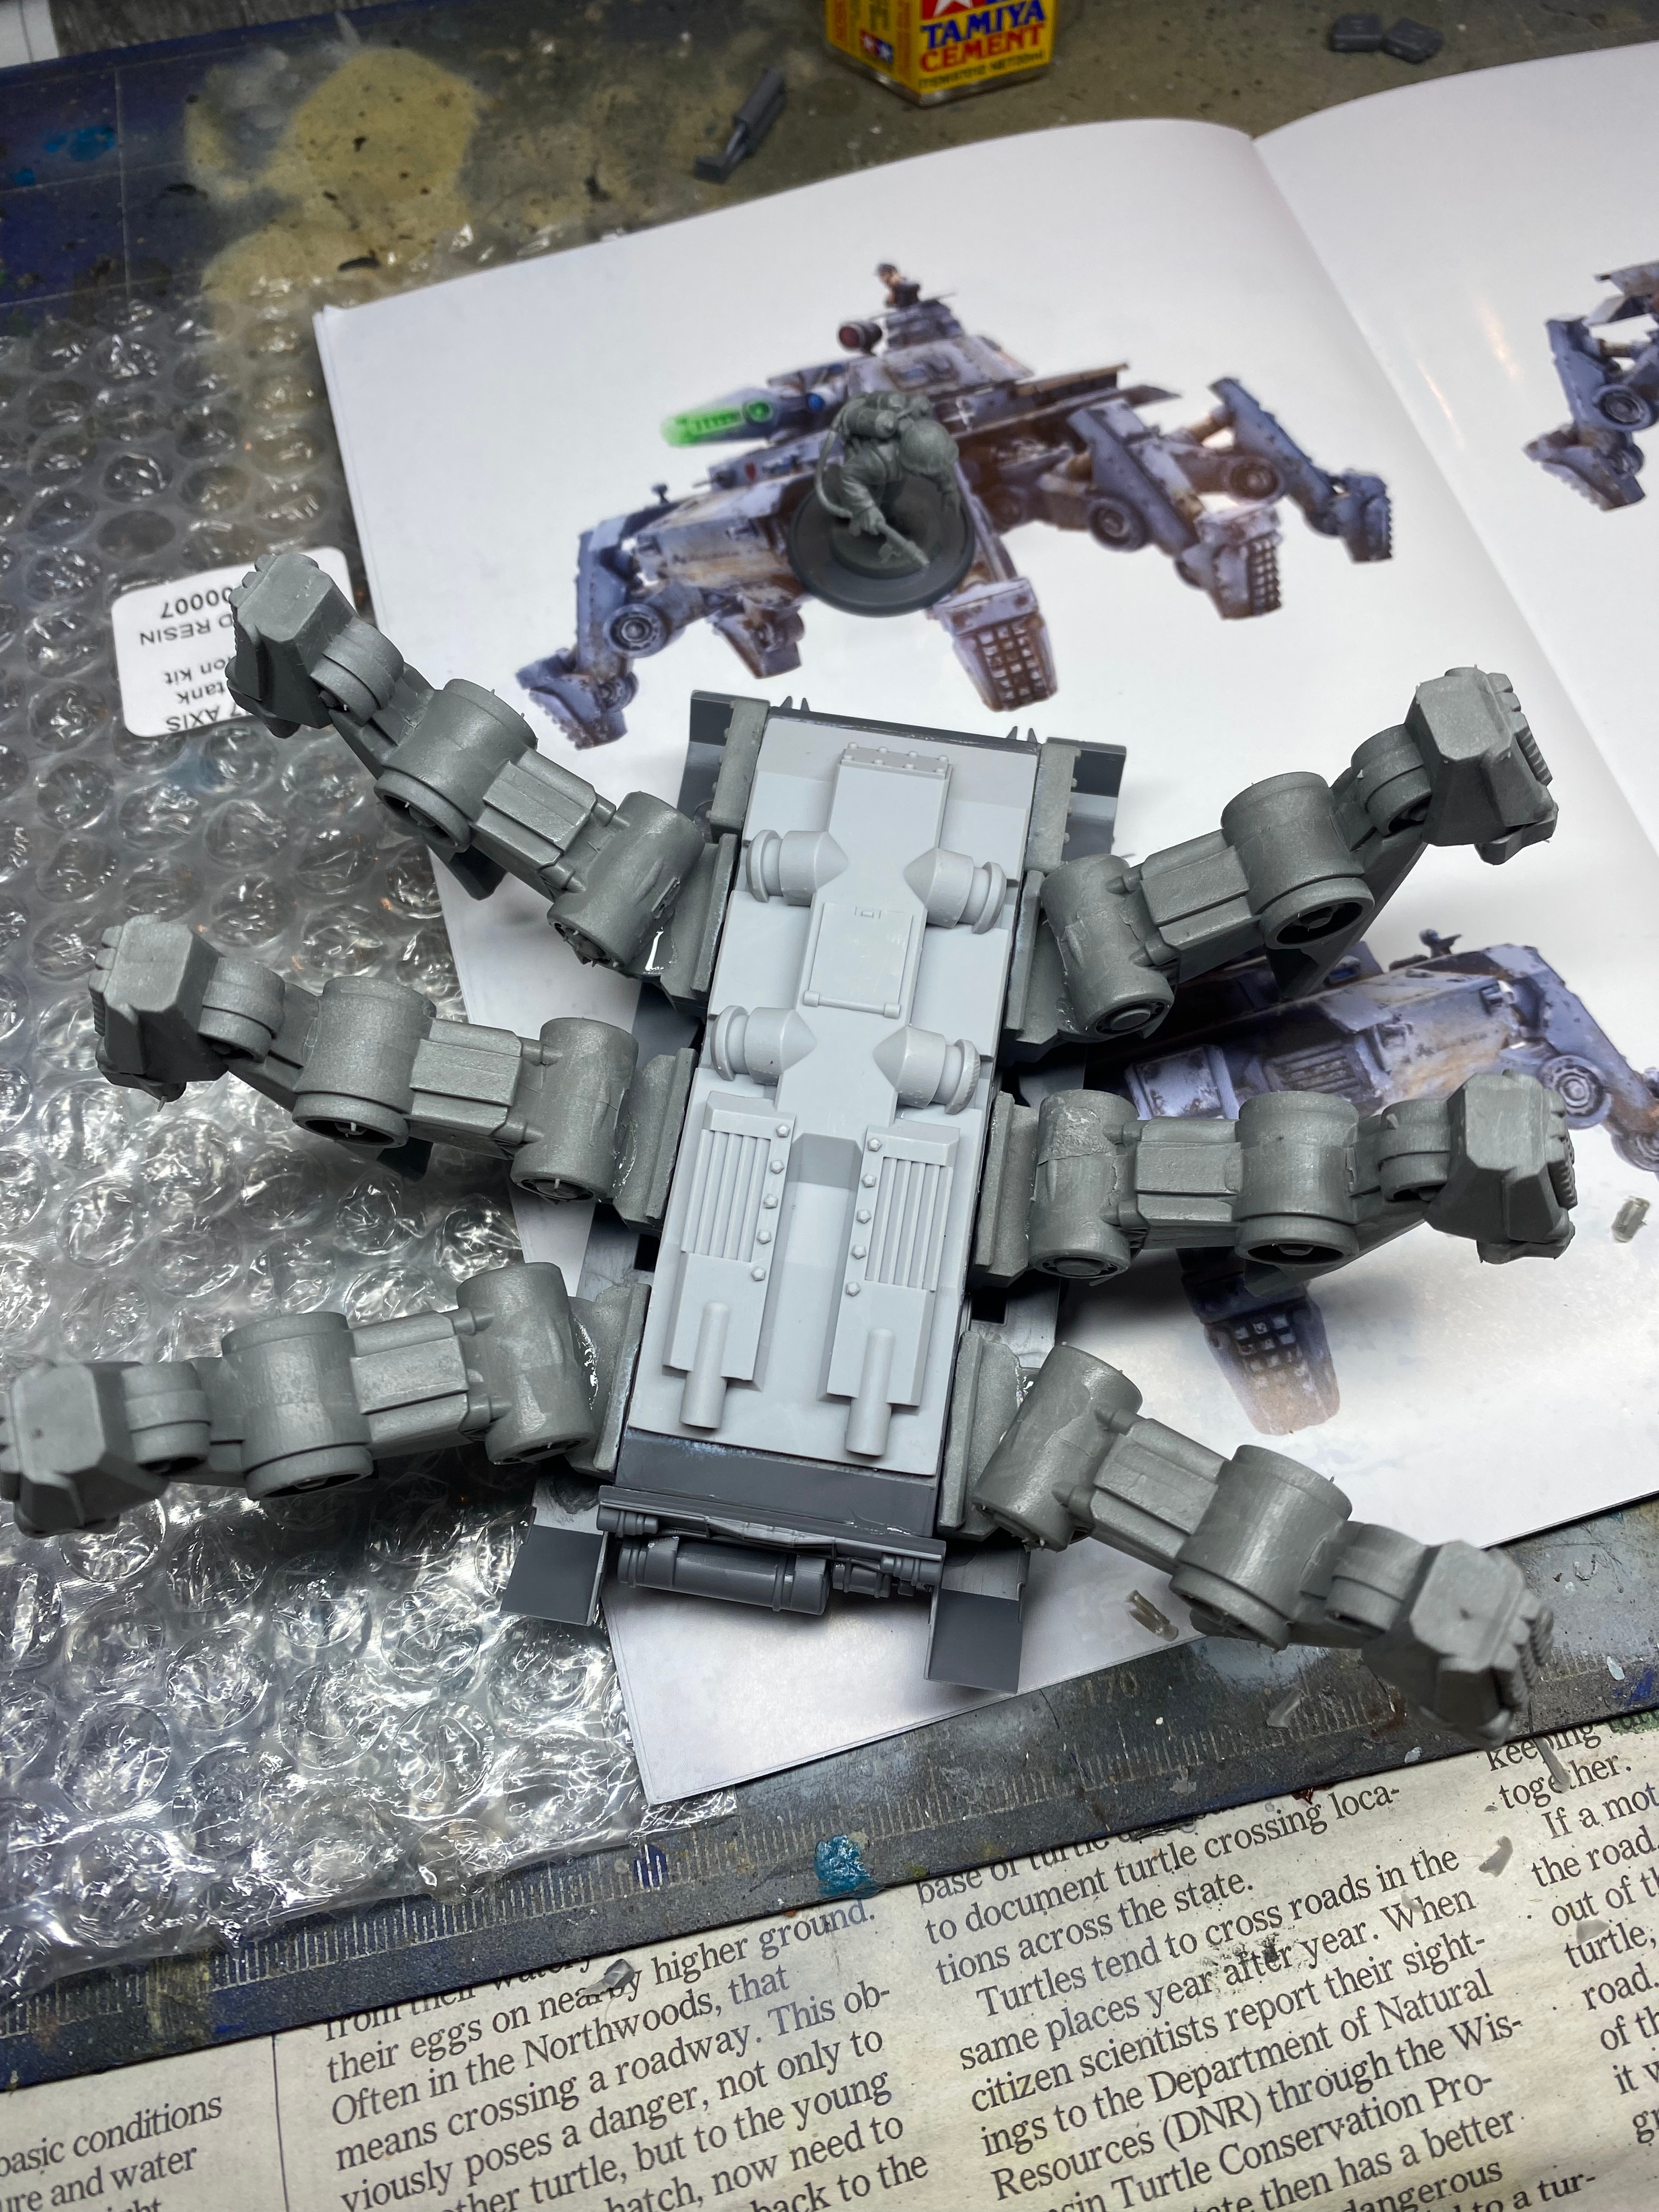
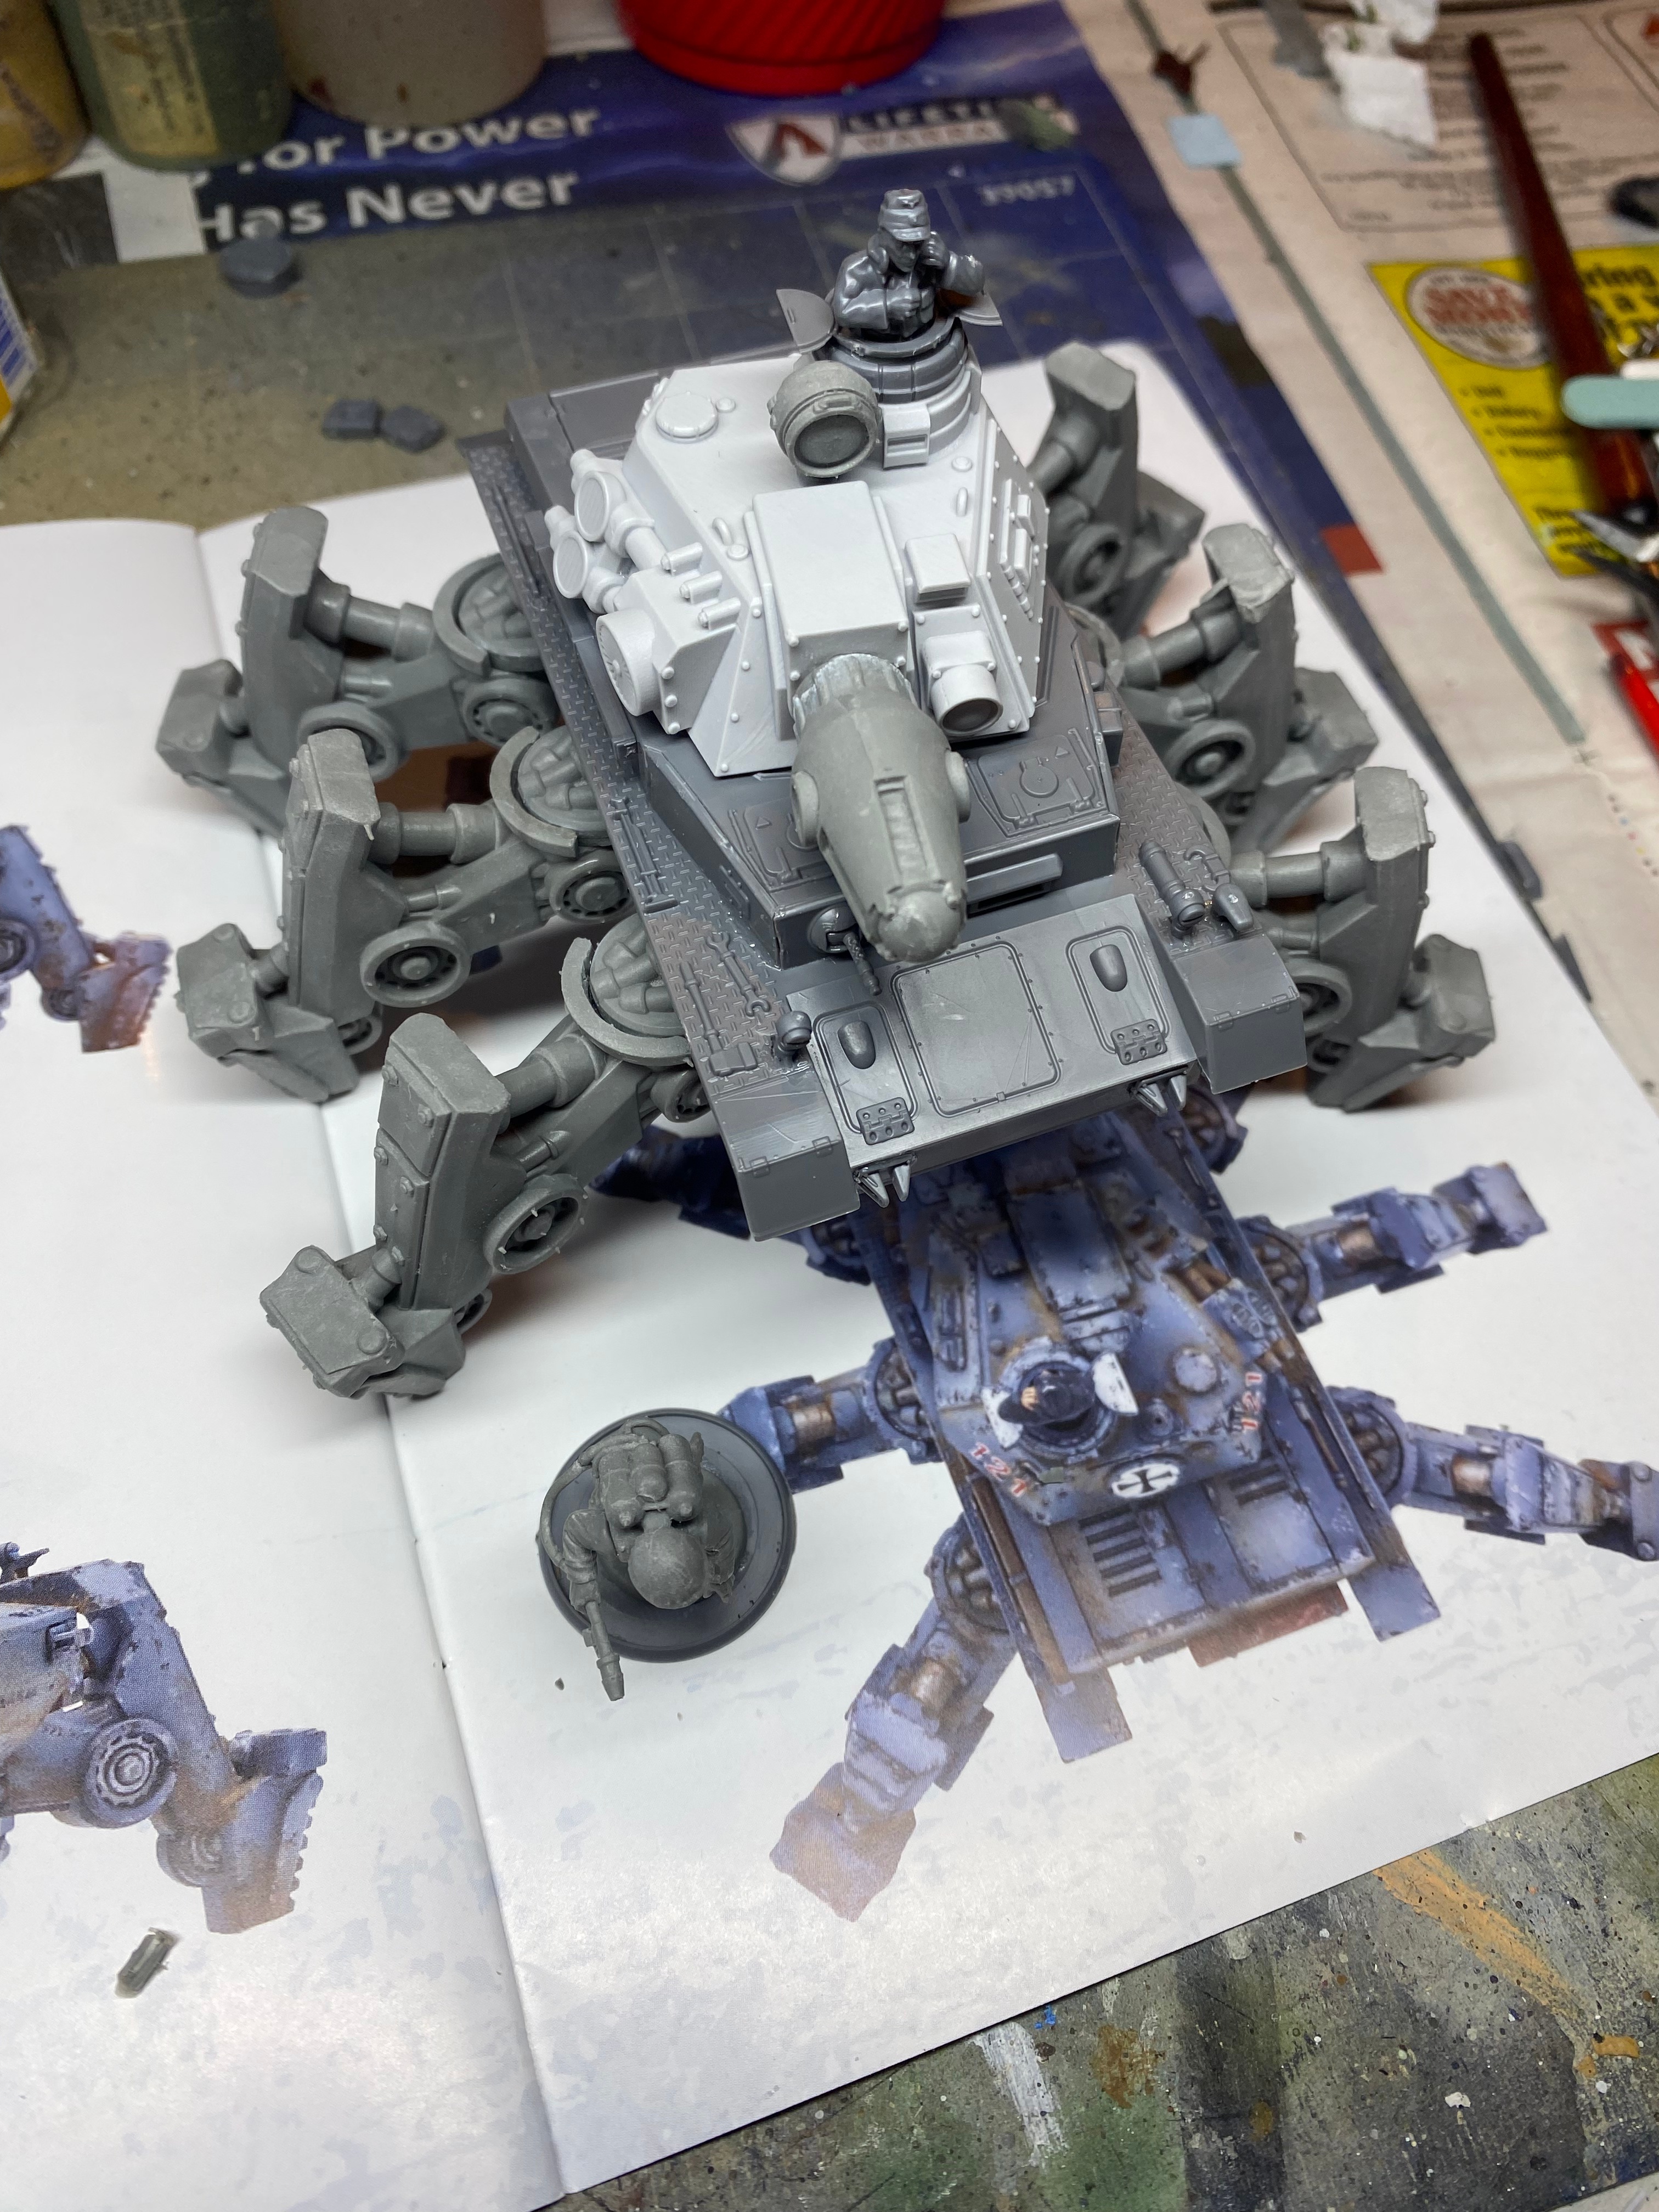
The Panzer Walker can be built with the standard Panzer IV turret or the new Schwerefeld Projektor Rift Tech turret. I, of course, chose to built it with the Rift turret. The unit is designed to be the backbone of an Axis force. It is Slow so don’t expect it to be rushing up to the aid of your more mobile foot soldiers or Fast recon Walkers. Instead this behemoth will be blasting away front the backline or holding down a defensive point.
The kit is not a complex build, but the instructions included would have benefited from some proof reading and the original Panzer IV kit is starting to show a bit of age. The upside is that the instructions are only three pages. Most of the plastic Panzer IV kit’s bits are not used so it’s relatively quick to assemble. And once assembled it is a truly impressive model.
The Build
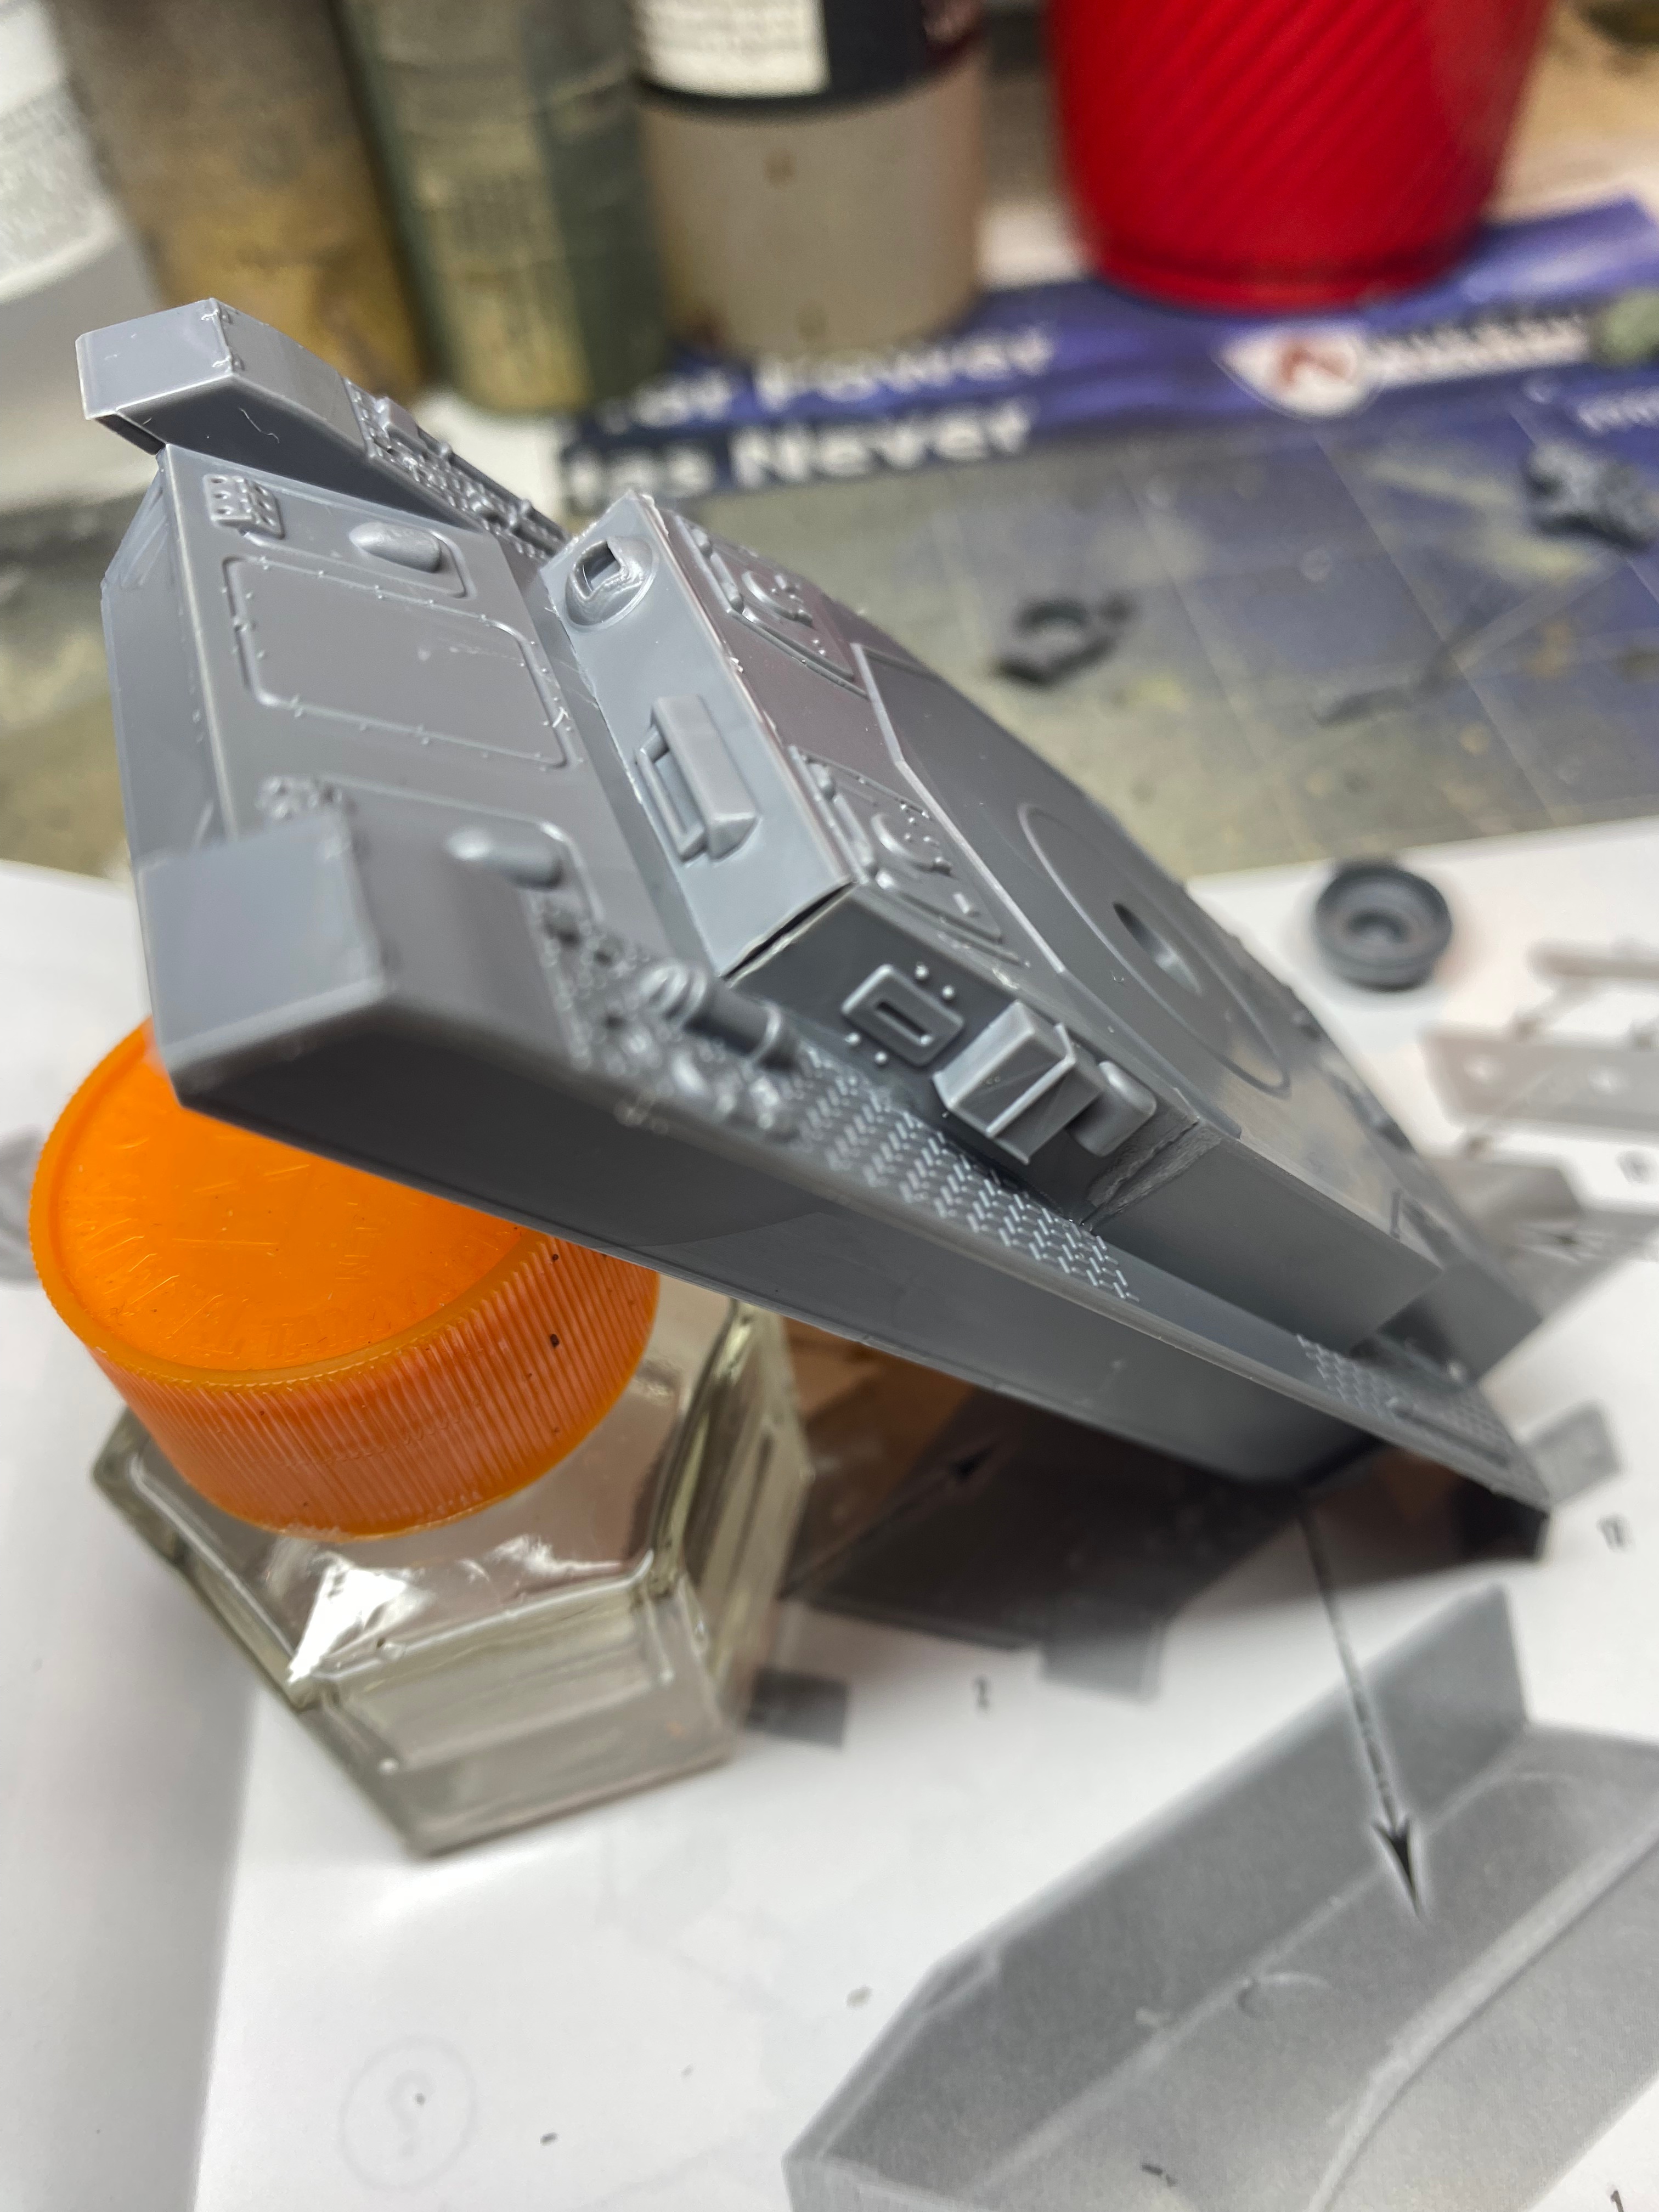
Don’t let this take away from the kit, it is great, but I’m going start with the less than ideal parts of the build. There are small gaps in the plastic Panzer IV chassis that make up the majority of the hull. I can only guess these are due to the original mold starting to show its age. These are minor and can be easily filled or, in my case, ignored since after a coat of paint they wont be as visible.
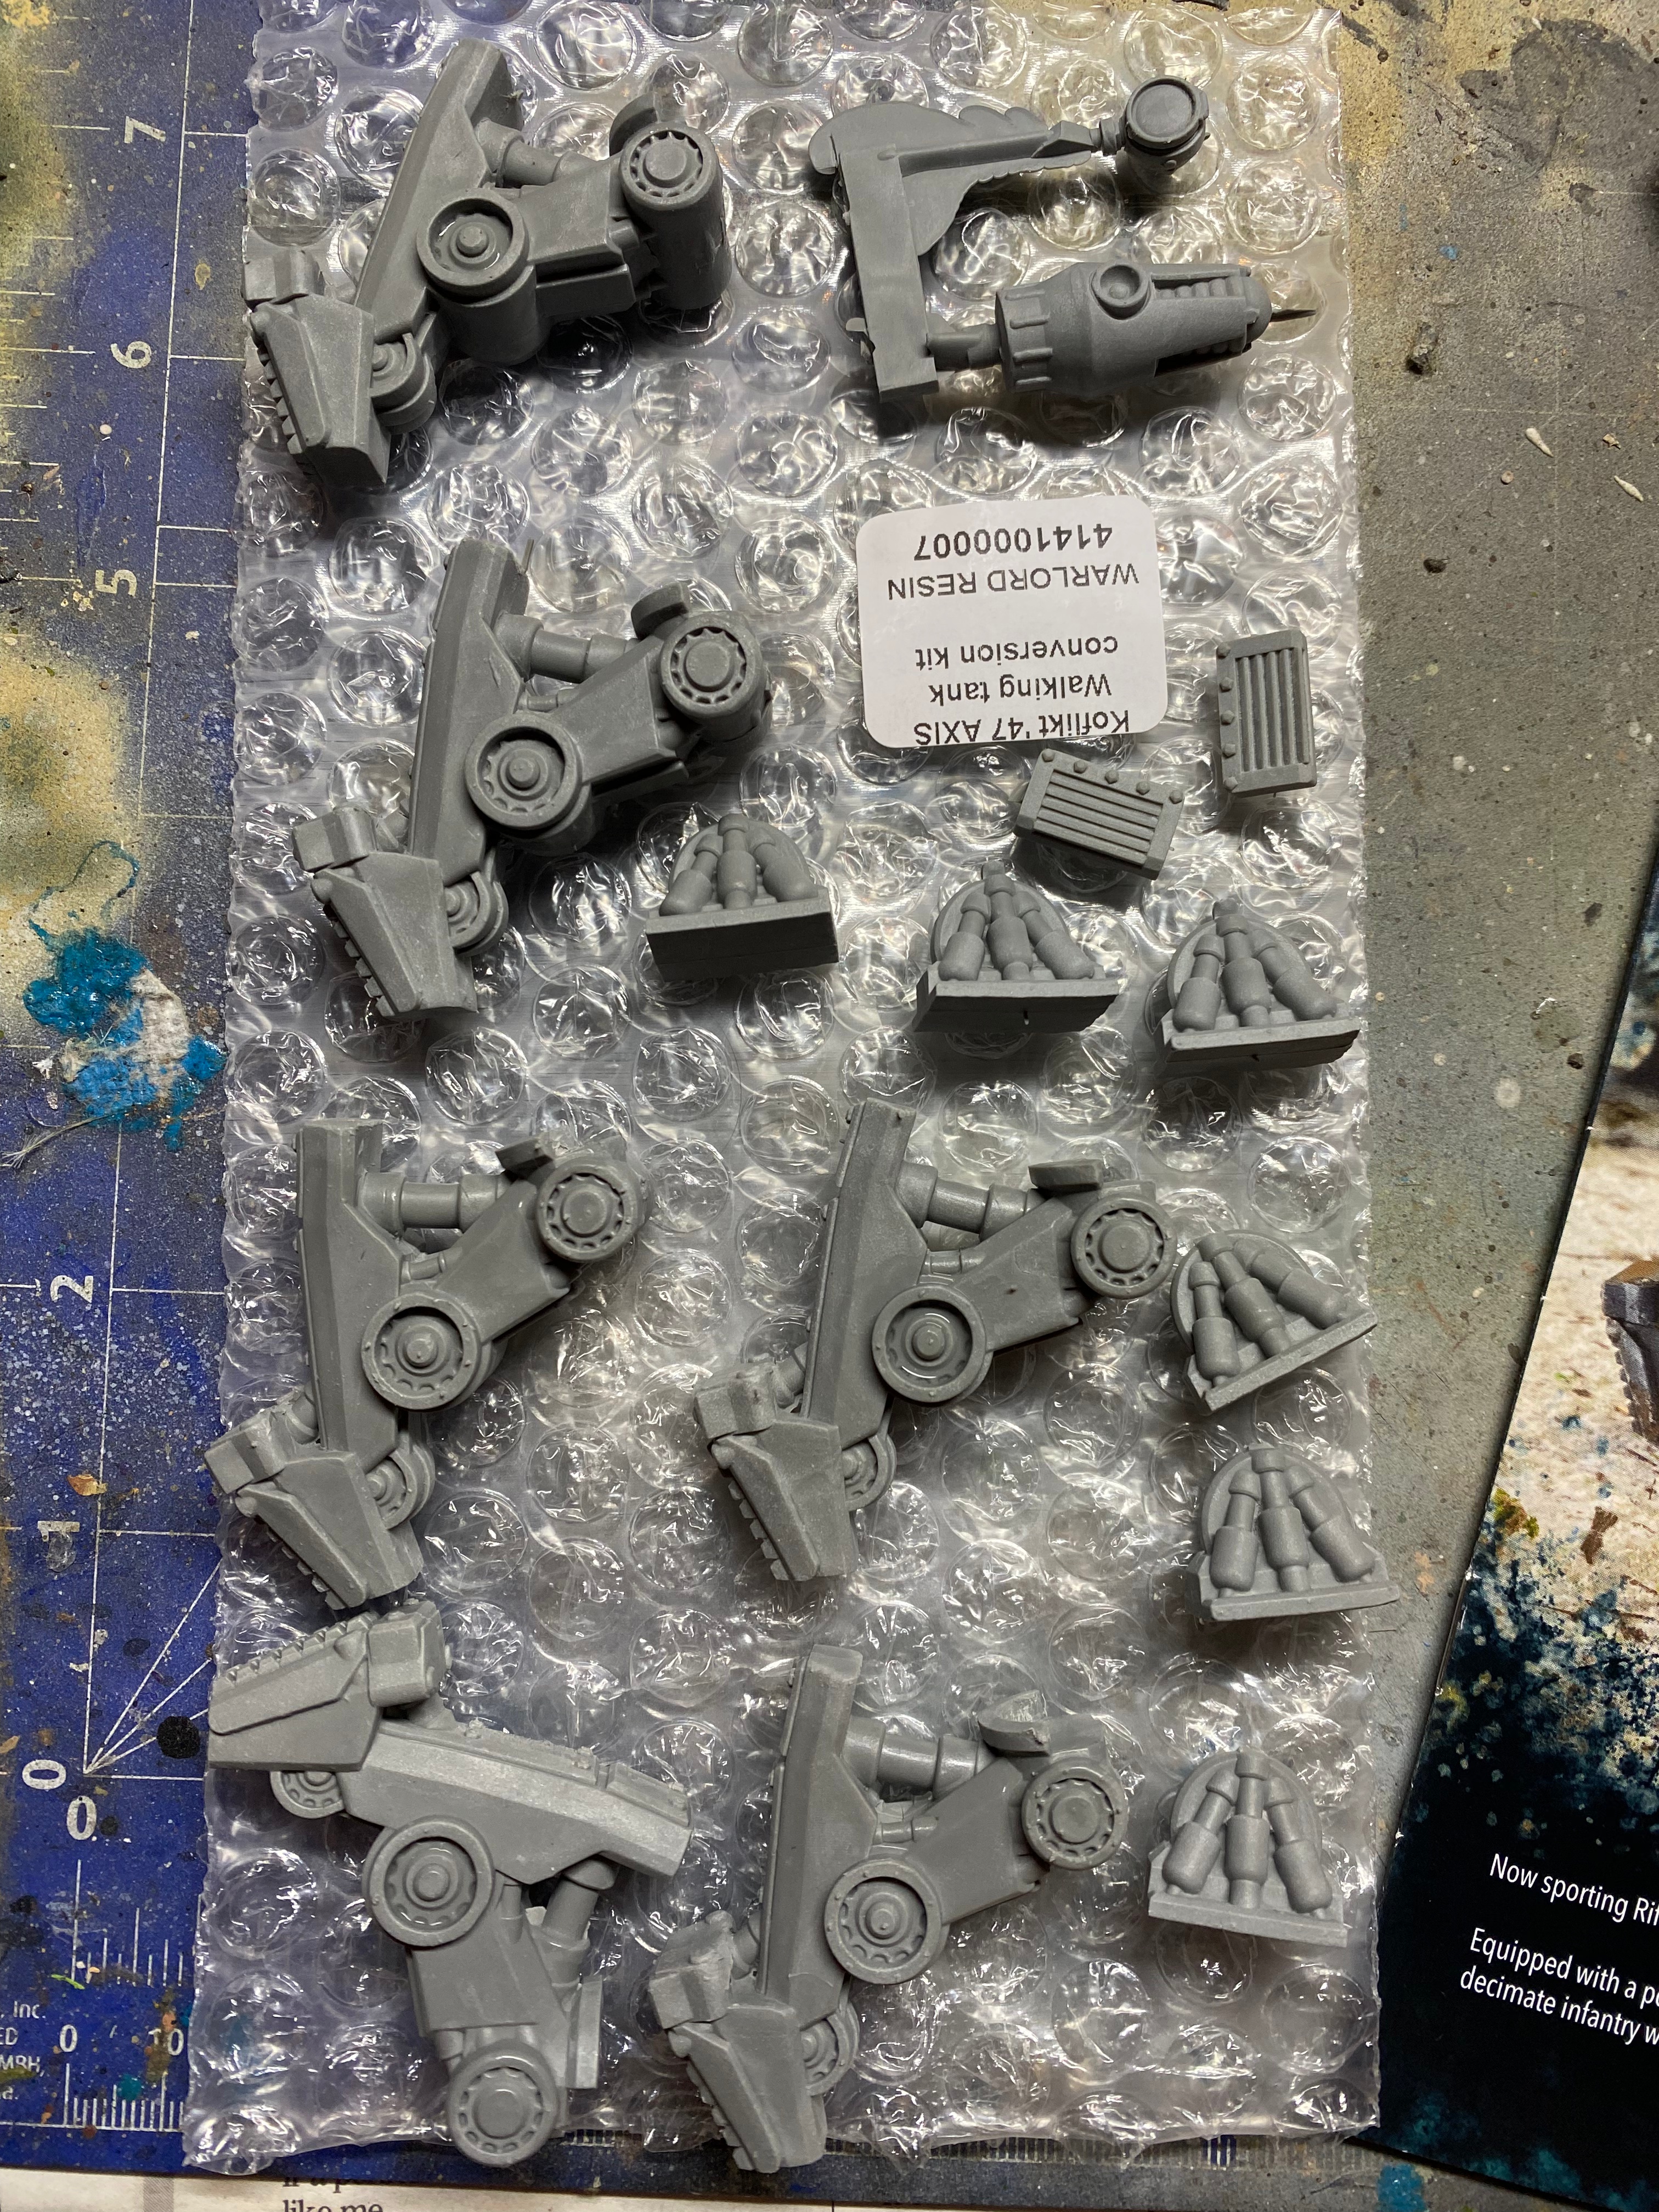
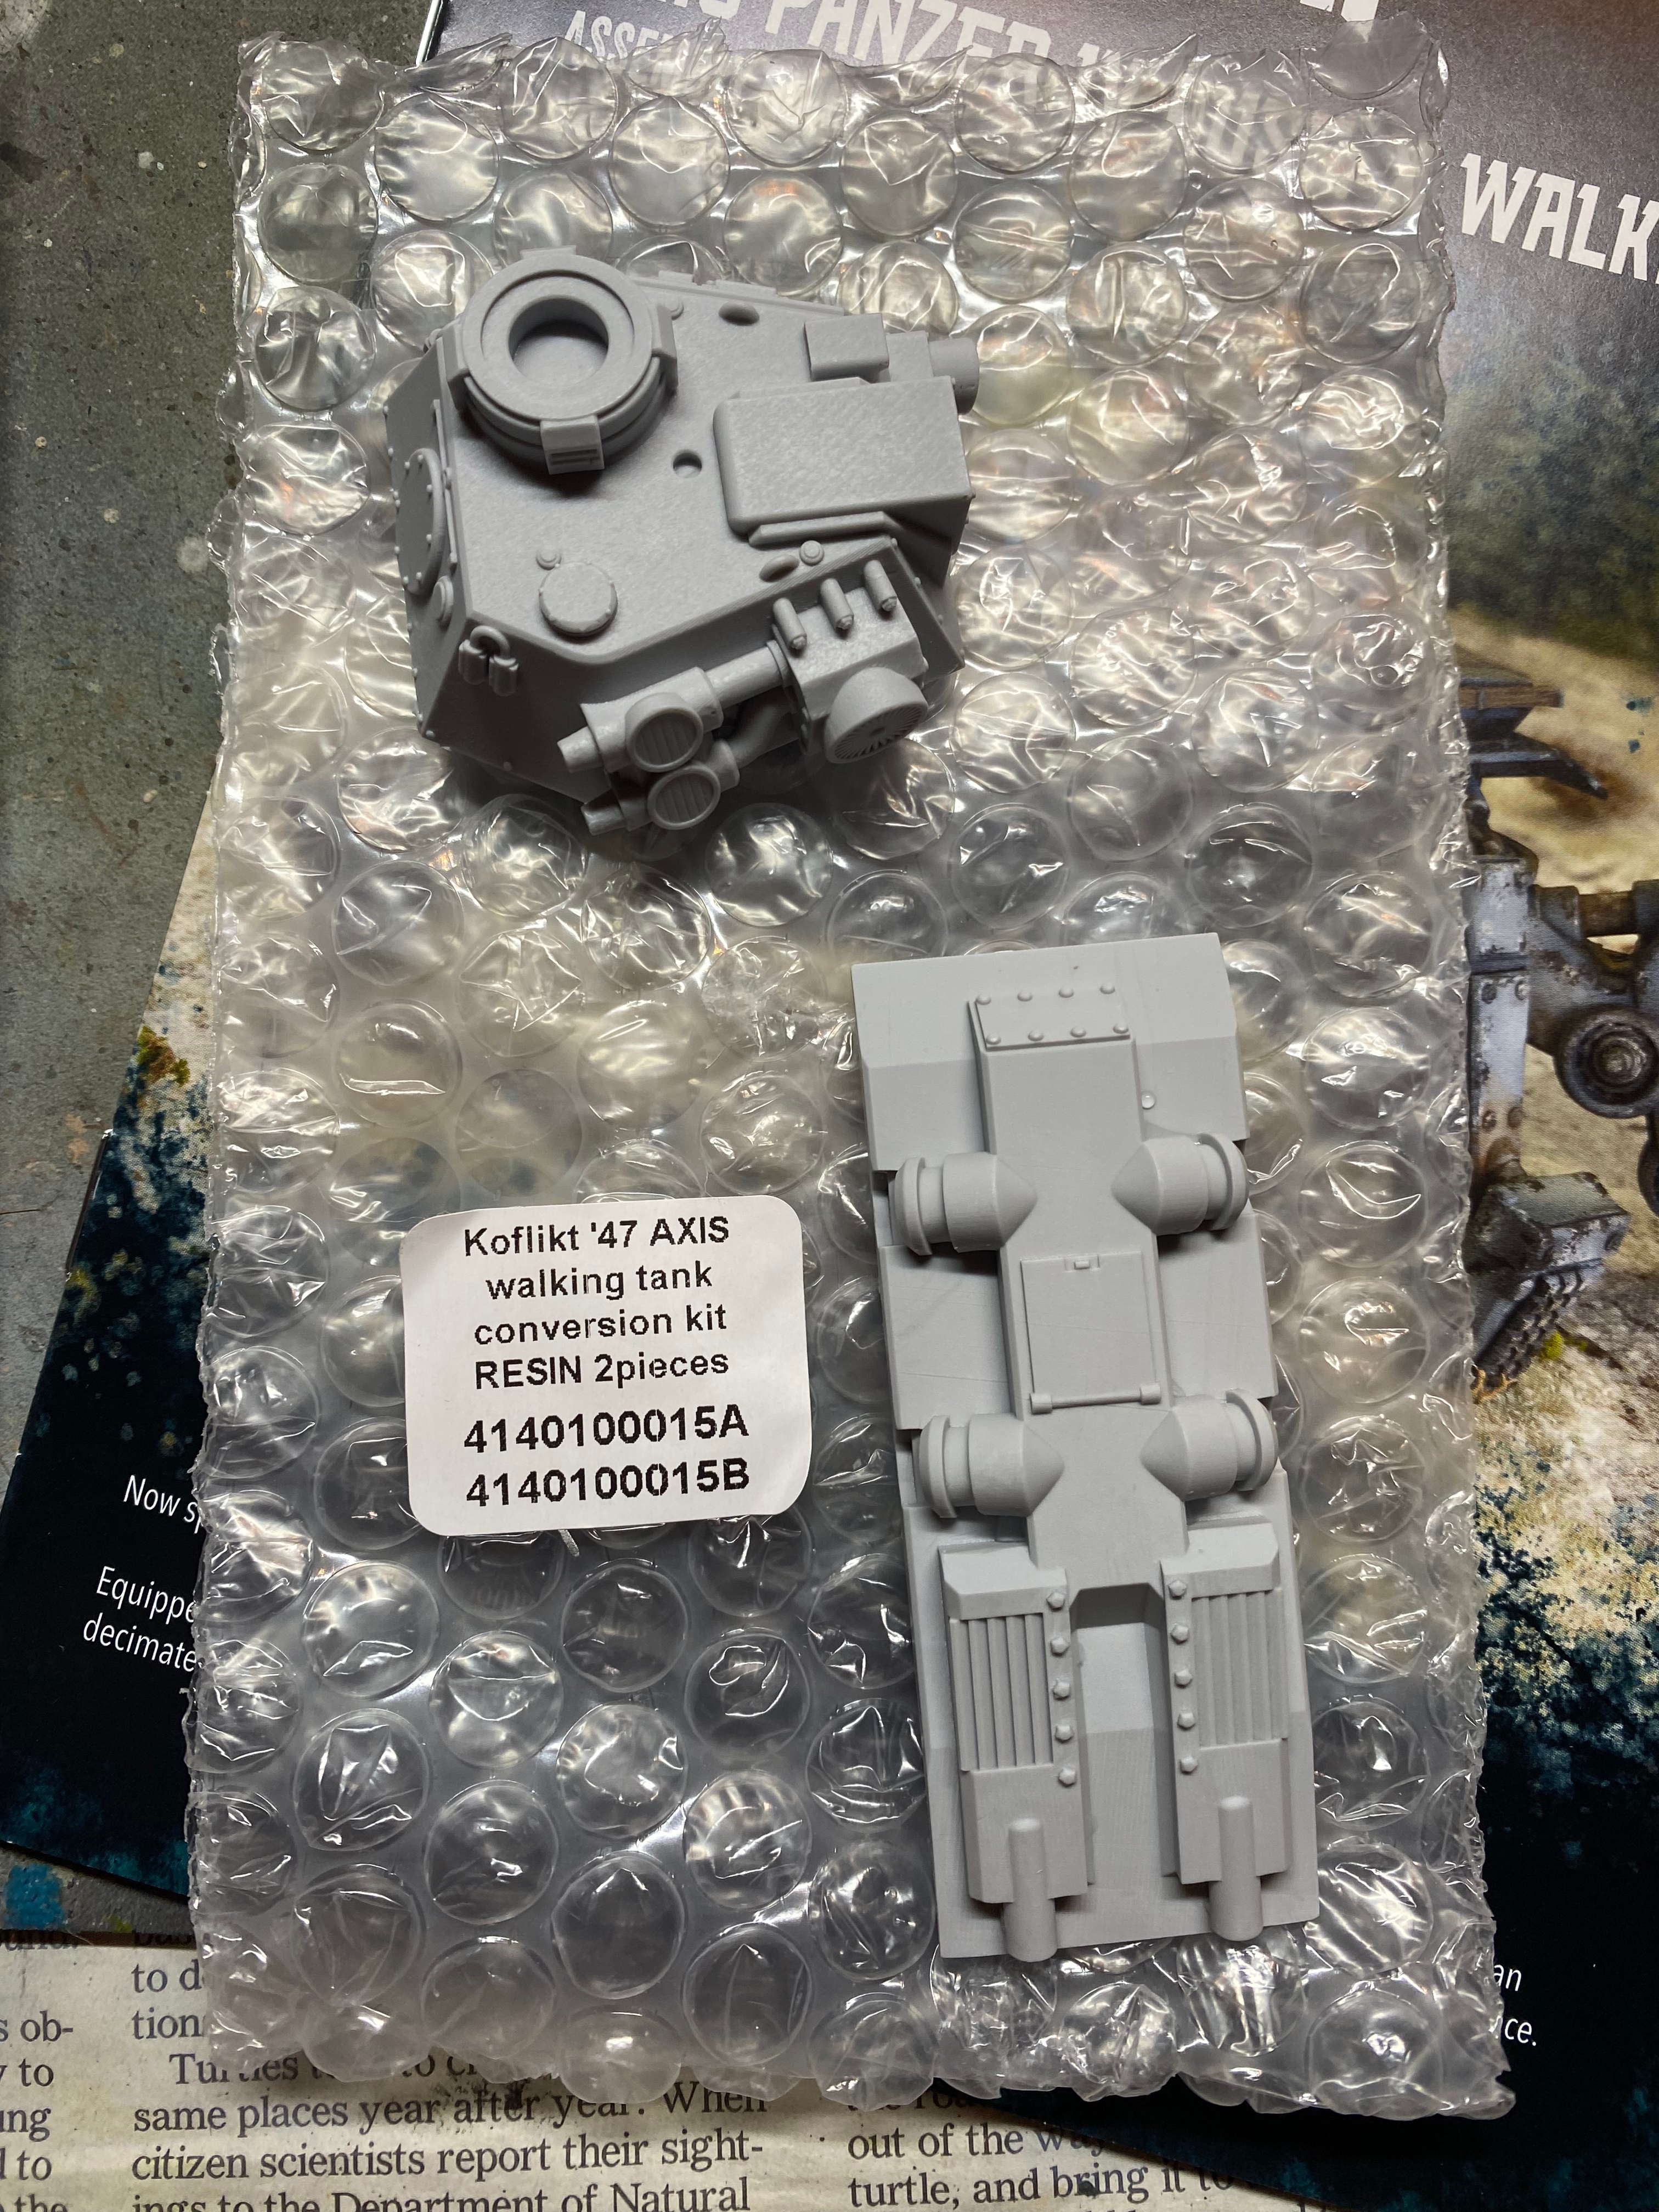
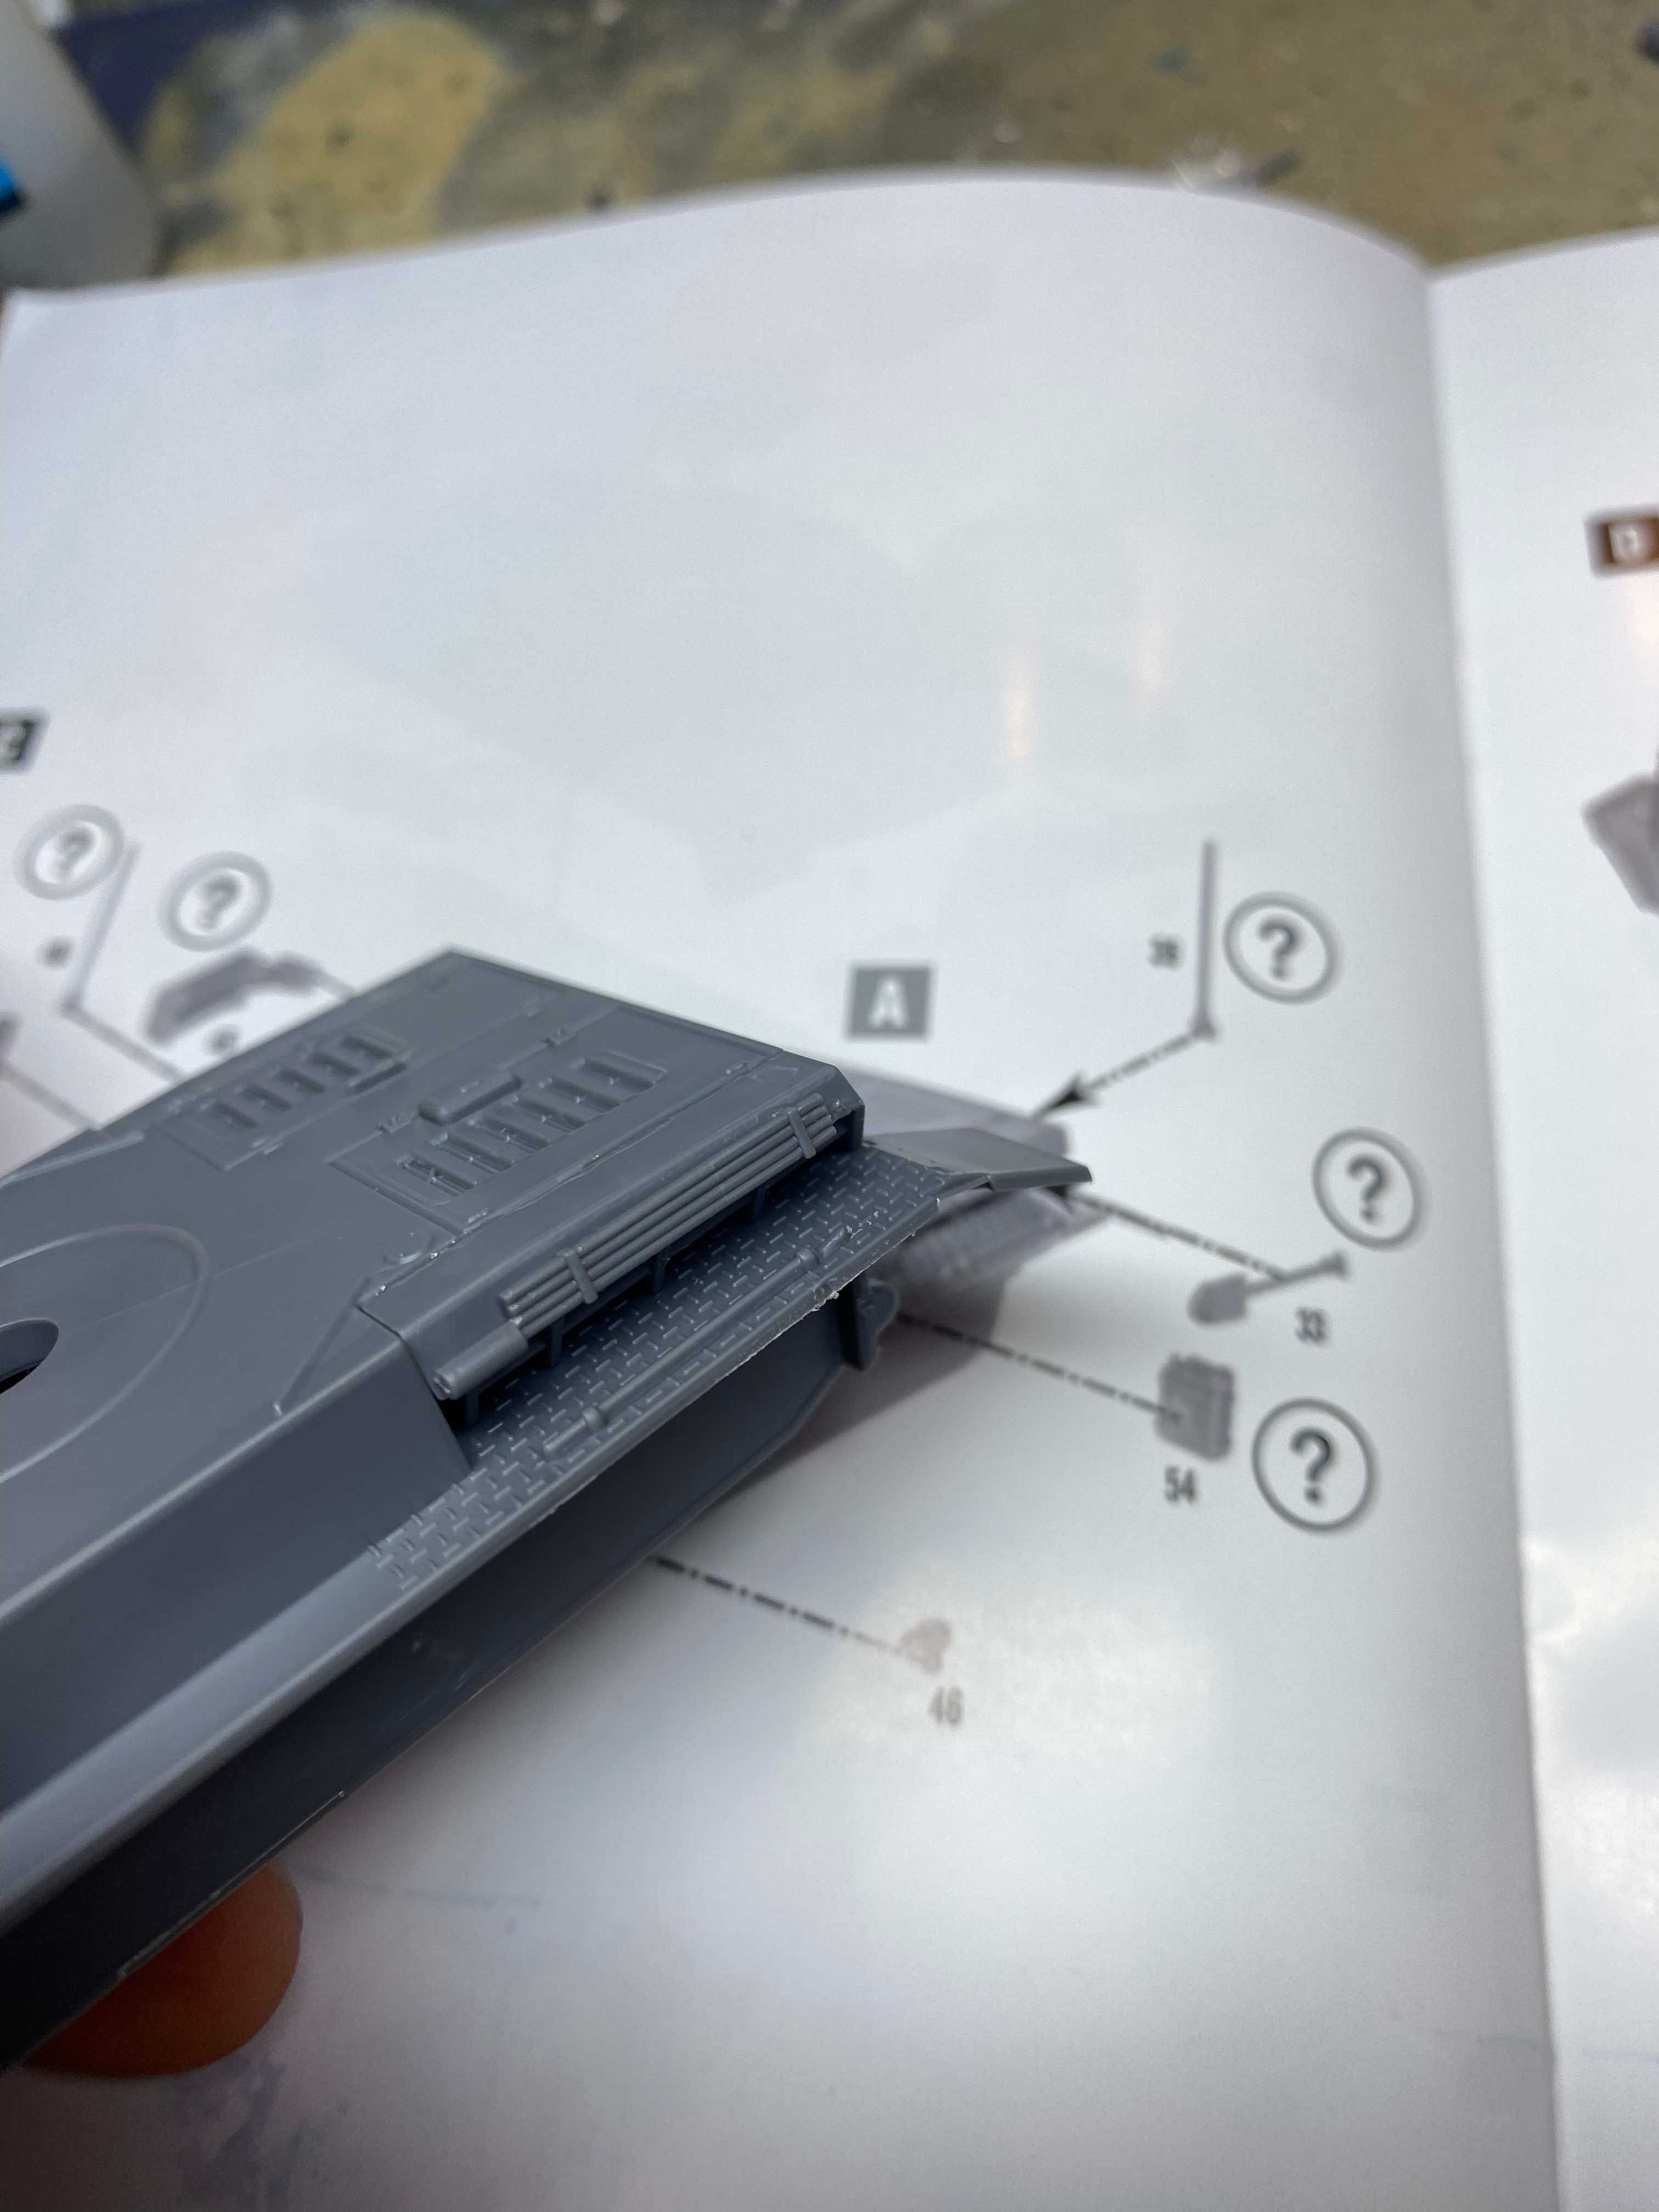
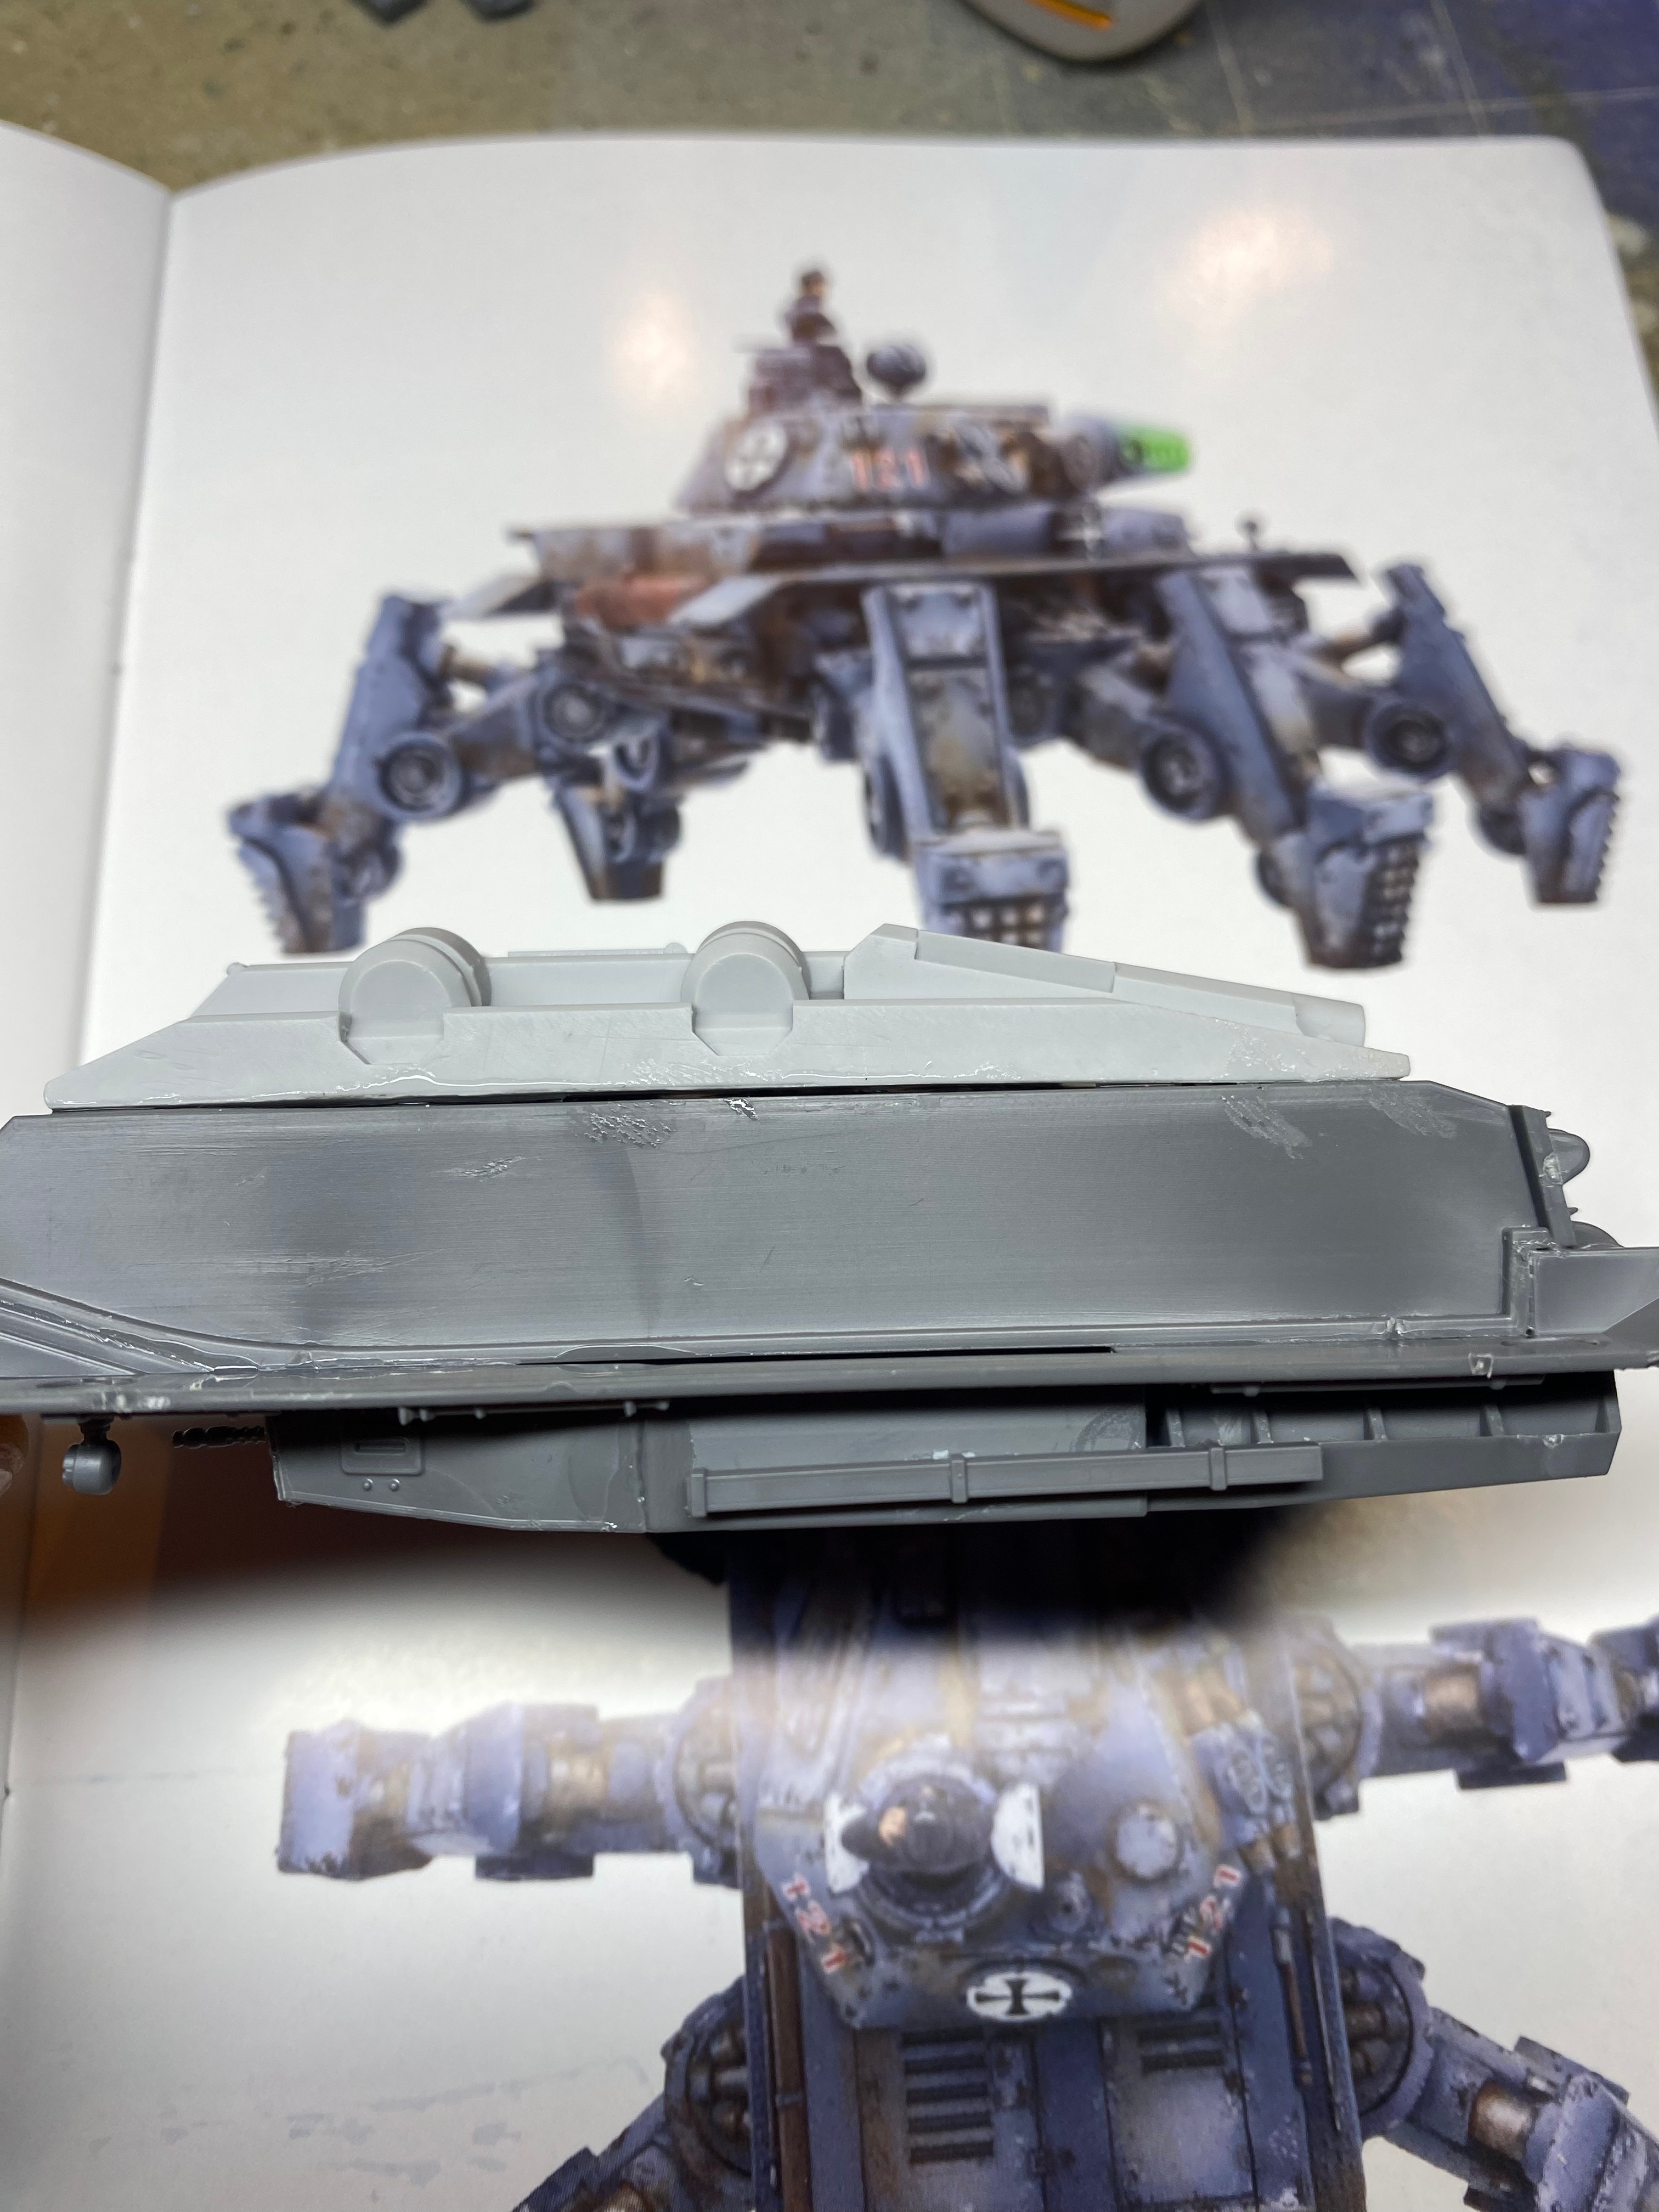
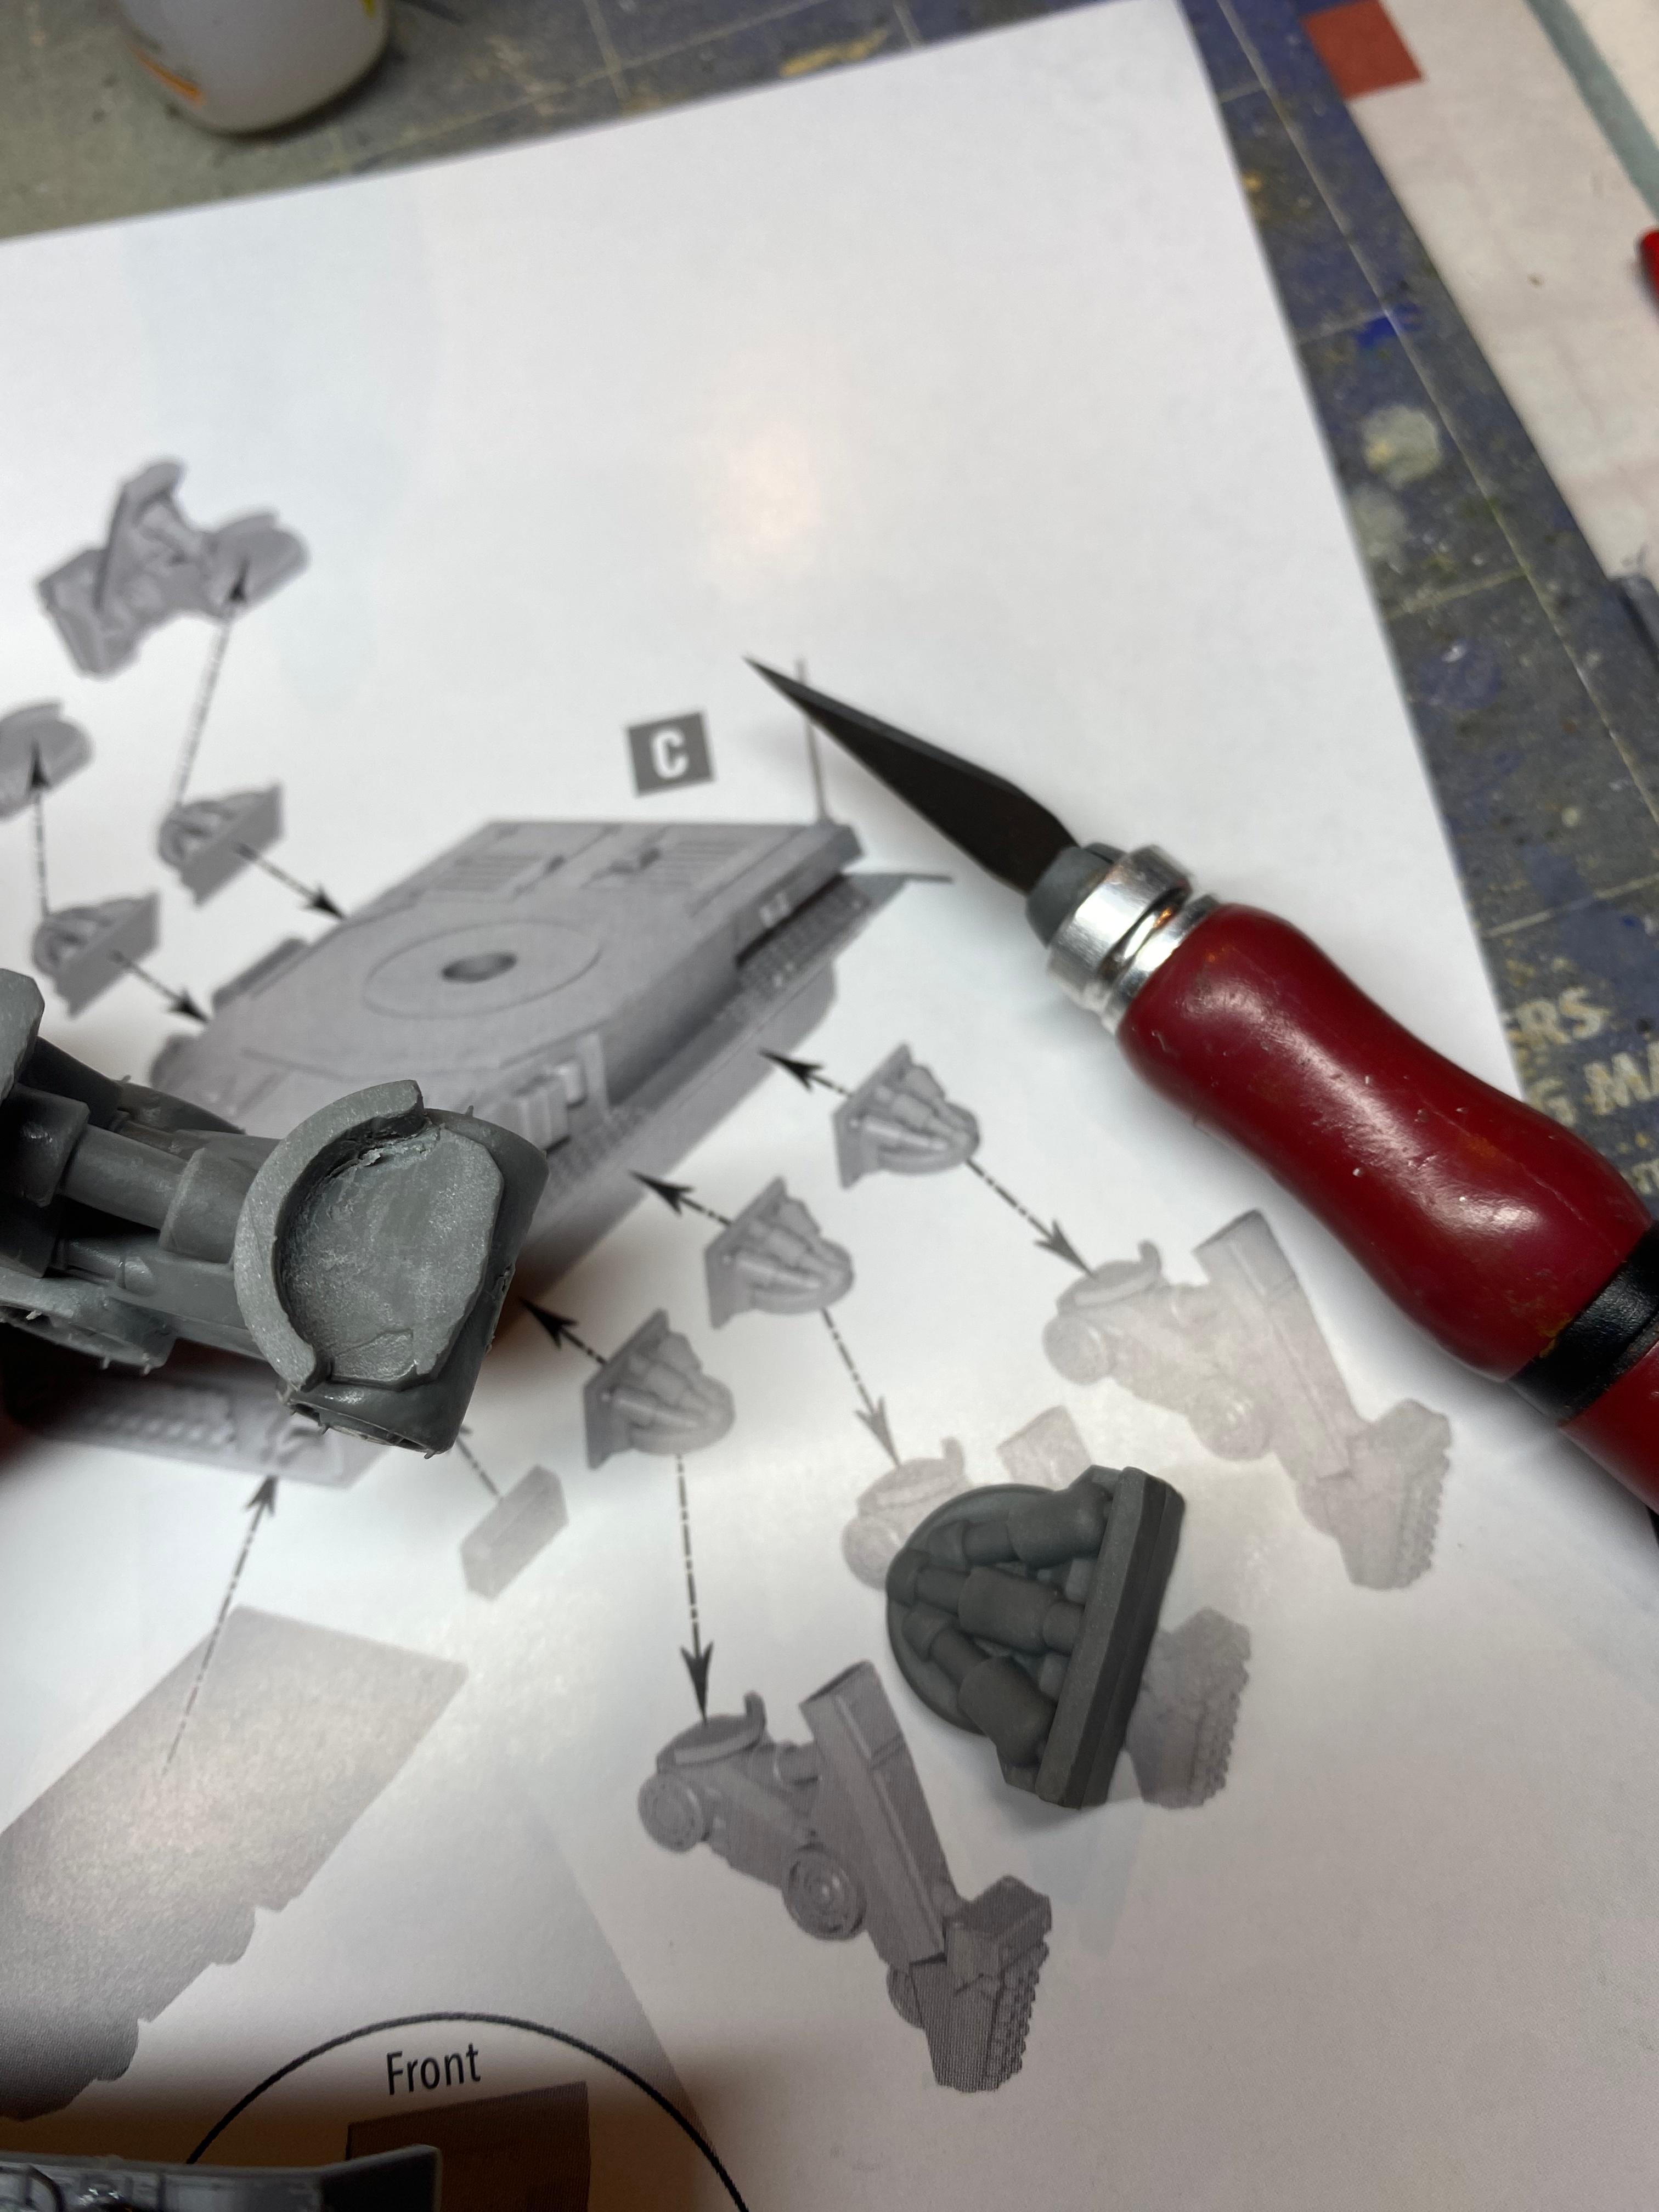
The next part that caused small issues were the three-page instructions. The third image above captures one of the flaws. It shows placing the shovel bit on the back left-side of the kit. This is incorrect. After viewing the images of the completed model, you can see the correct bit that goes there. There is also a resin part that is placed under the hull, but the hull itself lacks any indicators to show were to place it. With a little guess work it was pretty simple to figure out but it would have been nice to have better diagrams showing how to space the resin under the hull. Also the resin part is not flat so there will be gaps between the plastic and resin. This is not much of a concern since once the legs are added on you wont see the gaps unless you take a close look.
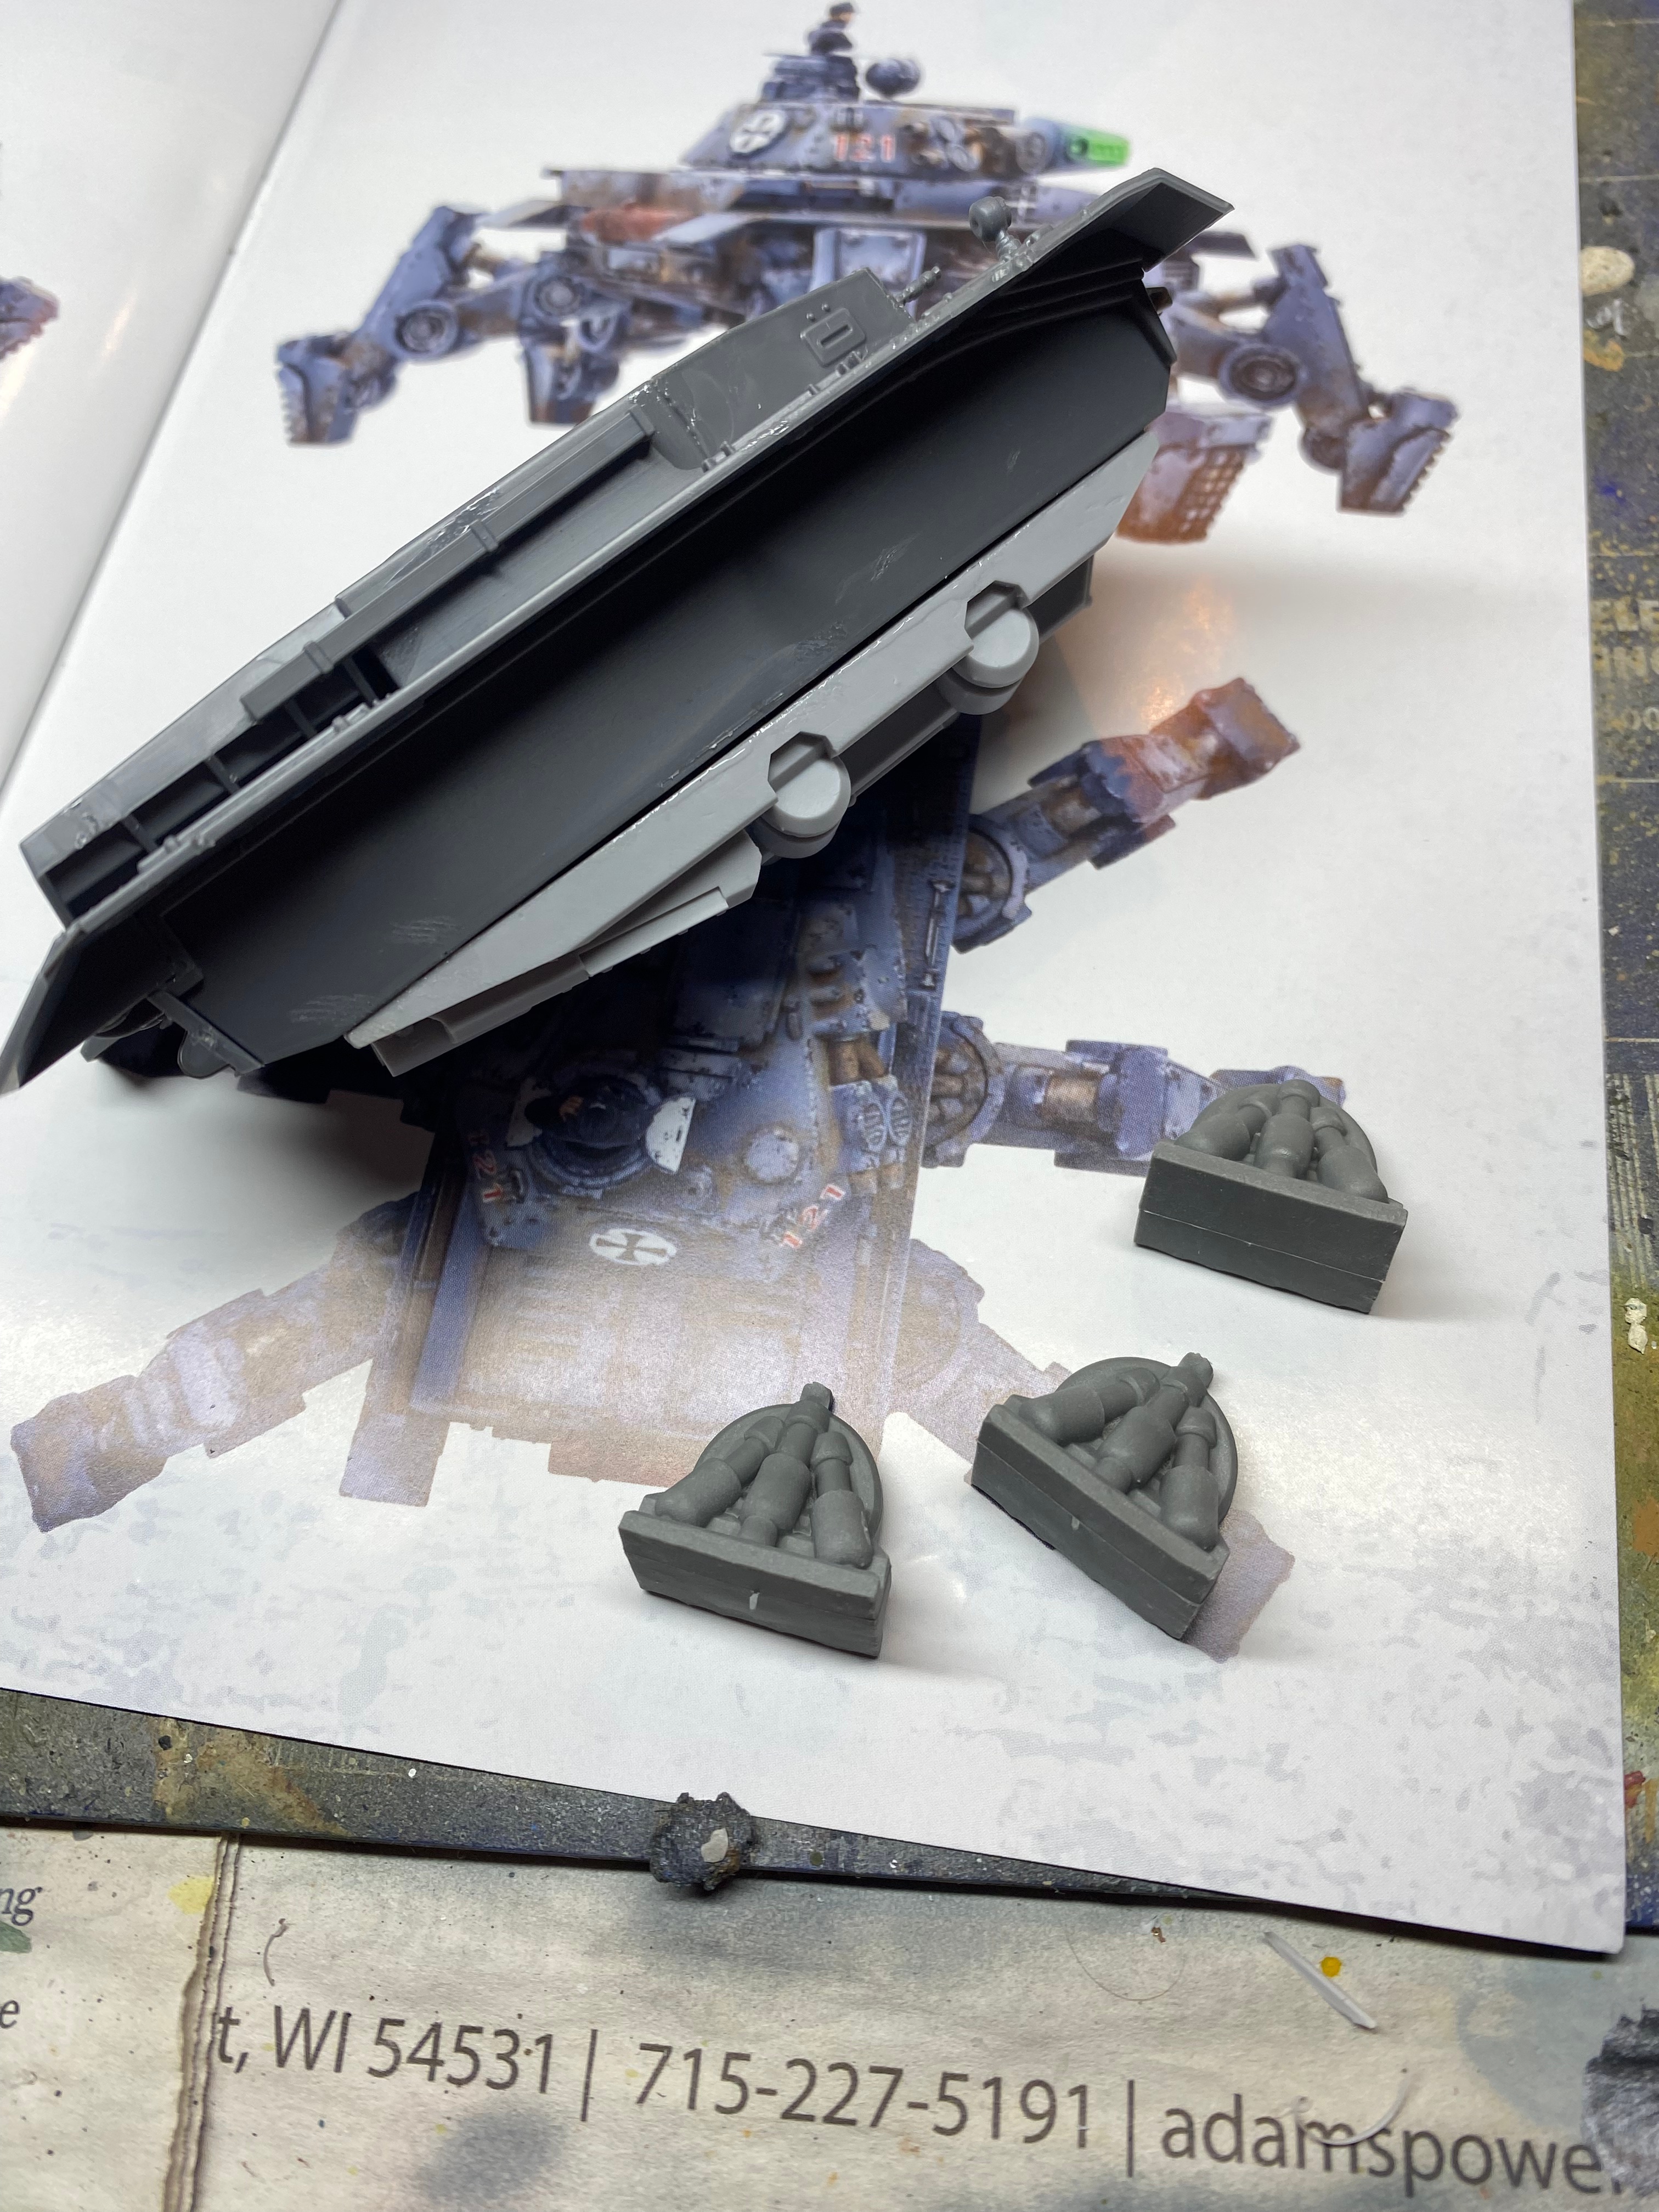
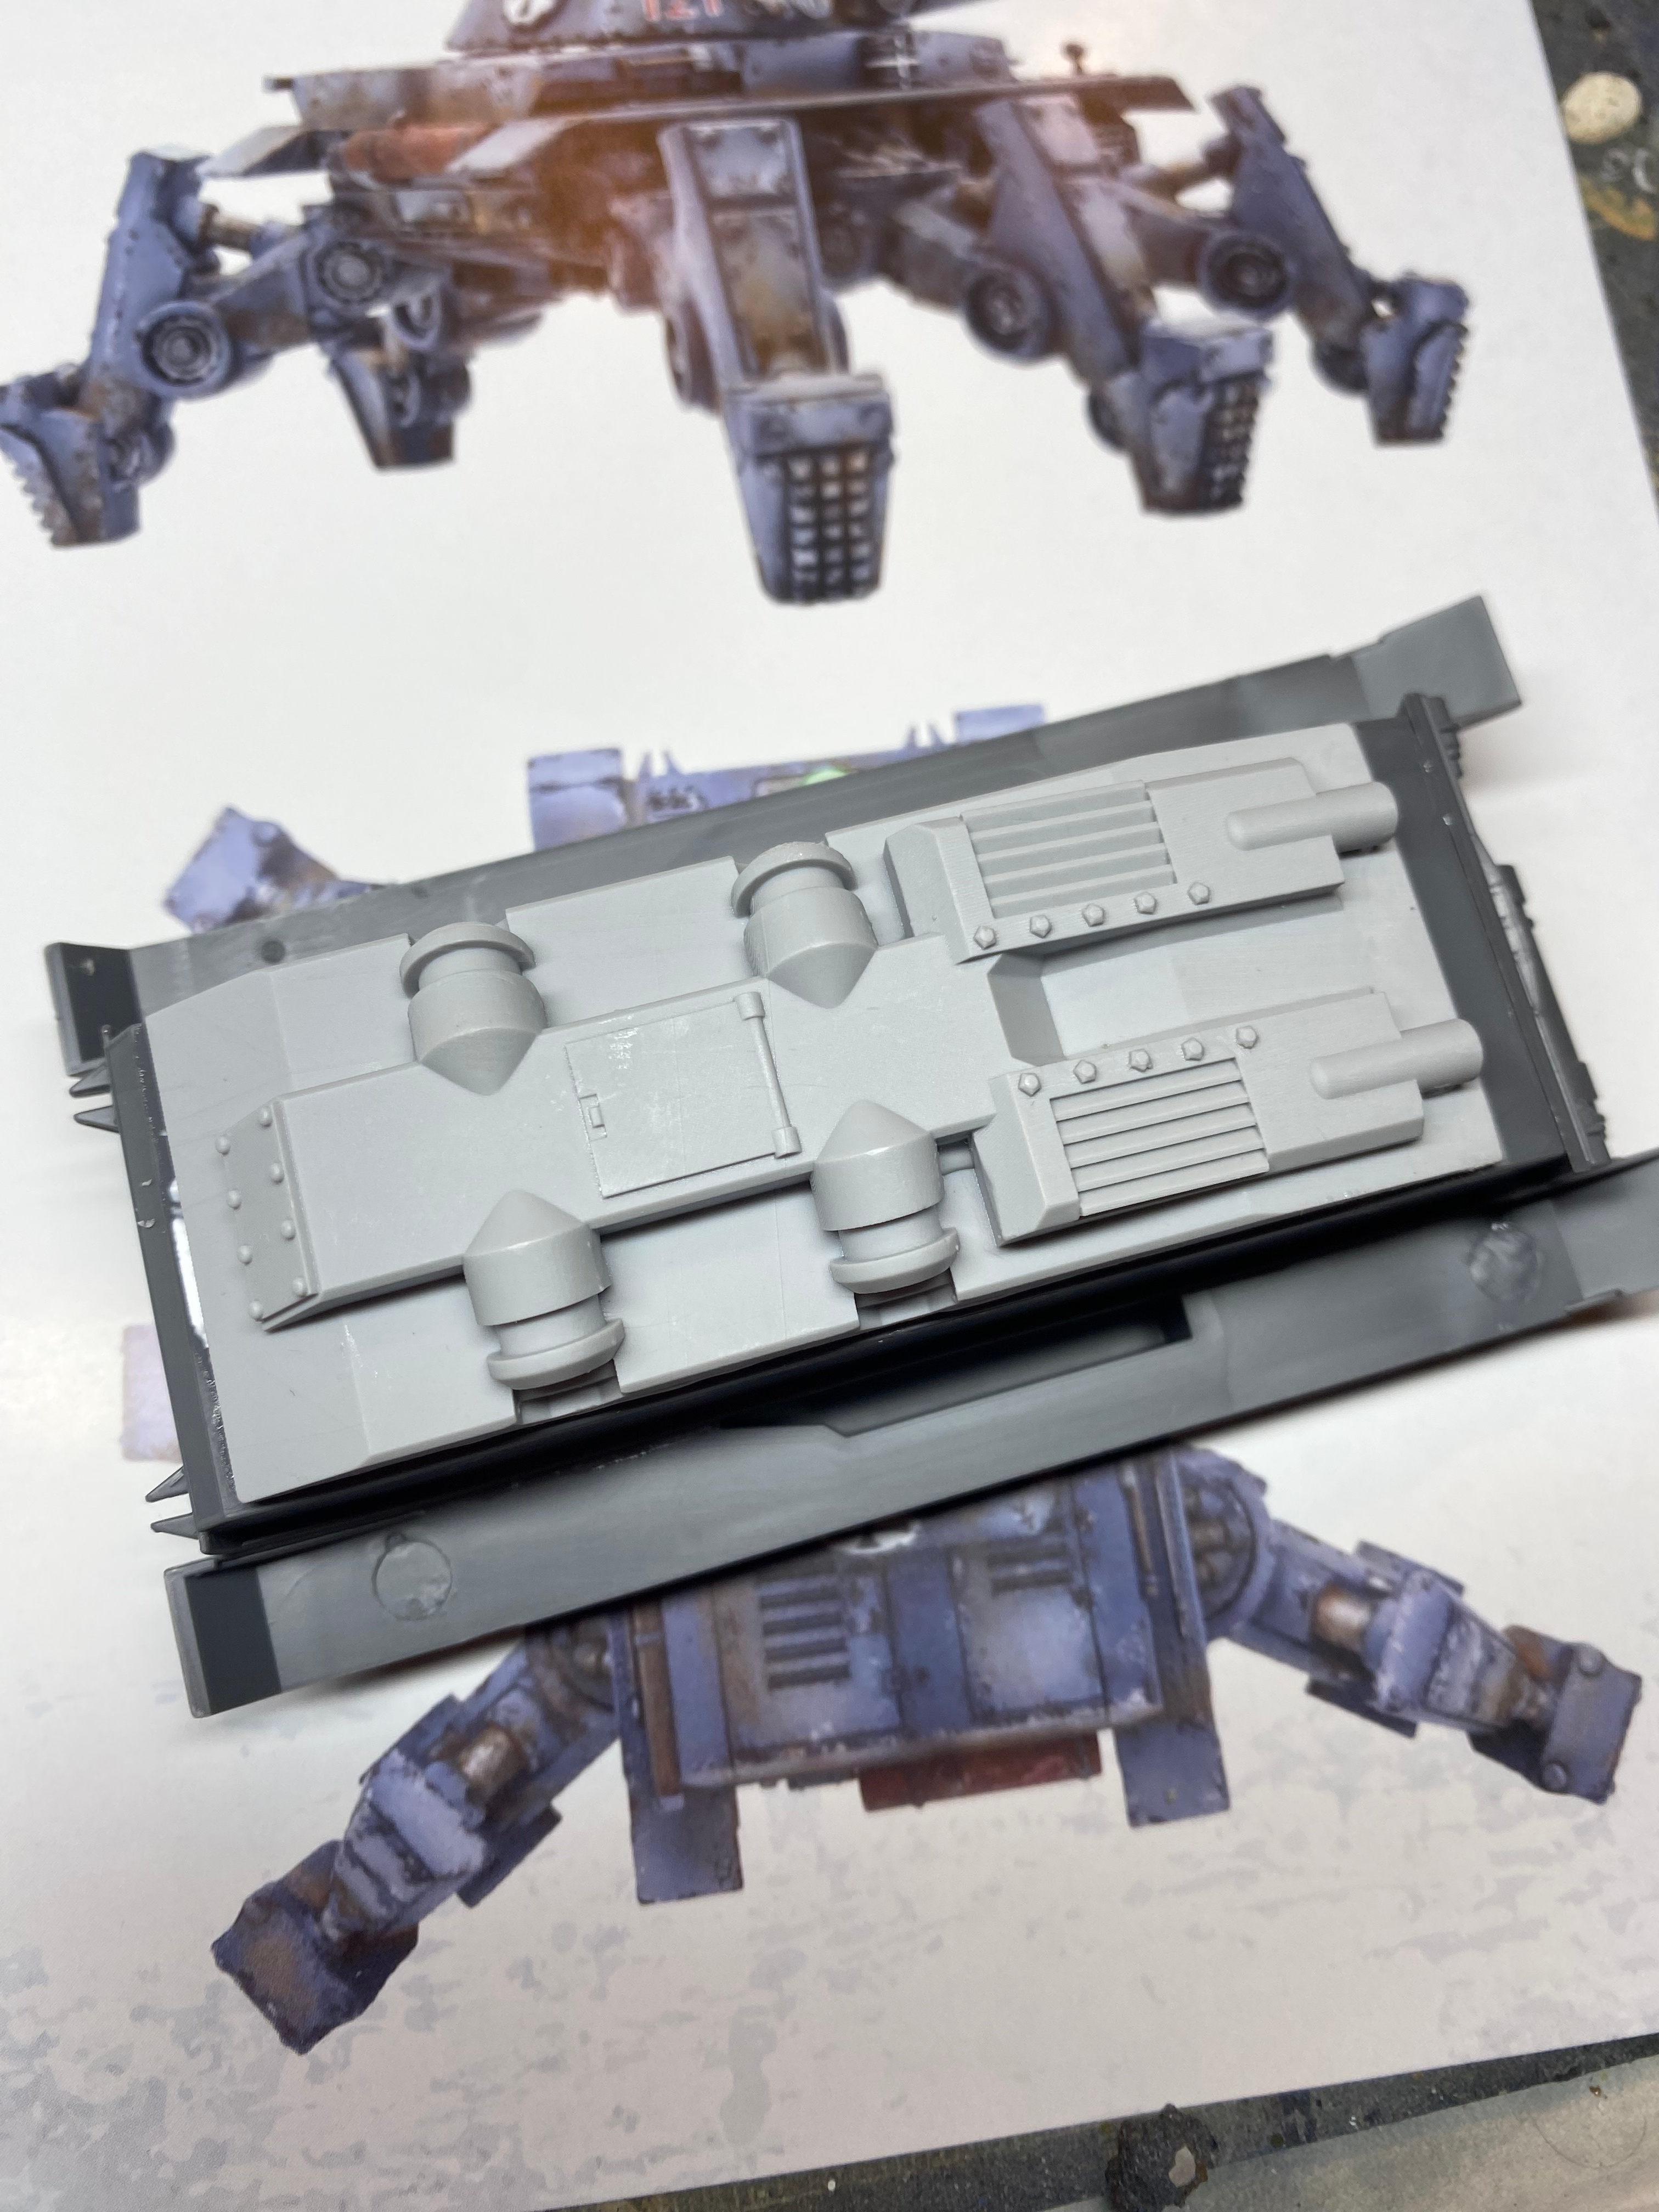
A few other things I noticed is that the soft resin contact points aren’t straight, they have a curve to them where the contacts should be flat. Also the joins on the legs have some flash that is hard to remove and created gaps at the contact points. I didn’t attempt to fix this. Instead, I held onto the pieces while they were gluing for a little longer than I normally would. Around 20 seconds in this case. These gaps are also not visible once the model is completed unless you flip it over. A small imperfection since the model won’t typically be moving around upside-down on the table. The last issue is the six resin leg joins that attach to the plastic hull also lack indicators for spacing in both the instructions and on the hull itself. This created a moment of anxiety while building the model, but as there isn’t much space available, the joint pieces take up most of the hull. So you just need to space them as evenly as possible from each other. And that is it! That’s the build. Like I said its only three pages. Quick and relatively simple and will be on your table in no time.
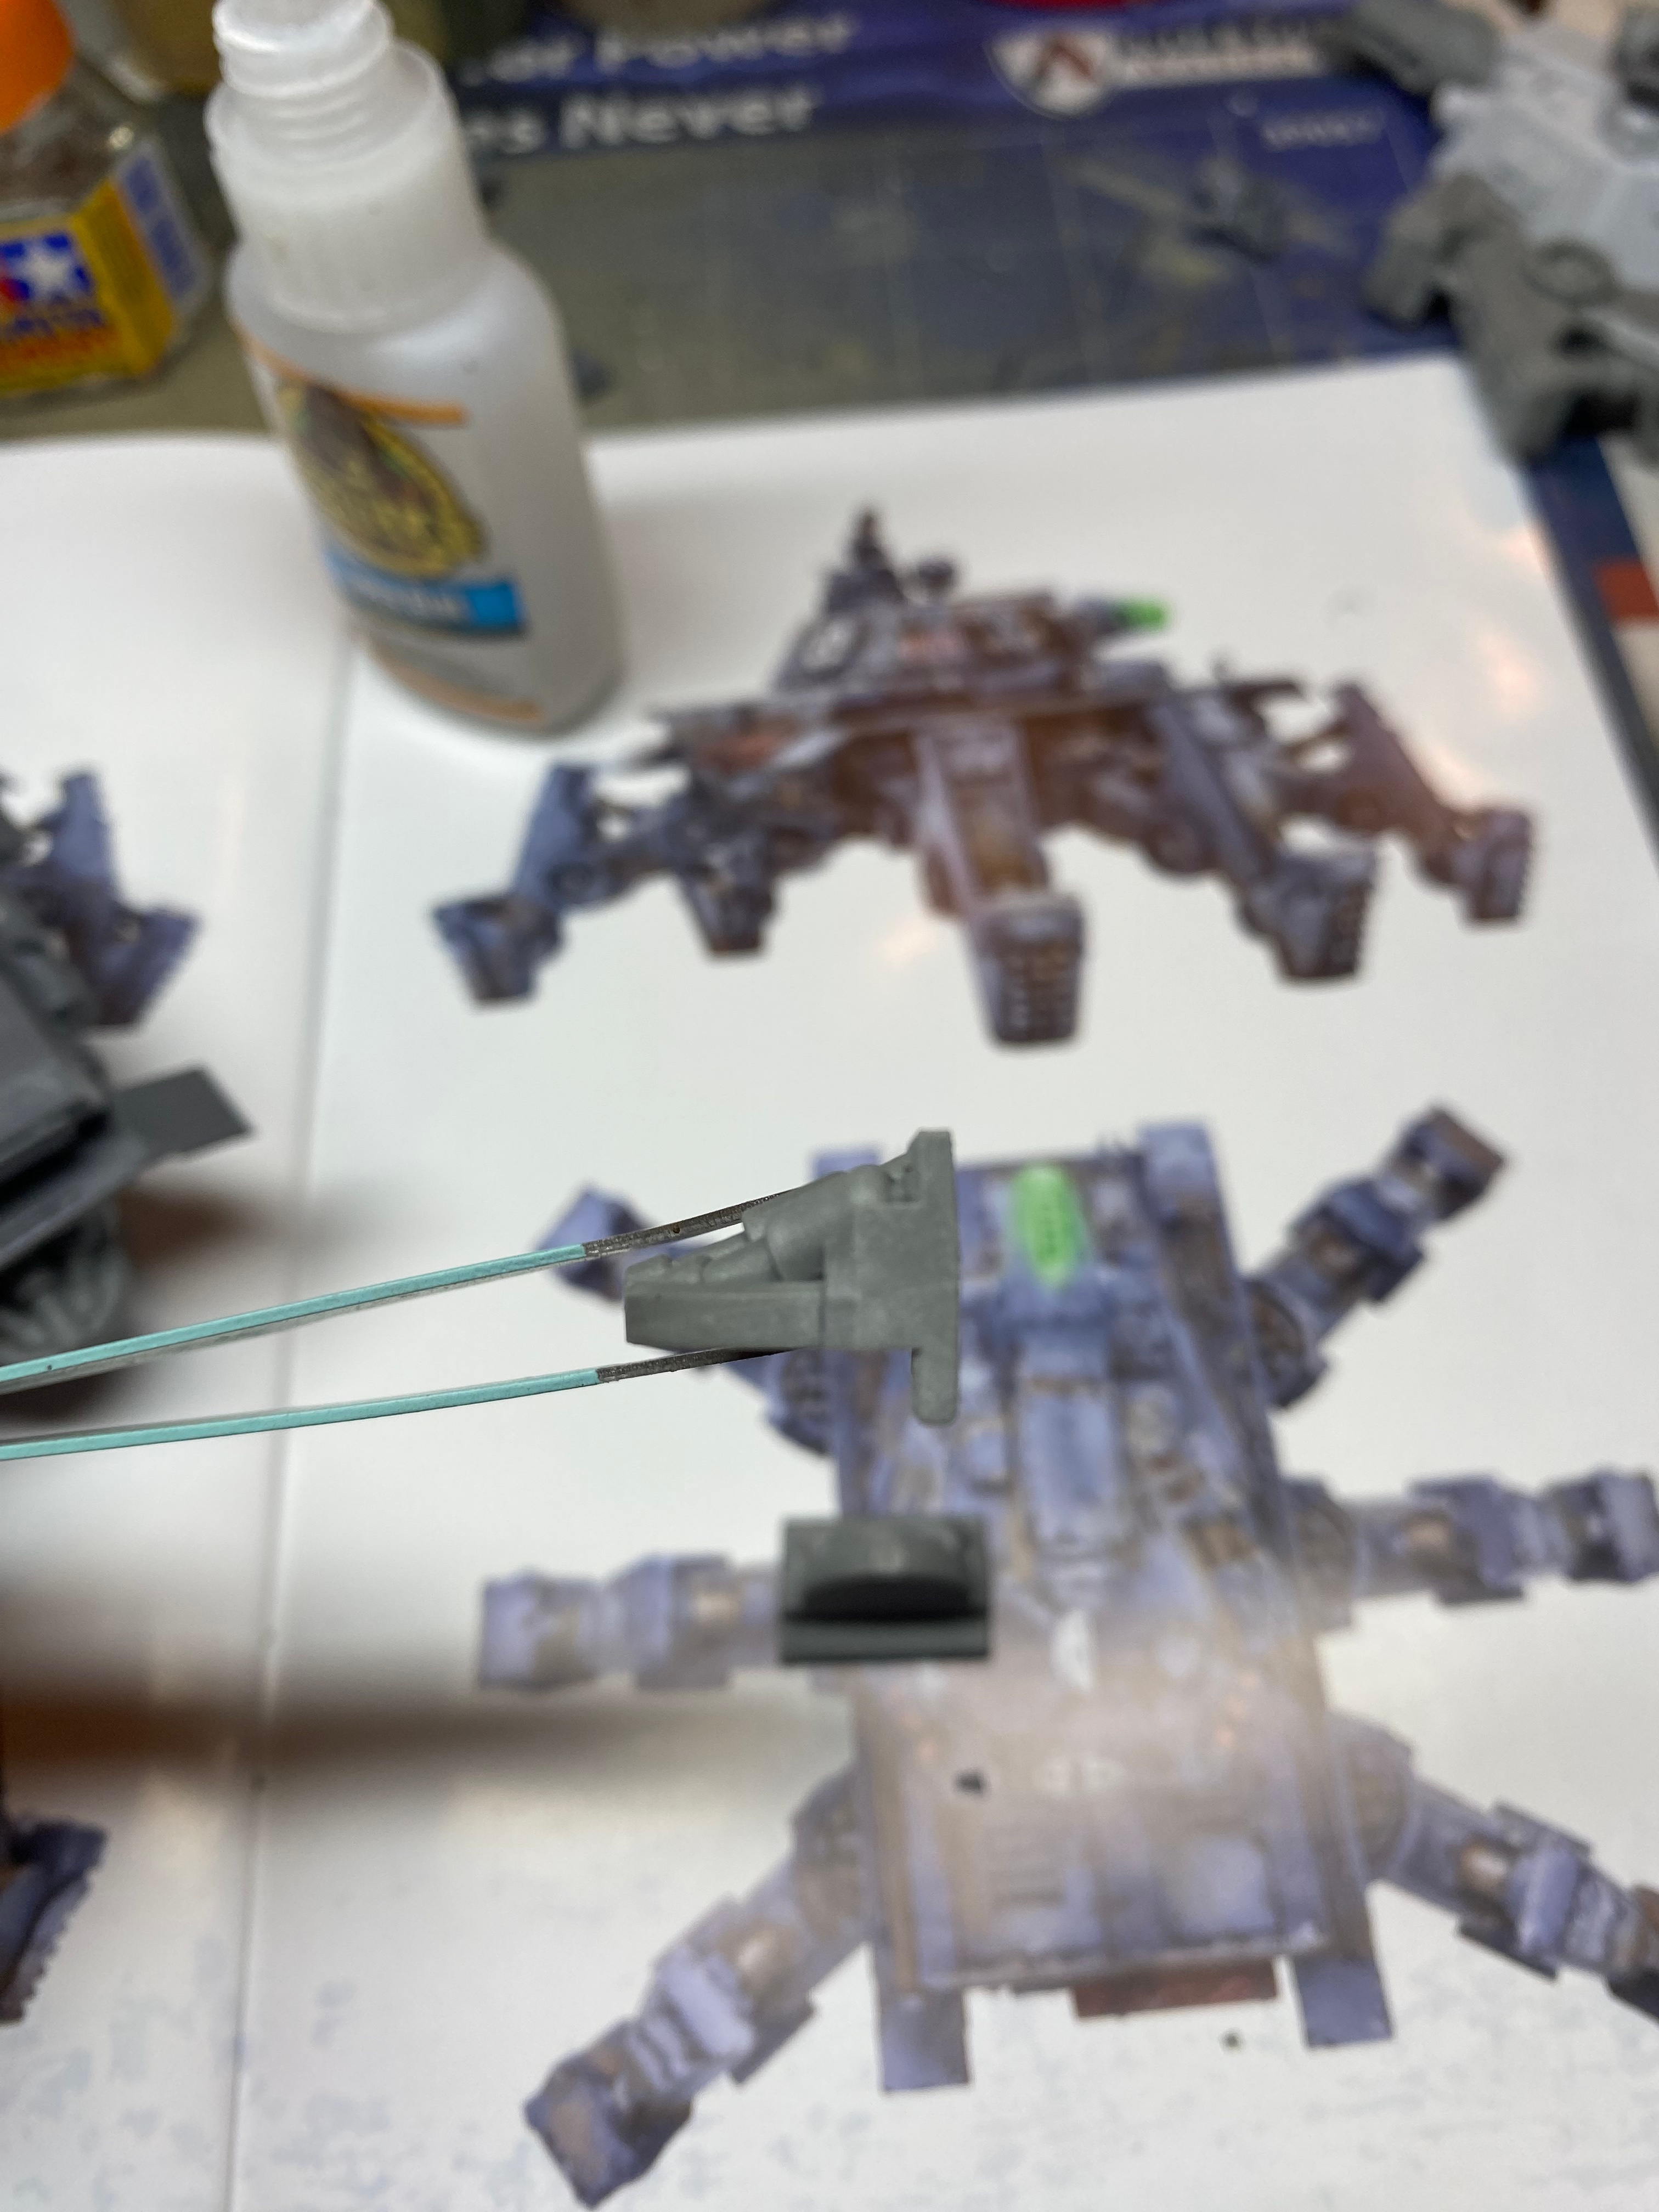
I want to mention that the instructions state to use plastic glue. This must be a left over part of the original plastic Panzer IV instructions. You can use plastic glue on the plastic bits but will need super glue for the resin pieces. This is something that experienced hobbyist will know, but could create issues for folks new to the hobby.
Completion
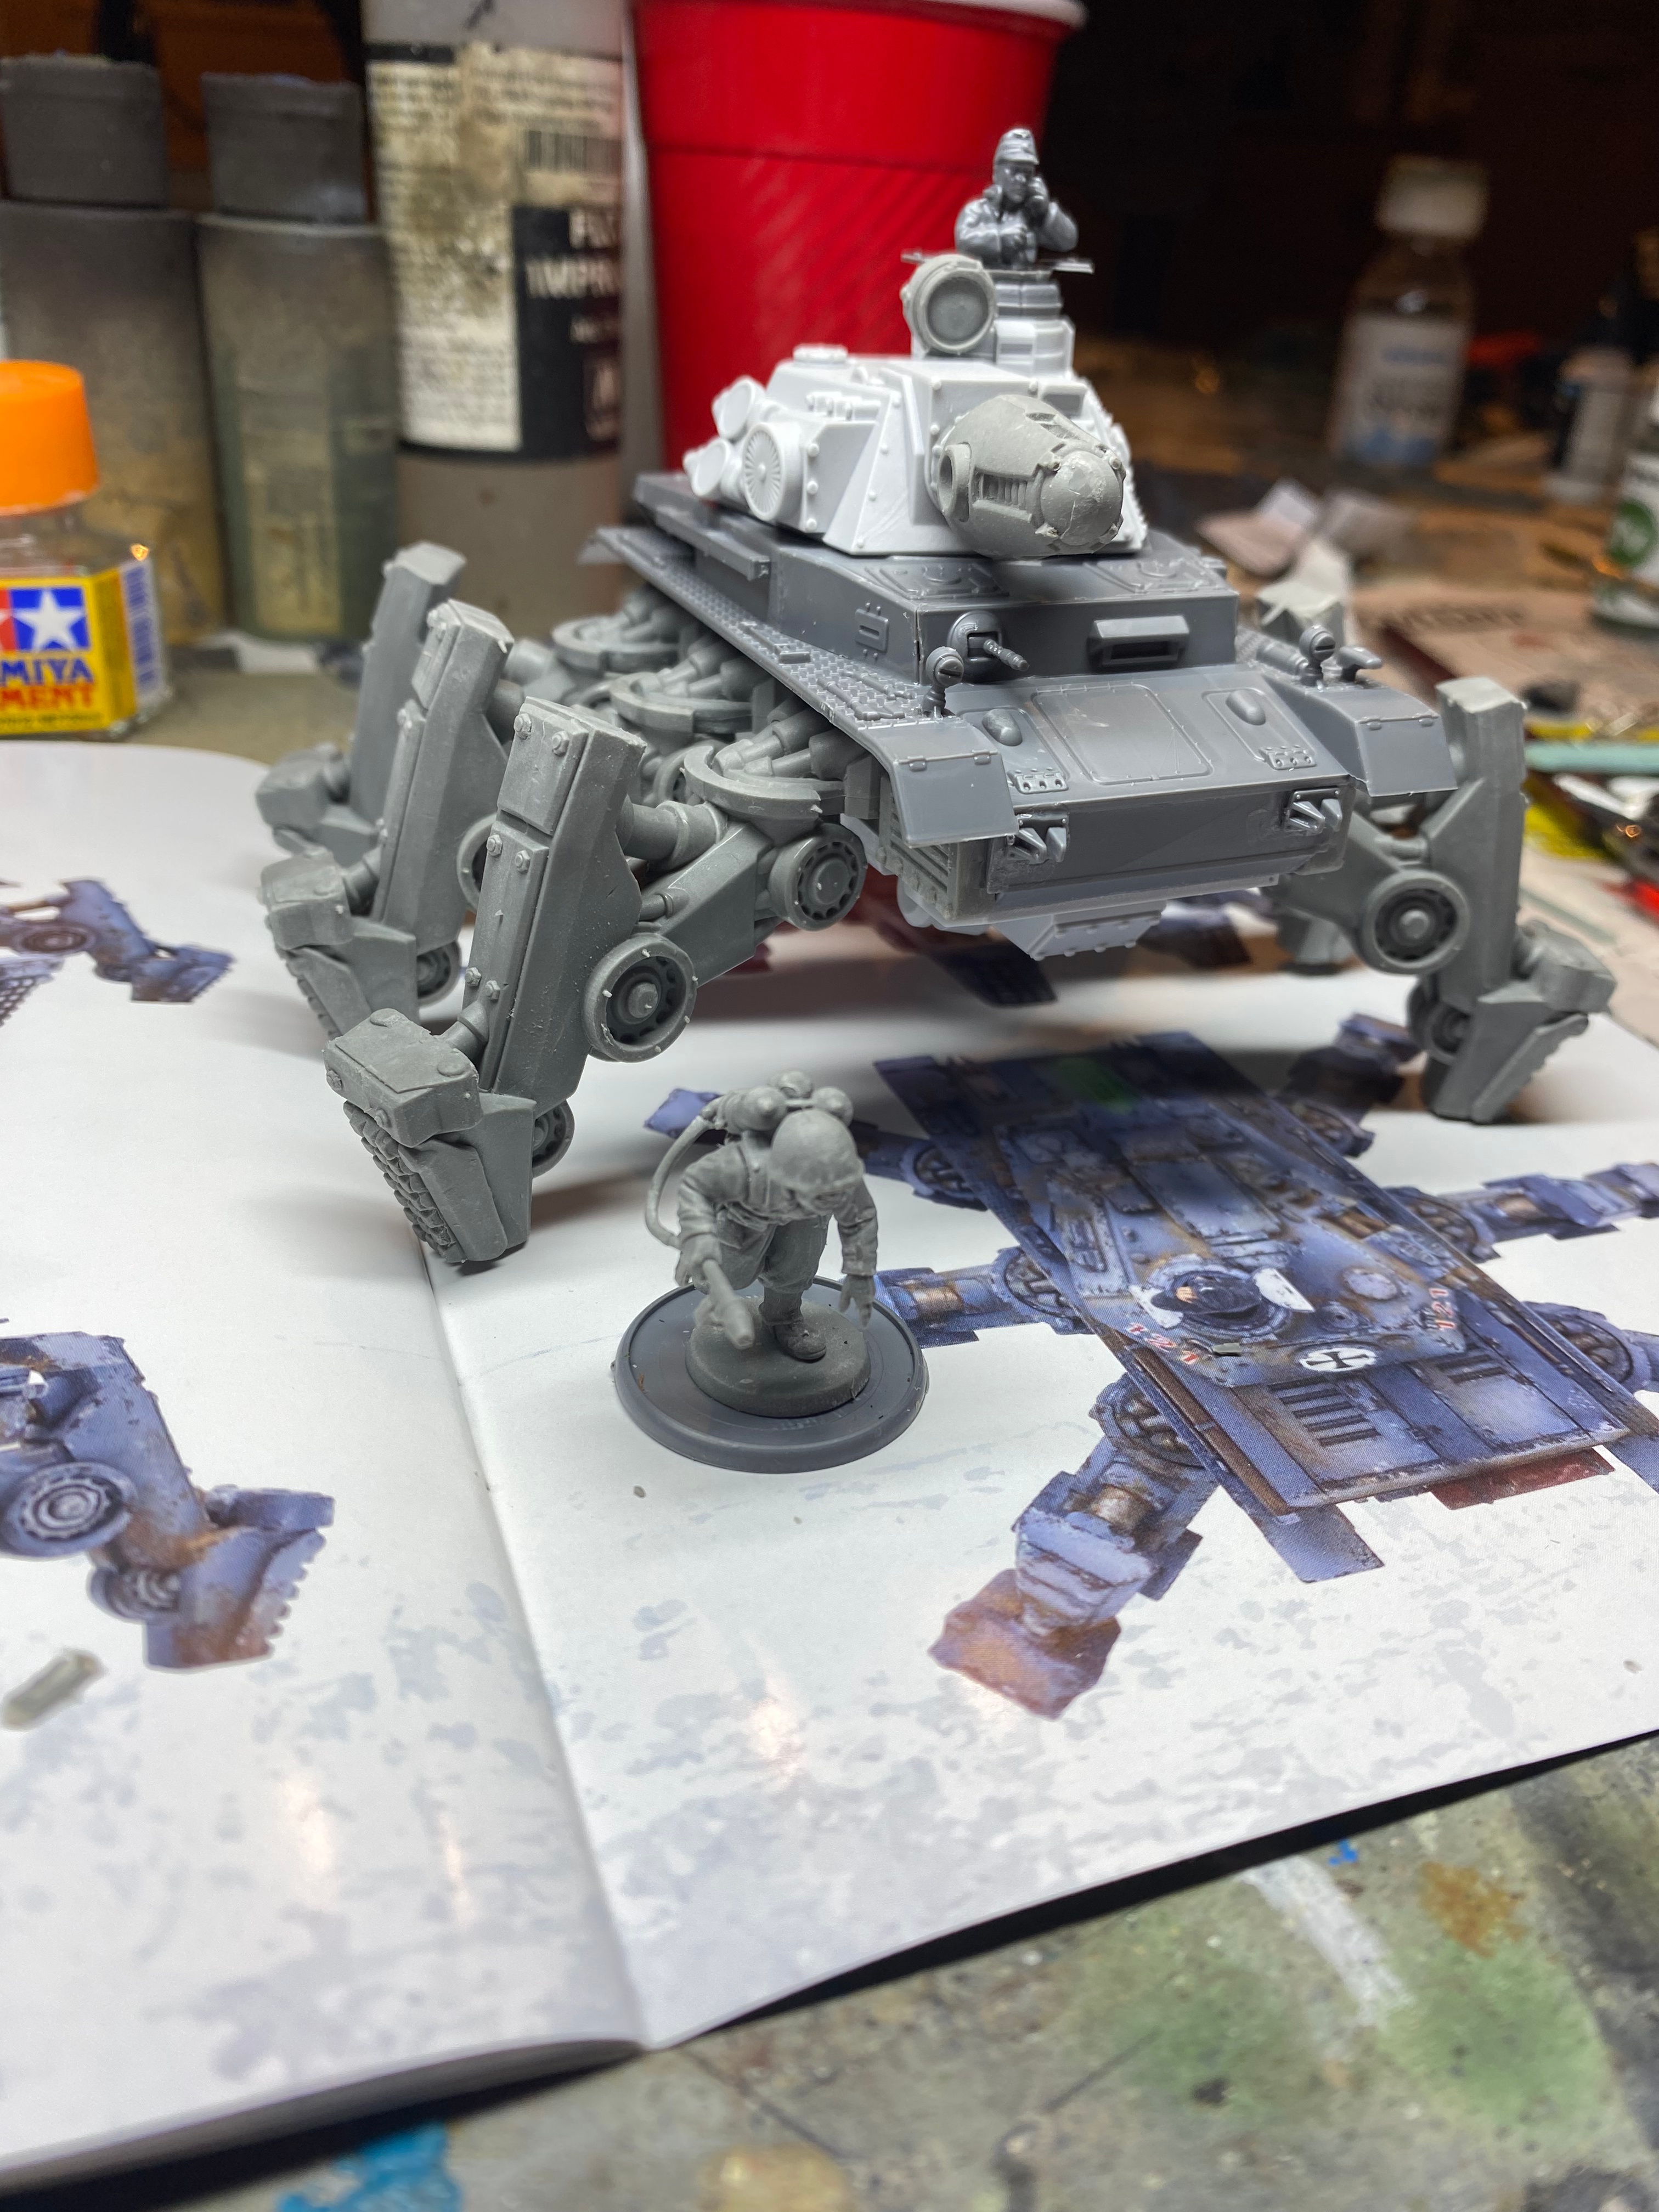
This thing is massive. It dwarfs a standard Bolt Action infantry model. Dang this thing looks sick if you ask me.
The Takeaway
Overall the build had me a little worried with the gaps and issues with the instructions. However, considering they are only three pages long you won’t have to suffer through a complicated build with dozens of steps. This keeps the build manageable even with the slight issues. It went from a C to a B+ rating once it was complete. The issues are negligible and the completed model is just wonderful to look at. Warlord did a fantastic job of repurposing an existing kit and added new components to create a unit that is different enough from it base to make it feel unique. If it turns out that a pair of these are effective on the table, I will buy and build another one.
I picked up the Axis Starter Army from The Tabletop Strategist. They included a hand-written note thanking me for my order, letting me know they are also excited for the new edition of K47, and that they hope I am too. They even included a discount code for a on a future order!
Sadly at the time of writing most of the K47 kits are sold out at The Tabletop Strategist. So I am adding a shoutout for my personal favorite US-based online shop – Kick-Ass Mail Order. I order 95% of my Bolt Action kits from them and I also ordered some additional K47 models. Their shipping is wicked fast and they always provide support to all of the events I run.
Happy wargaming and let me know your experience with the Panzer IV Ausf. X Walker Tank!
More Konflict ’47 coverage:

thanks for the Review!
I have to admit, i have a bit of a hmm hot / cold relationship with this kit.
when i saw the first pictures, i thought “wow what a let down” on the official pictures it looks so… bland and kinda boring..
when i saw the resin parts i Was even more put off from it (dear resin, it’s totaly me, not you! I just dislike resin as a material)
but given i have to many panzer IVs build (currently have 9, one pending) when i saw the instructions i Was happy. All the “fiddly” parts of the Tank are not to be build.
i agree with the part about the fitting for the resin, especialy the connections for the legs, a bit guess work, but fine, and easier then it seems.
and when build, and the first paint is put on, it looks really good, far above what the pictures imply. It has this quite strong “want to get past me? Come and try….” vibe, looking quite menancing in all the right ways. And given the angle of the legs are rather flexible, it is even possible to Pose them differently enough to make them easy to differ on the table.
LikeLiked by 2 people