

I’m trying something new with this one. Unlike my previous Chicago Dice Paints article, this is not a full step-by-step of the painting process. Instead, this guide provides the paints I used and the high-level phases to paint a 1940 BEF solider in France. Big shout to Chris Hindmarsh for the inspiration and to Sonic Sledgehammers for the Paint & Review: Wargames Atlantic British Expeditionary Force [How I Paint Things] video that I used as a starting point.
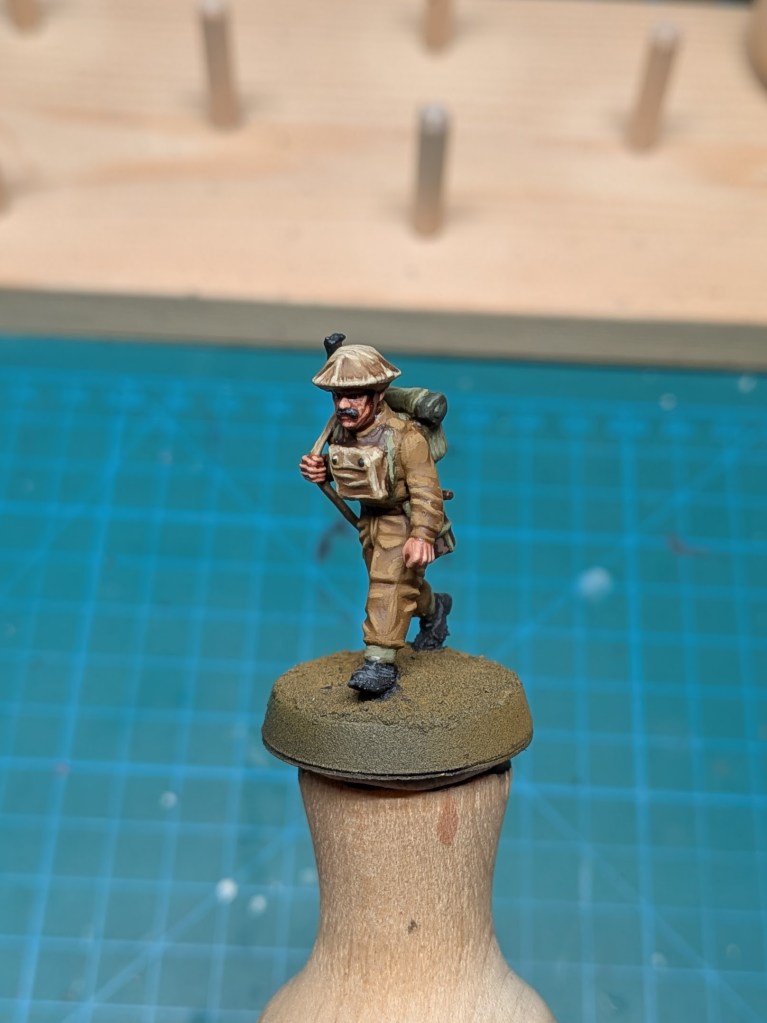
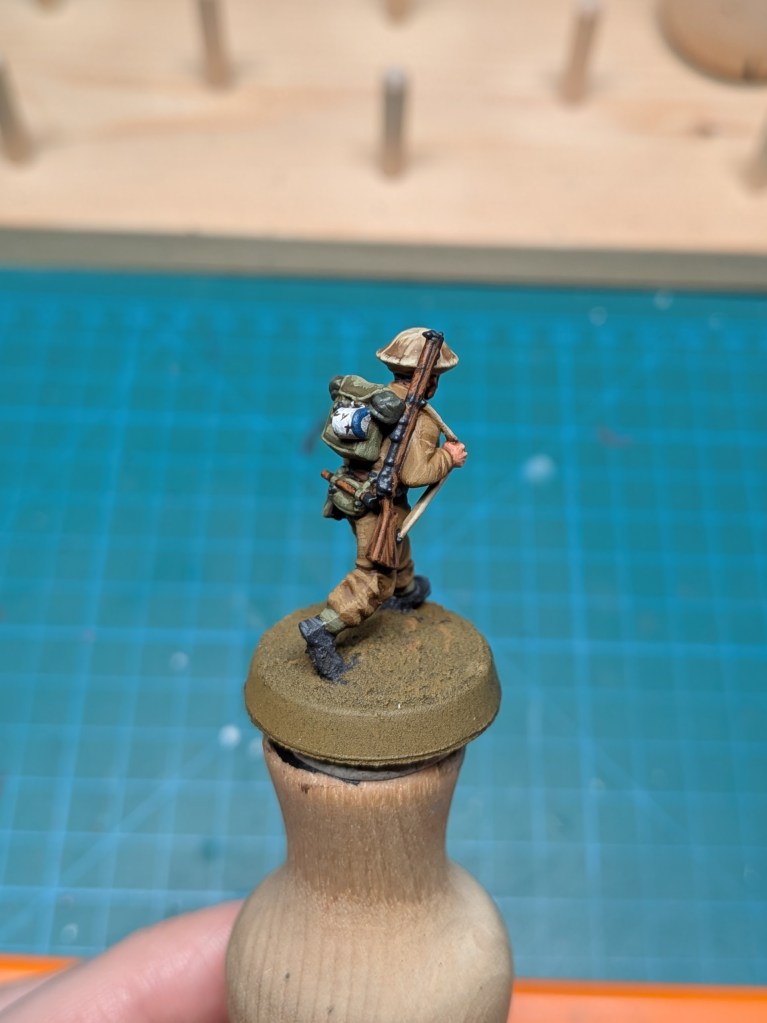
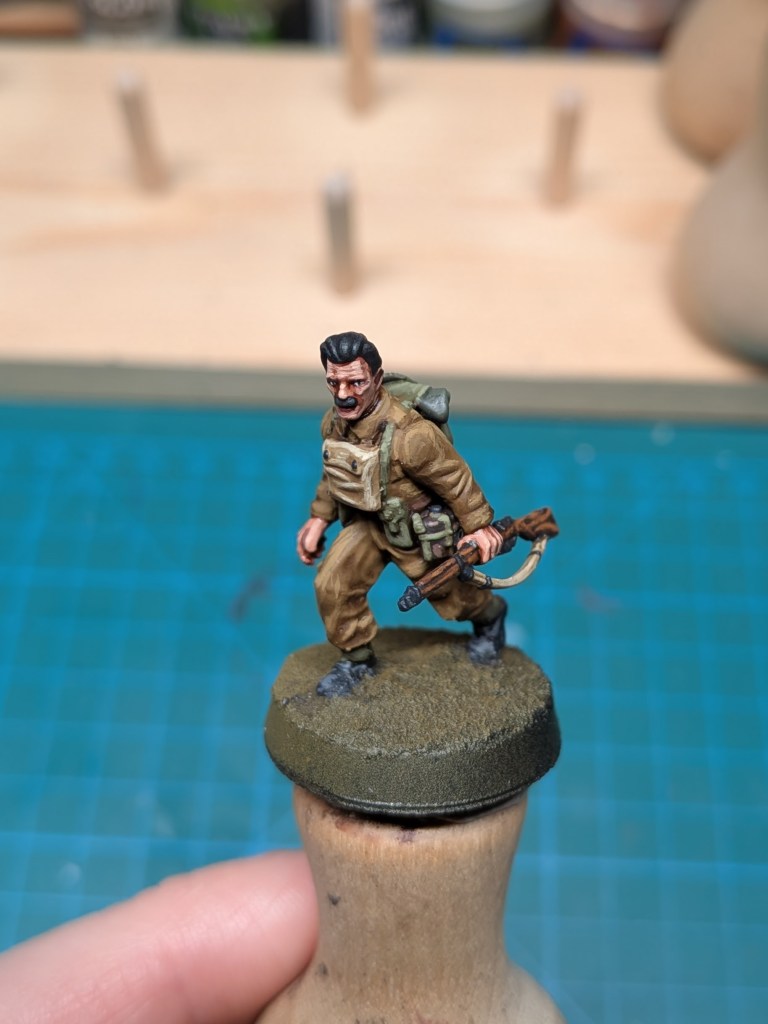
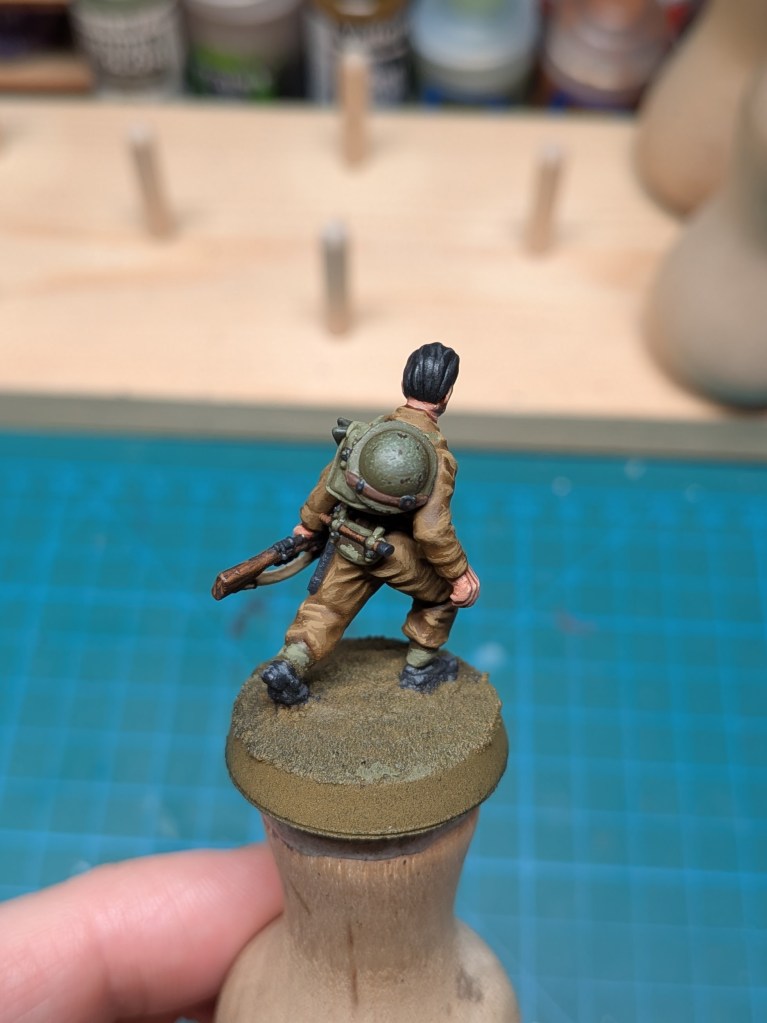
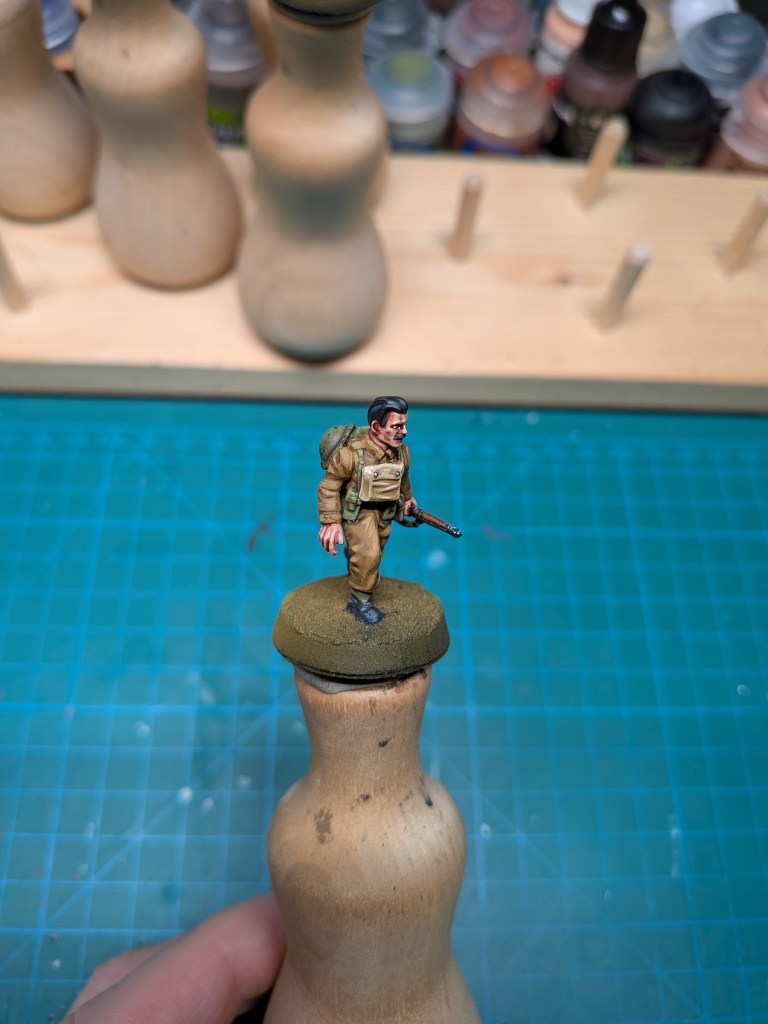
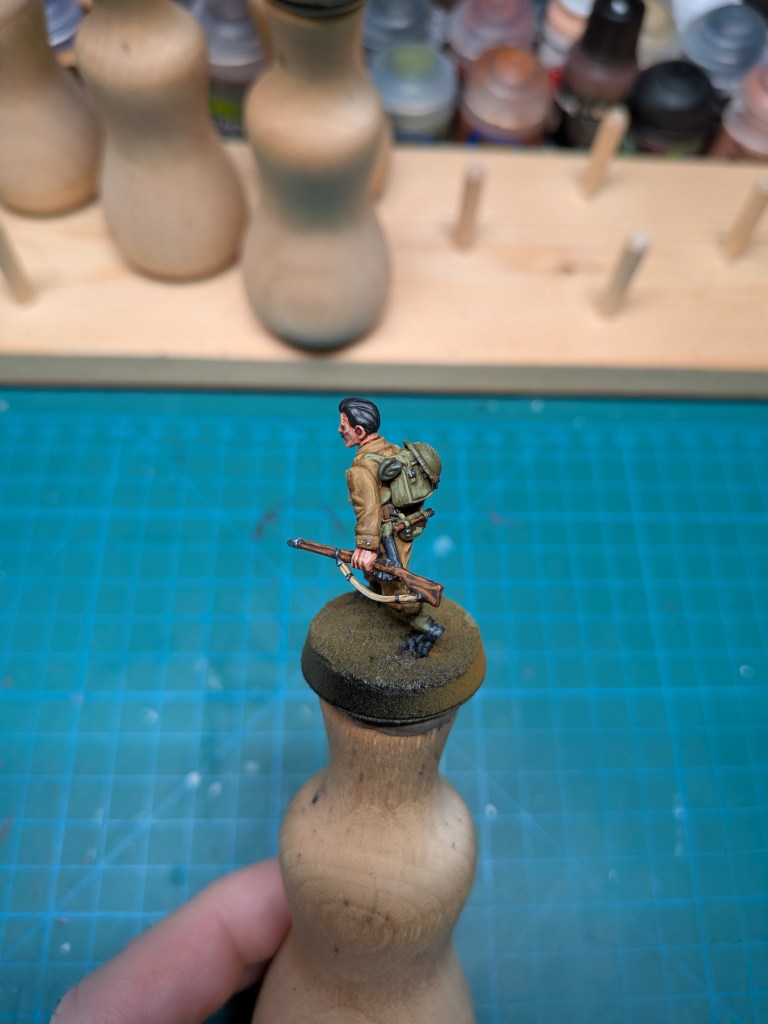
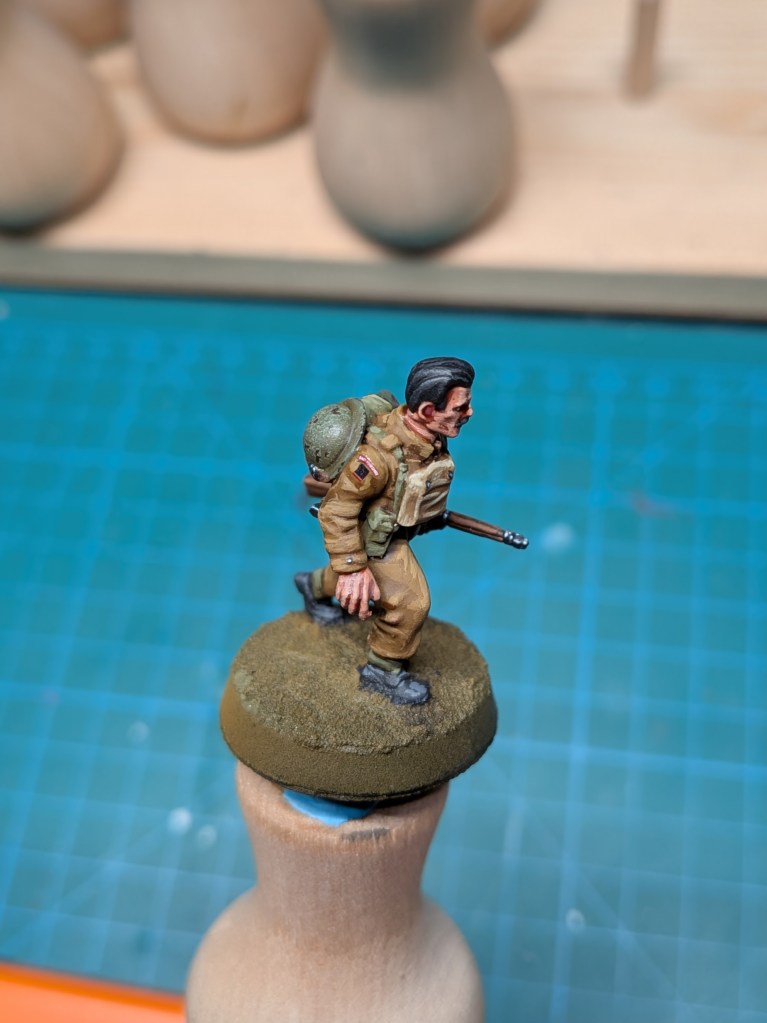
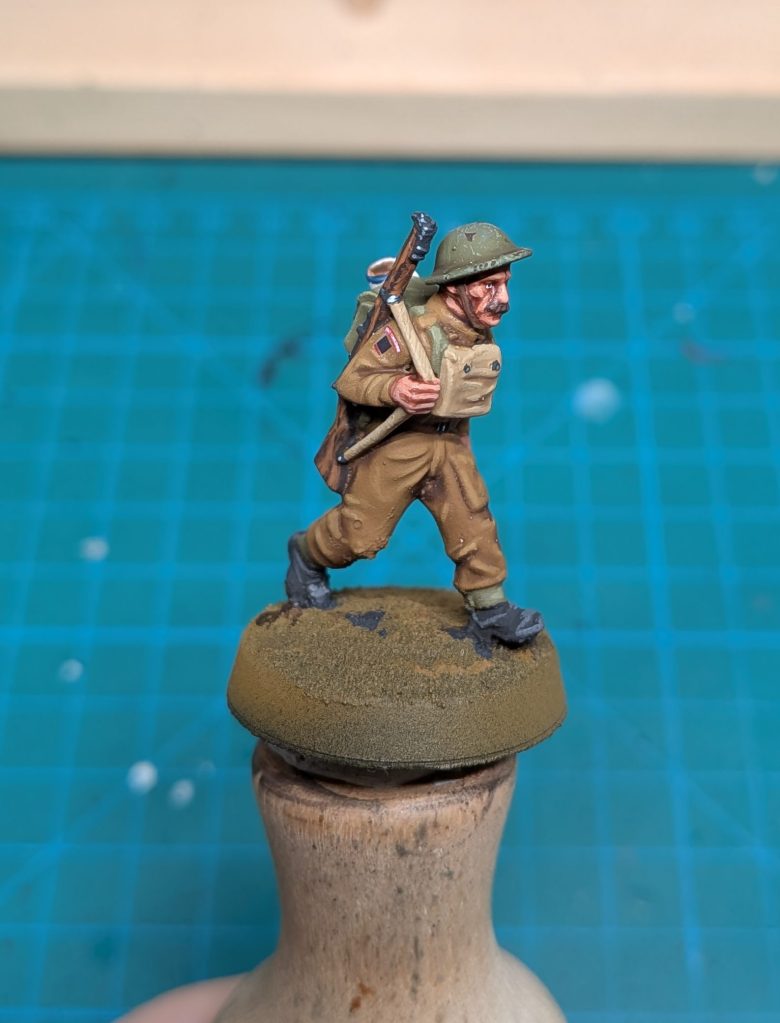
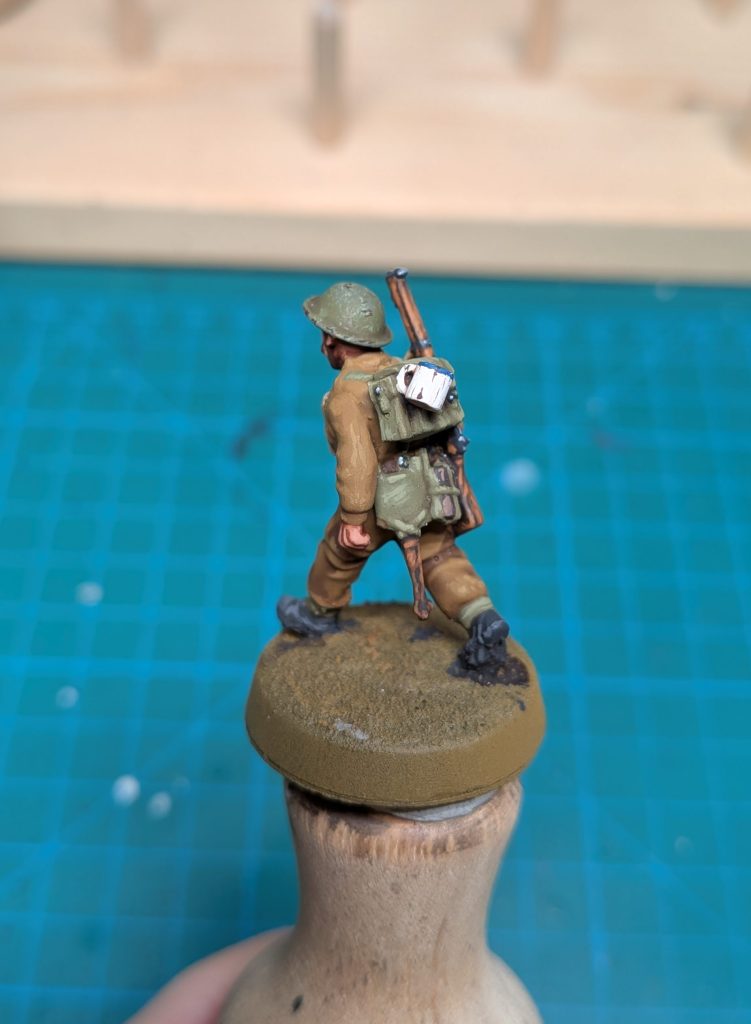
All the models shown are from the excellent Wargames Atlantic British Expeditionary Force plastic kit.
0. Prime
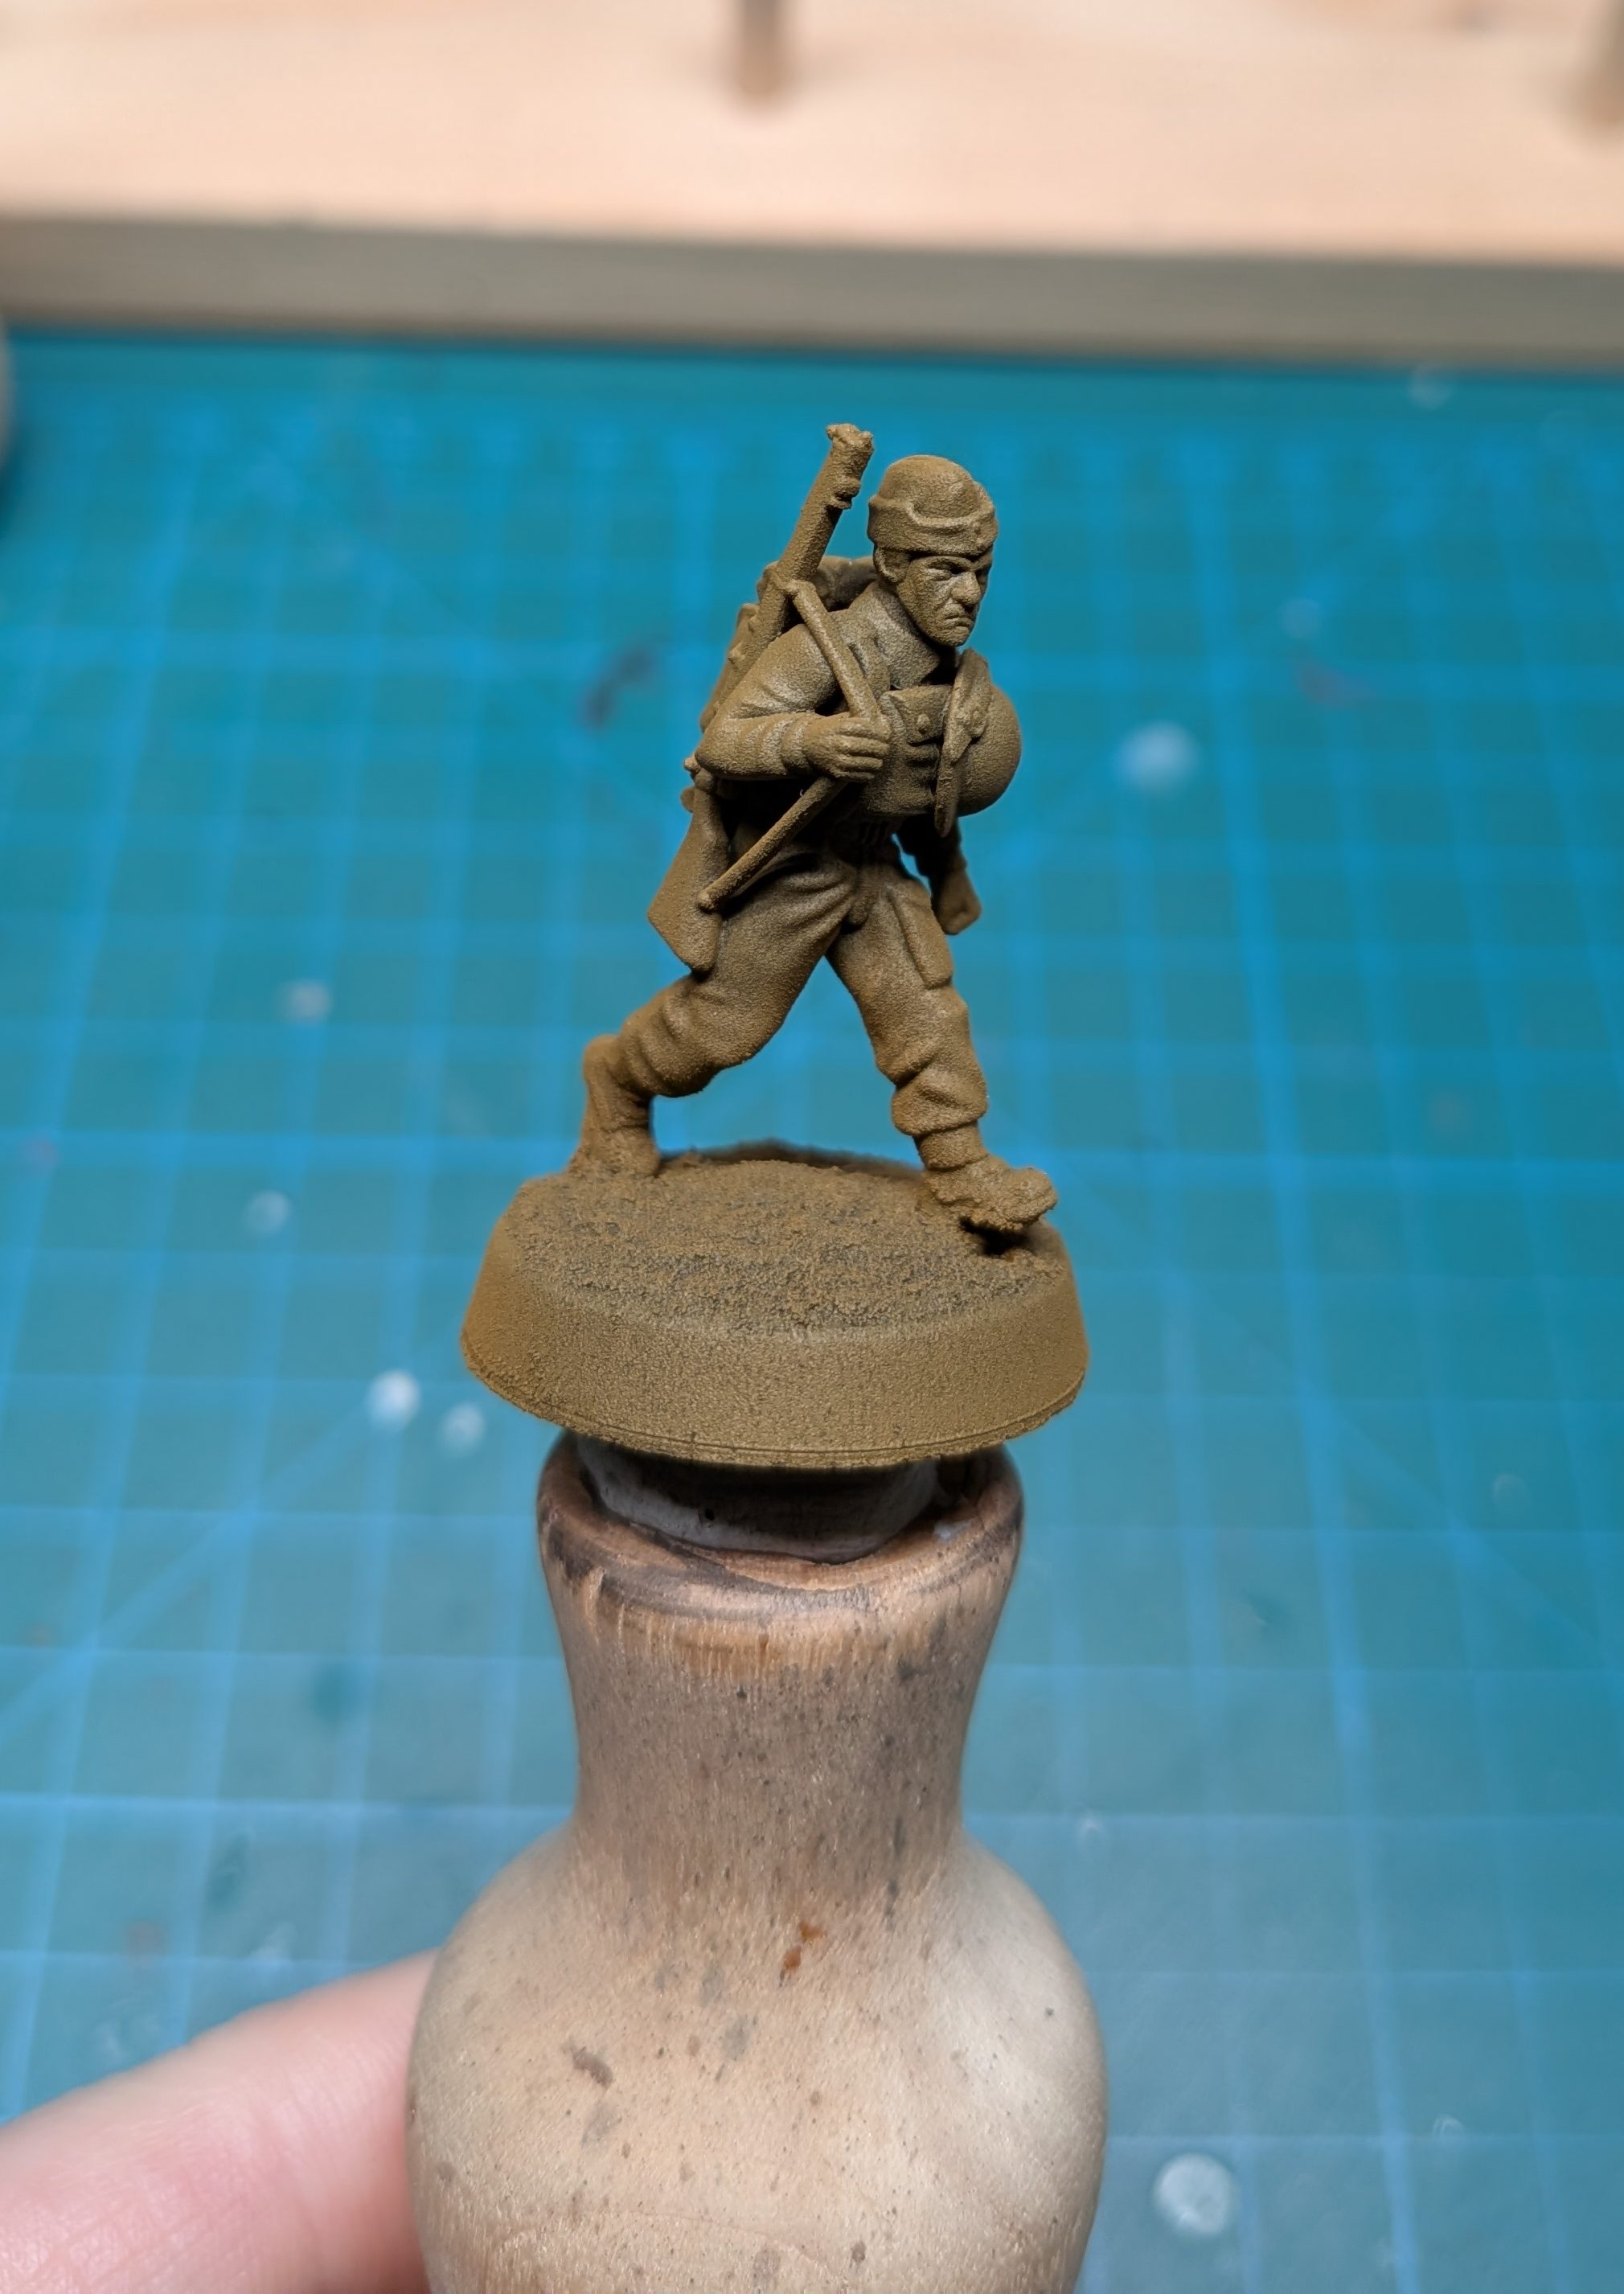
- Prime Black or Dark Brown.
- Spray with Vallejo English Uniform rattlecan.
1. Basecoats

- Uniform and field caps:
- Basecoat the uniform with Vallejo English Uniform.
- Helmet (Uncovered):
- Basecoat with Vallejo Brown Violet.
- Webbing, gators, backpacks, water bottle straps, entrenching tool holster, belts:
- Basecoat with Vallejo Russian Uniform.
- Gasmask cap/bedroll:
- Basecoat with Citadel Death Korp Drab.
- Helmet straps, pistol holster, bedroll straps, belts:
- Basecoat with Scale75 Brown Leather.
- Water bottle case:
- Basecoat Vallejo German Camo Black Brown.
- Rifle stocks, entrenching tool handle, bayonet handle:
- Basecoat with Citadel Rhinox Hide.
- Layer with Citadel Mournfang Brown.
- Rifle sling, gasmask case and helmet covers:
- Basecoat with Citadel Zandri Dust.
- Metal buckles, metal on guns, boots, bayonet sheath, water bottle cap:
- Basecoat with Vallejo German Grey.
2. Shade
- Wash the entire model with a 1:1 mix of Agrax Earthshade : Medium.
3. Layers and Highlights
- Uniform and field caps:
- Layer with English Uniform.
- Highlight a 2:1 mix of English Uniform : Vallejo Iraqi Sand.
- Helmet:
- Highlight edge and top Vallejo US Dark Green.
- Stipple Citadel Straken Green with sponge.
- Paint in the stipples with Citadel Rhinox Hide.
- Webbing, backpacks, water bottle straps, tool holster:
- Layer with Russian Uniform.
- Highlight with a 1:1 mix of Russian Uniform : Iraqi Sand.
- Bedroll:
- Layer with a 1:1 mix of Citadel Death Korp Drab : Citadel Straken Green.
- Rifle stocks, entrenching tool handle, bayonet handle:
- Layer with Citadel Mournfang Brown.
- Highlight of lines with Citadel Skrag Brown.
- Belts, helmet straps, bedroll straps:
- Layer with Scale75 Brown Leather.
- Water bottle case:
- Highlight with Citadel Gothor Brown.
- Rifle sling and gasmask case:
- Layer Citadel Zandri Dust.
- Highlight Citadel Ushabti Bone.
- Boots, bayonet sheath:
- Highlight with Citadel Mechanicus Standard Grey.
- Teacups
- Basecoat with Vallejo Offwhite.
- Paint the lip of the mug Vallejo Prussian Blue.
- Wash with a thinned Black or Grey wash.
- Highlight with Vallejo Offwhite .
- Add some Citadel Rhinox Hide scratches.
- Skin:
- Basecoat with Citadel Bugmans Glow.
- Wash with Citadel Reikland Fleshshade.
- Layer with Citadel Cadian Fleshtone.
- Wash with Citadel Reikland Fleshshade.
- Highlight with Citadel Cadian Fleshtone.
4. Metallics
- Metal buckles, metal on guns, water bottle cap:
- Spot highlight with Scale75 Heavy Metal.
5. Transfers
- Apply two coats of MicroSet to the model on the spot the transfer will go.
- Place the transfer on the model.
- Apply three coats of MicroSol on top of the transfer. Allow the MicroSol to dry completely between each coat.
6. Varnish
- Varnish the model with AK Ultra Matte Varnish.
- Brush on directly from a dry palette or cup.
7. Basing

Base the mini however you’d like! I went with:
- Basecoat of AK No5 Earth Brown.
- Pick out a few rocks and paint them Citadel Mechanicus Standard Grey.
- Wash the base in thinned Citadel Agrax Earthshade.
- Drybrush with AK Canvas Tone.
- Drybrush with AK Light Earth.
- Toss on some tufts and flowers from Gamers Grass.
- Paint the rims flat black.

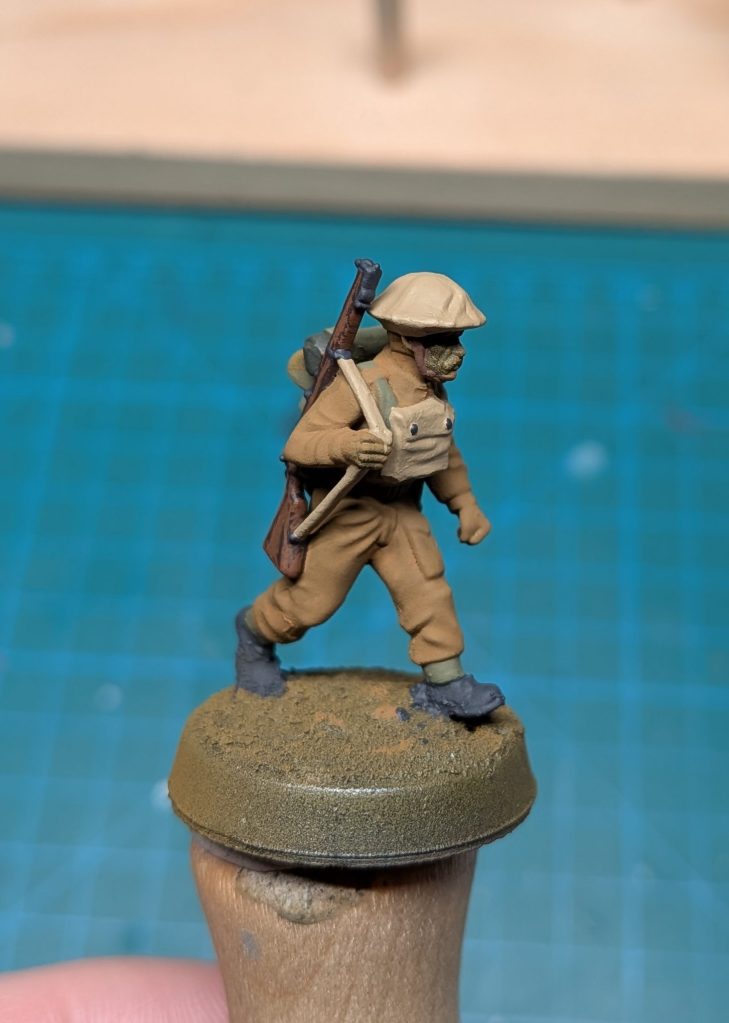
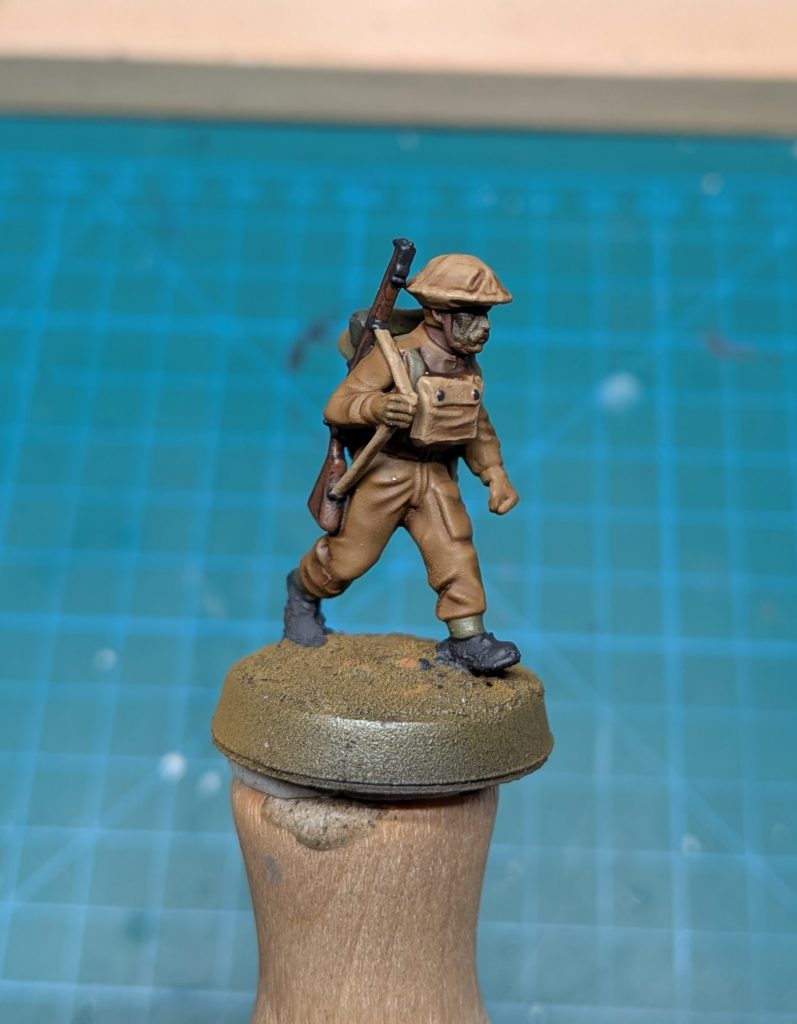
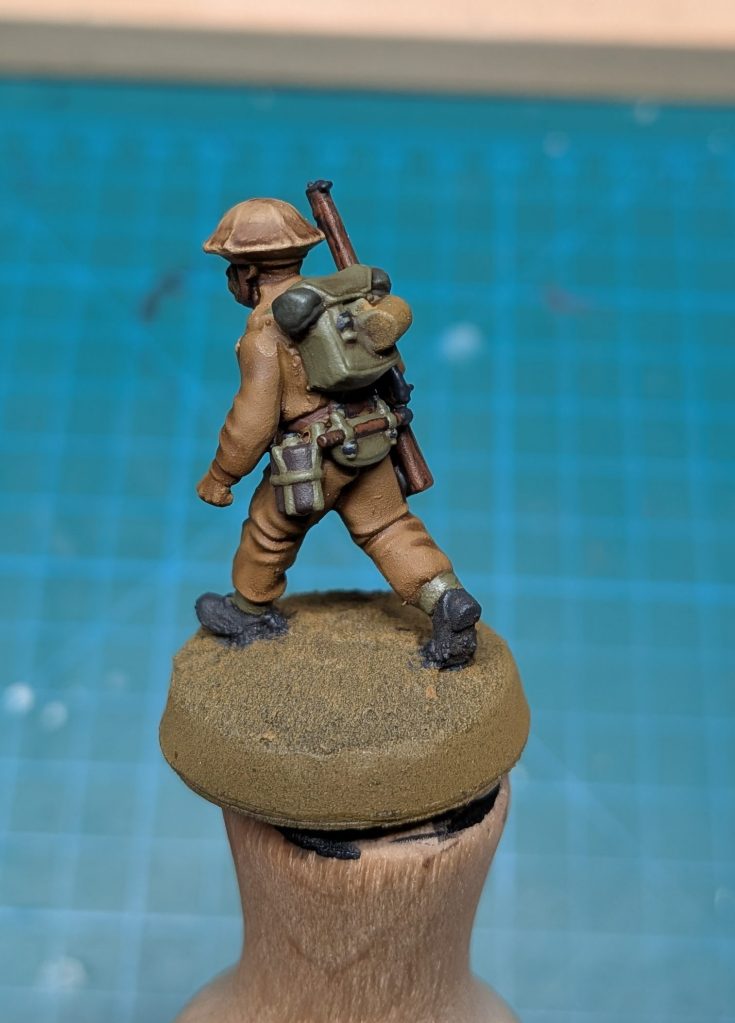
And there they are! A few Tommies ready to take the fight to the Hun. After playing around with various Contrast and Speed Paints, this was a return to a more traditional basecoat + layer + highlight approach. It takes longer and it’s not a quick scheme, but damnit I’m loving the results.
